How to Hang Pictures on Tiles without Drilling
Decorating tiles with pictures is a wonderful way to add a personal touch to your living space. This approach is particularly valuable for renters or anyone who prefers not to make permanent alterations to their tile work. This article will explore how to hang pictures on tiles without drilling.
Using methods that don’t involve drilling or other forms of permanent attachment ensures that you can beautify your space without causing any damage. This is crucial because it keeps the tiles intact and avoids issues with landlords or the need for future repairs.
Non-drilling methods are not only practical but also versatile, allowing for easy changes whenever you wish to update your decor. Whether it’s adding a splash of color, a touch of personal style, or creating a themed environment, the options are limitless.
This approach is also user-friendly, making it accessible for people who might not be skilled in more complex DIY projects. By choosing to decorate tiles with removable pictures, you create a space that reflects your style and personality, while maintaining the integrity and original look of your tile work.
Tools Needed to Hang Pictures on Tiles without Drilling
When hanging pictures on tiles without drilling, it’s important to have the right tools and materials on hand to ensure a smooth and successful installation. Here’s a list of essential items you’ll need:
- Level: A level is crucial to ensure your pictures hang straight. You can use a traditional bubble level or a digital one. This tool helps you avoid crooked pictures and ensures a professional-looking finish.
- Measuring Tape: A measuring tape is used to measure the space where you’ll hang your picture. It helps in accurately positioning the picture and maintaining equal distances between multiple frames if you’re creating a gallery wall.
- Adhesive Strips or Hooks: These are the key elements for hanging your pictures. Choose adhesive strips or hooks based on the weight of your picture and the type of tile surface. It’s important to select the right kind to ensure your pictures stay securely in place.
- Cleaning Supplies: Before attaching anything to the tiles, it’s important to clean the surface. Dust, grease, or moisture can prevent adhesive strips or hooks from sticking properly. Use a clean cloth and an appropriate cleaner (like rubbing alcohol) to wipe down the tiles. Make sure the surface is dry before you start hanging the picture.
- Pencil or Non-Permanent Marker: This is useful for marking the spot where you will place the adhesive strips or hooks. Make sure it’s non-permanent so you can easily wipe off any marks once your picture is hung.
- Ruler or Straight Edge: A ruler or straight edge helps in drawing straight lines and ensuring that your markings are accurate. This is especially helpful when hanging multiple pictures in a line or creating a pattern.
- Clean Cloth: A clean cloth is necessary for wiping down the tile surface after cleaning and for cleaning off any non-permanent marks you made during the process.
Optional – Picture Hanging Tool: Some people find a picture hanging tool helpful. This tool can help you visualize where the picture will hang and where to place your hooks or strips.
Gathering these tools and materials beforehand will make the process of hanging pictures on tiles without drilling much easier and more efficient. It’s a simple yet effective way to enhance your space without causing any damage to your tile surfaces.
How to Hang Pictures on Tiles without Drilling
Hanging pictures on tiles without drilling is a straightforward process that can greatly enhance the look of your space. Here’s a step-by-step guide to do it right:
Choose the Right Spot
First, decide where you want to hang your picture. Consider the room layout and how the picture will fit with the rest of your decor. It’s important to choose a spot where the picture will be seen and complement the area.
Clean the Tile Surface
Before you start, clean the tile where you will hang the picture. Use a cloth and a cleaner like rubbing alcohol to remove any dirt, grease, or moisture. This step is crucial because a clean surface ensures that the adhesive will stick properly.
Select and Prepare the Hanging Apparatus
Choose the right adhesive strips or hooks based on the weight and size of your picture. Read the instructions on the product to understand how to use them correctly. Some products might require you to wait a bit after attaching them to the wall before hanging the picture.
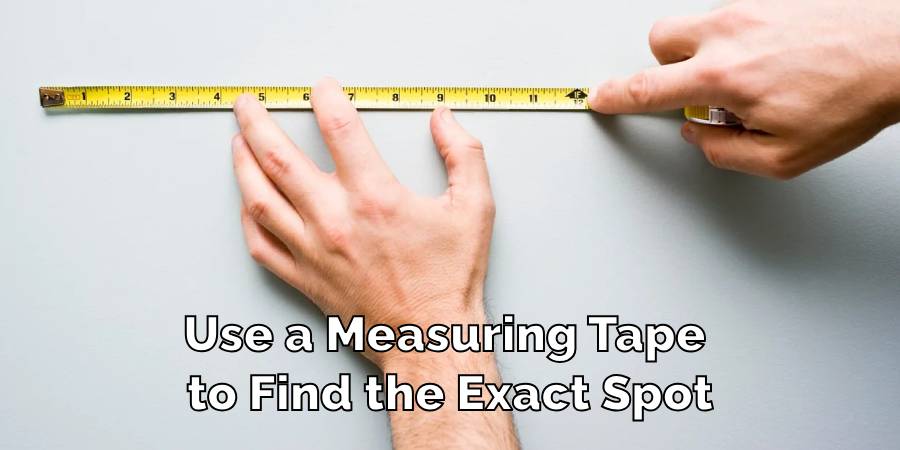
Measure and Mark the Spot
Use a measuring tape to find the exact spot where you want your picture. Then, use a pencil or non-permanent marker to lightly mark where the top of the picture will be. If you’re using a level, this is the time to use it to ensure your marks are straight.
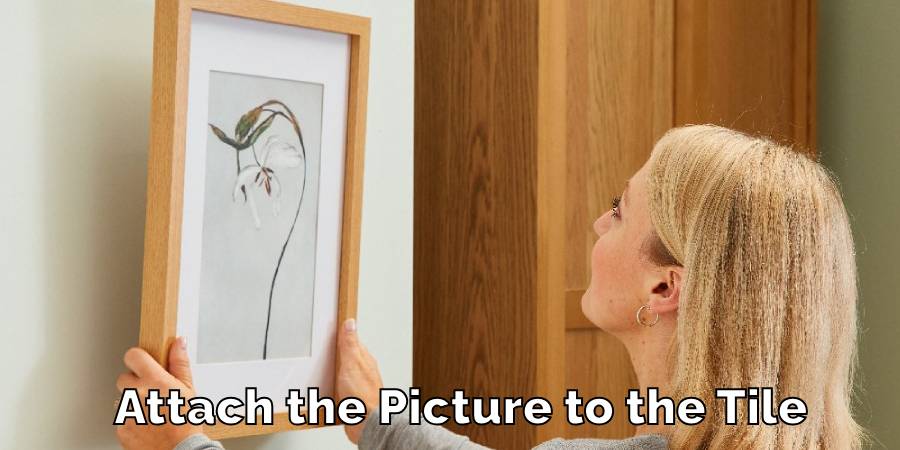
Attach the Picture to the Tile
Now, attach the adhesive strips or hooks to the tile where you marked. Make sure they are firmly in place. Then, carefully hang your picture on the strips or hooks. Press firmly for a few seconds to ensure a strong bond if using adhesive strips.
Ensure Stability and Alignment
After hanging the picture, check if it’s stable and aligned properly. Adjust if necessary. Use a level to ensure the picture is straight. This step is important for the final appearance.
Final Adjustments
Stand back and look at the picture from a distance. Sometimes, what seems straight up close may look off from afar. Make any final adjustments if needed.
Remember, patience is key when hanging pictures. Taking the time to measure and align everything correctly will result in a beautifully decorated tile surface that enhances your space without any damage.
How Much Does It Cost to Hang Pictures on Tiles without Drilling
Hanging pictures on tiles without drilling can be both cost-effective and practical, with various methods and materials available to suit different budgets.
- Adhesive Strips: One of the most common and affordable methods is using adhesive strips. These strips are designed to stick firmly to both the tile and the picture, holding it securely in place. A pack of adhesive strips can cost anywhere from $5 to $20, depending on the brand and the weight capacity they support. For instance, a pack of Command strips, a popular brand, might cost around $10 and can hold frames of different sizes and weights.
- Hooks: Another option is adhesive hooks. These are slightly more expensive than strips, usually ranging from $10 to $30 for a pack. The price varies based on the weight they can hold and the brand. These hooks are versatile because they can be used not only for pictures but also for other items like towels or kitchen utensils.
- Mounting Solutions: More specialized mounting solutions like grip tapes or removable mounting putty are also available. These can range from $5 to $25. For example, a roll of removable mounting tape might cost about $15, while a pack of mounting putty could be around $5.
- DIY Solutions: For those who prefer a DIY approach, homemade solutions like double-sided tape or temporary hooks made from household items can be even more cost-effective, though they might not be as reliable or neat as commercial products.
- Professional Options: On the higher end of the cost spectrum, professional mounting solutions are available. These services can range from $50 to $200 or more, depending on the complexity of the installation and the number of pictures to be hung. This option is less common since the purpose of using non-drilling methods is often to avoid the need for professional help.
- Comparing Costs: Generally, DIY solutions like adhesive strips or hooks are the most cost-effective and are sufficient for most home needs. They offer a balance between affordability, ease of use, and reliability. Professional services, while more expensive, might be considered for large, heavy, or valuable frames where more secure mounting is required.
Example Costs
- A pack of medium-sized adhesive strips: $10 (can hang several small to medium frames)
- A set of adhesive hooks: $15 (ideal for medium to large frames or other items)
- Roll of mounting tape: $15 (versatile for various sizes, but requires more precision)
- Mounting putty: $5 (best for very light or small frames)
- DIY homemade solutions: Less than $5 (using household items)
- Professional picture hanging service: $100+ (for a set of multiple frames or complex arrangements)
The cost of hanging pictures on tiles without drilling can vary widely, but there are affordable and practical options available for most needs and preferences. Whether choosing a simple pack of adhesive strips for a few dollars or opting for a more comprehensive professional service, there’s a solution for every budget.
Conclusion
When hanging pictures on tiles, it’s smart and important to use non-drilling methods. This way, you can decorate your space with your favorite pictures without damaging the tiles. Tools like Command hooks and adhesive strips offer great solutions for different picture weights and tile types.
They’re easy to use and remove, perfect for renters or anyone who likes to change their decor often. Choosing the right hanging method for your picture’s weight and tile type is crucial to avoid damage. With a clean tile surface and following the instructions, you can set up your pictures nicely.
This approach lets you decorate beautifully while keeping your tiles in good shape. Remember, a little care with the right tools can make your space look great without harming your tiles. This article has explored how to hang pictures on tiles without drilling.
You may read also – How to Put a Nail Drill Together