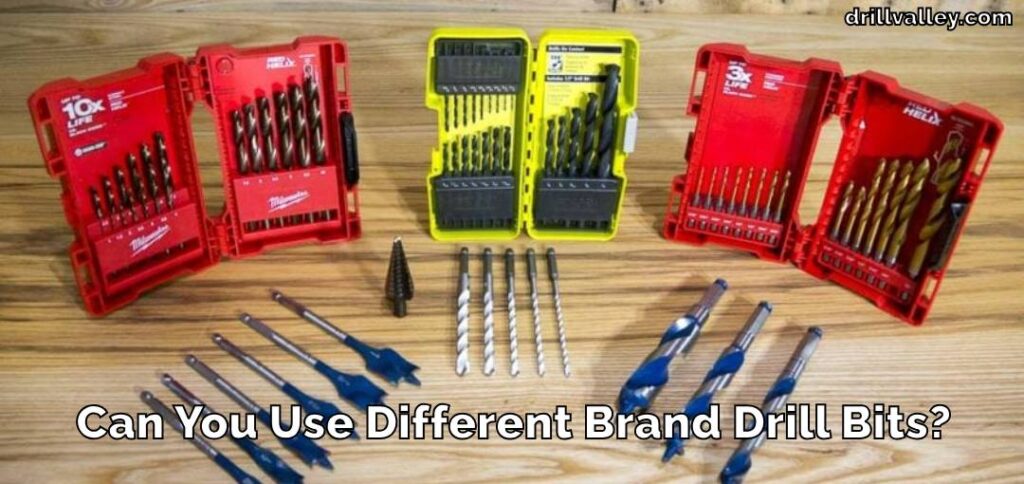
Can You Use Different Brand Drill Bits?
The right drill bit size is crucial for any project, big or small. It’s the key to precise drilling and strongholds. This guide Can You Use Different Brand Drill Bits? aims to simplify the process, offering clear advice for all skill levels.
Whether you’re a beginner or a seasoned pro, we’ve got you covered, ensuring you choose the best drill bit every time. Let’s dive in and make your next project a success.
Can You Use Different Brand Drill Bits?
You absolutely can. Here’s the lowdown. The most important thing is to make sure the drill bit fits snugly into your drill. It’s all about the shank—that’s the end of the drill bit you insert into the drill—and the chuck, which is the part that holds onto the bit.
If they match up, you’re golden. Brand names? Not important here. What you’re looking for is the right fit, like finding the perfect key for a lock.
This cool little fact means you have the freedom to pick the best drill bit for whatever you’re working on, without worrying about who made it. Whether you’re drilling through wood, metal, or something else, you can mix and match bits to suit the job.
Here’s why it’s all good:
- Fit Over Brand: If the drill bit fits well, it’s the right choice. Simple as that.
- Shank Size Matters: The size and shape of the shank are key, not the logo on the bit.
- Options Galore: You get a wider selection of bits to choose from, which is great for finding the ideal tool for the job.
- Mix It Up: Using bits from different brands might even give you better results, as you can choose the best of the best.
So, no stress about sticking to one brand. Finding the right fit for your drill and the task at hand is what really counts. With the right bit, any project is within reach.
The Importance of Choosing the Correct Drill Bit Size
Picking the right drill bit size is more important than you might think. It’s not just about making a hole; it’s about making the right hole. Whether you’re hanging a picture frame or building a deck, the size of the drill bit you use can make all the difference.

Let’s break down why this choice matters so much.
- Precision Matters: Using the correct drill bit size ensures your screws fit just right, keeping everything tight and secure.
- Avoiding Damage: A drill bit that’s too big or too small can weaken your work, leading to damage or even accidents.
- For Safety’s Sake: The right fit prevents things from falling apart, which is crucial for anything you’re putting together.
- It’s All in the Details: Especially for delicate projects, the right drill bit size keeps your work looking sharp and professional.
- Long-Lasting Results: Correct sizing means your project will hold up better over time, giving you peace of mind.
Taking a moment to choose the correct drill bit size isn’t just about following instructions—it’s about ensuring your hard work pays off, looks great, and stands strong. So next time you’re ready to drill, remember: the right size bit is your key to success.
Drill Bit Size Chart: A Visual Guide
Think of it as your roadmap to making perfect holes, no matter the material or the project. It’s not just a list; it’s a visual companion that guides you through the tiny to the large, ensuring you pick the perfect partner for your drill every single time.
| Drill Bit Size | Recommended Screw Size | Compatible Material | Anchor Recommendation |
| 1/16″ | #2-56, #3-48 | Wood, Plastic | Plastic Anchor |
| 5/64″ | #3-48, #4-40 | Wood, Plastic | Plastic Anchor |
| 3/32″ | #4-40, #5-40 | Wood, Plastic, Light Metal | Plastic Anchor |
| 7/64″ | #5-40, #6-32 | Wood, Plastic, Light Metal | Plastic Anchor |
| 1/8″ | #6-32, #8-32 | Wood, Plastic, Metal | Plastic or Metal Anchor |
| 9/64″ | #8-32, #10-24 | Wood, Plastic, Metal | Plastic or Metal Anchor |
| 5/32″ | #10-24, #10-32 | Wood, Metal | Metal Anchor |
| 11/64″ | #10-32, #12-24 | Wood, Metal | Metal Anchor |
| 3/16″ | #12-24, 1/4″-20 | Wood, Metal, Masonry | Metal or Masonry Anchor |
| 13/64″ | 1/4″-20, 5/16″-18 | Wood, Metal, Masonry | Metal or Masonry Anchor |
| 7/32″ | 5/16″-18, 3/8″-16 | Wood, Metal, Masonry | Metal or Masonry Anchor |
| 15/64″ | 3/8″-16, 7/16″-14 | Wood, Metal, Masonry | Metal or Masonry Anchor |
| 1/4″ | 7/16″-14, 1/2″-13 | 7/16″-14, 1/2″-13Wood, Metal, Masonry | Metal or Masonry Anchor |
| 17/64″ | 1/2″-13, 9/16″-12 | Wood, Metal, Masonry | Metal or Masonry Anchor |
| 9/32″ | 9/16″-12, 5/8″- | Wood, Metal, Masonry | Metal or Masonry Anchor |
| 19/64″ | 5/8″-11, 3/4″-10 | Wood, Metal, Masonry | Metal or Masonry Anchor |
| 5/16″ | 3/4″-10, 7/8″-9 | Wood, Metal, Masonry | Metal or Masonry Anchor |
| 21/64″ | 7/8″-9, 1″-8 | Wood, Metal, Masonry | Metal or Masonry Anchor |
| 11/32″ | 1″-8, 1 1/8″-7 | Wood, Metal, Masonry | Metal or Masonry Anchor |
| 23/64″ | 1 1/8″-7, 1 1/4″-7 | Wood, Metal, Masonry | Wood, Metal, Masonry |
| 3/8″ | 1 1/4″-7, 1 3/8″-6 | Wood, Metal, Masonry | Metal or Masonry Anchor |
It’s not just about making holes; it’s about making your mark, with precision and confidence. And that, my friends, is something worth drilling down into.
Material Matters: Drill Bits for Different Surfaces
Choosing the right drill bit is essential for any project, whether you’re working with wood, metal, concrete, or glass. Each material requires a specific type of bit to ensure efficient and clean drilling. Here’s a deeper dive into what works best for each scenario, ensuring your projects turn out just as you planned, without the fluff and in plain language.

Hardwood: This dense material requires drill bits that are sharp and robust, such as high-speed steel (HSS) or titanium-coated drill bits. These are designed to withstand the toughness of materials like oak or maple without dulling quickly.
Softwood: More forgiving than hardwood, softwood still demands care to avoid splintering. A standard HSS drill bit works well, and choosing a bit slightly smaller than your screw ensures a tight fit, making HSS drill bits a universal choice for woodworkers.
Metal: From soft aluminum to hard stainless steel, metals present a wide range of materials. Cobalt or titanium-coated HSS drill bits are preferred for their durability and the clean holes they produce in metal. These bits are among the common types of drill bits universal to metalworking, offering longevity and efficiency.
Concrete and Masonry: Drilling into these tough materials requires masonry drill bits with a tungsten carbide tip. These bits are designed to handle the hardness of concrete, making them indispensable for construction and renovation projects. Using a hammer drill with these bits simplifies the process, illustrating the importance of matching the power tool to the type of bit.
Plastic: This material can be deceptive, as it’s prone to melting or cracking. Slow and steady drilling with a standard HSS drill bit is key, along with choosing a bit that matches the diameter you need to avoid heat buildup and ensure a clean hole.
Glass and Tile: Specialized diamond-tipped drill bits or carbide-coated drill bits are necessary for these fragile materials. Keeping the bit and the surface wet can help reduce heat and prevent cracking, a testament to the specialized nature of drill bits for different surfaces.
Regardless of the type of material, starting with a smaller pilot hole is a universal tip that aids in guiding the larger bit, making the drilling process smoother and preventing the bit from wandering.
In addition to these specific materials, it’s important to note the tools and accessories that complement the drilling process. For instance, impact driver bits are engineered to withstand the high torque of an impact driver, while spade drill bits and step drill bits offer solutions for drilling larger holes.
Combination drill bits provide the versatility of drilling and driving in one, a handy feature for quick tasks. Storage and care are also crucial for extending the life of your drill bits. A collection of drill bits should be kept organized and sharp, ready for the next project.

Using a sharpening tool can help maintain the effectiveness of your bits, while drill presses and corded drills might require specific bits with shank diameters compatible with common drill chucks.
The array of available drill bits, from multi-purpose drill bits to specialist drill bits like those for cast iron or with titanium nitrate coating, underscores the importance of choosing the right bit for the job. Whether you’re using a manual screwdriver, a power drill, or impact tools, the right drill bit can make all the difference in achieving a successful outcome.
Understanding the variety of types of drill bits, from black oxide to alloy steel drill bits, and their applications across a range of materials ensures that your projects not only start well but also finish with the quality and precision you aim for. So, take this knowledge, choose wisely, and tackle your next project with confidence.
Matching Drill Bit to Screw: A Step-by-Step Guide
The choice of drill bit not only affects the efficiency and ease of your drilling but also the outcome and durability of your project. Here, we’ll break down the ideal drill bit:
- Type of Drill Bit: Each material requires a specific drill bit type for optimal drilling.
- Universal Drill Bit: Useful for various materials, but specialized bits achieve better results.
- Cobalt Drill Bit: Ideal for drilling through harder metals due to its high resistance to heat and wear.
- Glass Drill Bits: Specialized for creating clean holes in the glass without cracking or chipping.
- Larger Drills: Needed for bigger projects or materials that require more power.
- Standard Drill: Sufficient for most household DIY projects; compatible with a variety of bit types.
- Twist Drill Bits: Versatile and common for drilling holes into wood, metal, and plastic.
- Wood Drill Bits: Designed specifically for drilling holes into wood with minimal splintering.
- Waste Material: The debris produced during drilling; certain bits are designed to remove this efficiently.
- Harder Materials: Require more durable drill bits like cobalt or carbide-tipped.
- Types of Material: The material being drilled (wood, metal, concrete, etc.) dictates the drill bit choice.
- Variety of Materials: A single project may involve different materials, necessitating a range of drill bits.

- Conical Holes: Created using countersink bits, allowing screws to sit flush with the material surface.
- Hexagonal Shanks: Offer better grip in the drill chuck, reducing slippage during high-torque applications.
- Carbon Steel: A common material for drill bits, suitable for softer materials like wood and plastic.
- Holes into Wood: Best made with wood drill bits that have a point to center and guide the bit.
- Light Fixtures: Installing these may require drilling into drywall or masonry, and choosing the right bit for the material.
- Bits for Metal: Cobalt, titanium, and HSS drill bits are designed for various metals, from aluminum to stainless steel.
- Maximum Sizes: Drill bits come in sizes to match the task, from tiny precision holes to large diameters.
- 1/2-Inch Chuck: A common size for drill chucks, accommodating a wide range of drill bit shank sizes.
- Ceramic Tile: Requires diamond-tipped or carbide-tipped drill bits to penetrate without damage.
- Types of Tile: Different tiles (ceramic, porcelain) may require different bits for clean drilling.
- Twist Bit: A versatile option for many materials, though not the best choice for tiles or masonry.
- Multi-Purpose Bit: Designed to drill through a combination of materials without needing to change bits.
- Size Drill Bit: Choosing the correct size bit is crucial for the fit of fasteners and the finish of the hole.
Matching the right drill bit to the material not only ensures a smoother drilling experience but also prolongs the life of your bits and the quality of your projects.
Safety First: Precautions and Tips for Using Drill Bits
Here are some straightforward tips to help keep you safe and make sure your drilling goes smoothly, without any unwanted surprises.
- Wear Protective Gear: Your eyes and ears are precious, so protect them with safety goggles and earplugs. Dust and flying debris are no joke.
- Secure Materials: Before you start, clamp down whatever you’re drilling. It’s safer and helps you drill more accurately.

- Choose the Right Drill Bit: Make sure the drill bit is right for the job and in good shape. A dull or wrong-sized bit is an accident waiting to happen.
- Start Slow: Kick off the drilling process at a low speed to avoid slips, then pick up the pace as needed.
- Mind Your Hands: Keep your fingers well away from the drill bit and the area you’re working on.
- Check for Hidden Hazards: Hitting a hidden pipe or wire can be both dangerous and expensive. A quick scan before you start can save a lot of trouble.
- Stay Alert: Pay attention to what you’re doing and what’s happening around you to keep things safe.
Drilling doesn’t have to be risky if you follow these simple guidelines. By wearing the right gear, securing your work, and staying aware of your surroundings, you can tackle any drilling project with confidence.
Remember, taking a few moments to prepare and protect yourself can make all the difference in your project’s success and your safety.
Keeping Your Drill Bits in Top Shape
Taking good care of your drill bits is key to making them last longer and work better. Just like any other tool, they need a bit of TLC to stay in top shape. Here’s how you can keep your drill bits sharp, clean, and ready for any job.
- Clean After Use: Wipe down your drill bits after each use. A quick brush or blow can remove debris and prevent build-up.
- Use the Right Cleaner: For a deeper clean, use a cleaner appropriate for the drill bit material. Avoid harsh chemicals that could damage the bits.
- Sharpen Regularly: Keep your bits sharp for the best performance. Use a drill bit sharpener or take them to a professional if you’re not confident doing it yourself.
- Avoid Rust: Store your drill bits in a dry place to prevent rust. If your workshop is humid, consider using silica gel packs in your storage case.
- Organize Your Bits: Keep your drill bits organized in a case or holder. This not only protects them but also makes it easier to find the size you need.
- Inspect for Wear: Regularly check your bits for signs of wear or damage. Replace any that are bent, cracked, or too worn to sharpen.
By cleaning, sharpening, and storing your drill bits properly, you can extend their life and ensure they’re always ready for your next project. A little effort in maintaining your bits can save you time and money in the long run, making your DIY or professional tasks smoother and more efficient.
Conclusion
Choosing the right drill bit size is vital for precision and strength in your projects. It’s more than just making a hole; it’s about making the perfect hole for your task. Taking care of your drill bits—keeping them clean, sharp, and well-stored—extends their life and ensures they’re ready for action.
Don’t be afraid to safely experiment with different bits and materials. Every project is a chance to learn and improve. Remember, proper care and the right choice can turn good work into great work. So, treat your drill bits well, and they’ll help you achieve the best results in your DIY or professional endeavors.
Read Also – Can You Drill a Water Well without Mineral Rights?
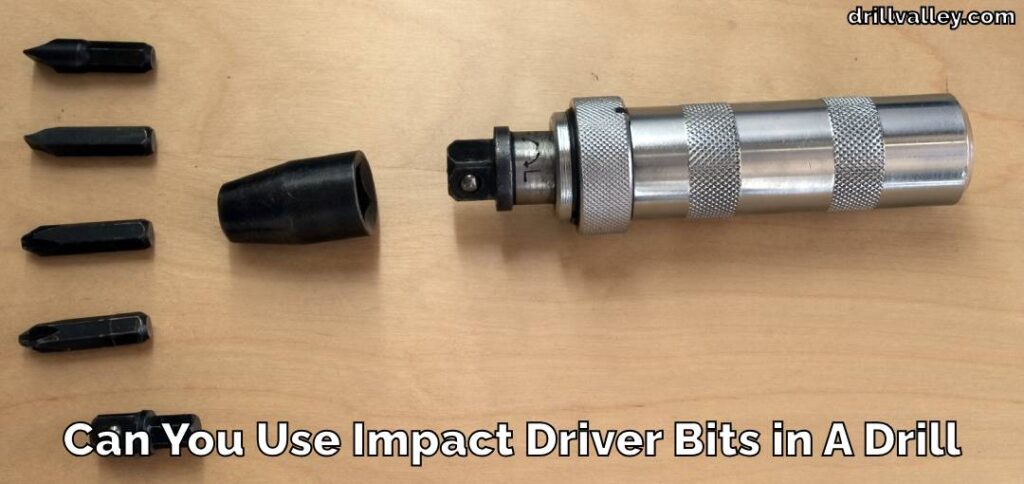
Can You Use Impact Driver Bits in A Drill
Knowing whether you can swap impact driver bits into a regular drill matters more than…
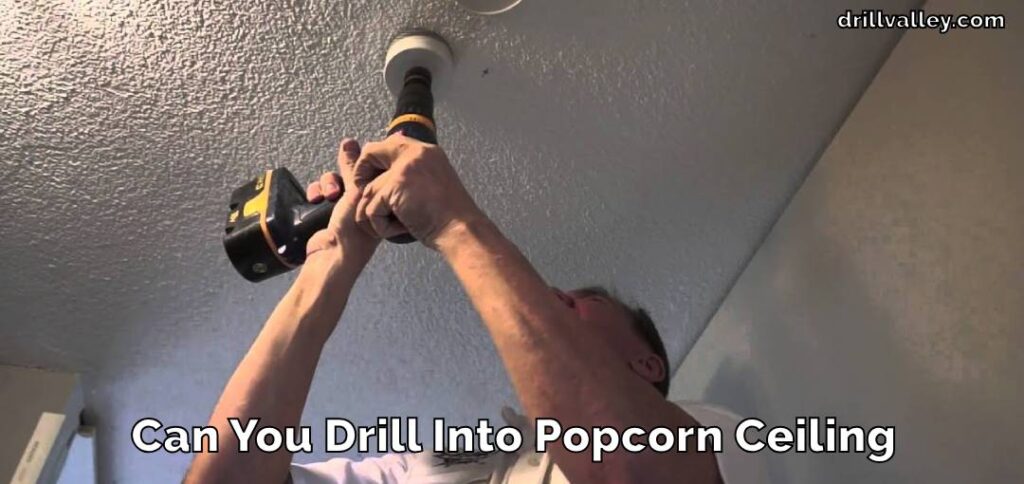
Can You Drill Into Popcorn Ceiling
Wondering Can You Drill Into Popcorn Ceiling for your next home improvement project? Popcorn ceilings,…
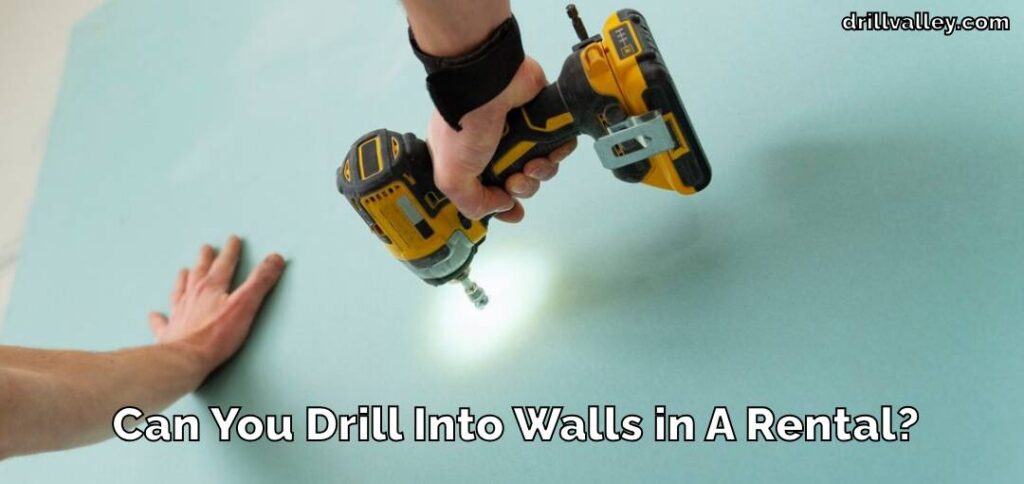
Can You Drill Into Walls in A Rental?
Renting an apartment brings the challenge of personalizing your space within the confines of rules…
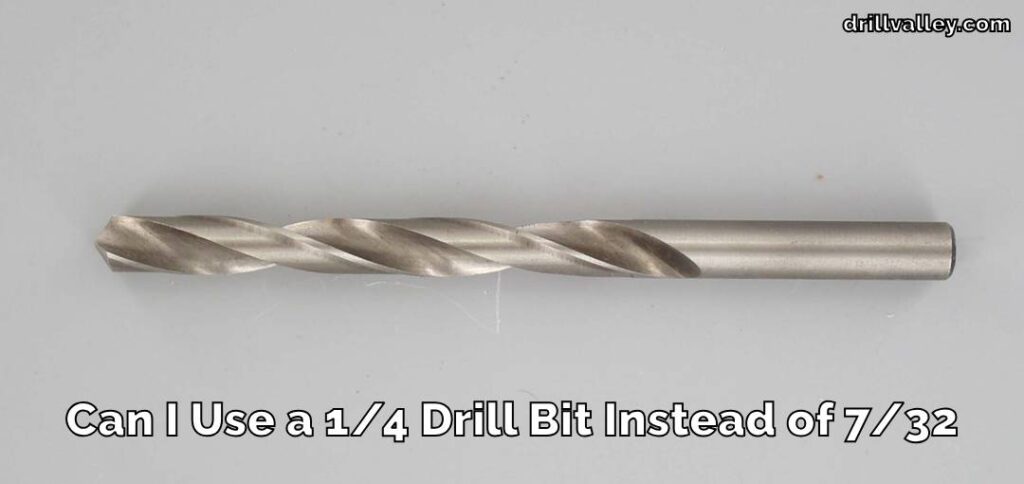
Can I Use a 1/4 Drill Bit Instead of 7/32
When you’re elbows deep in a project and suddenly realize the 7/32 drill bit you…
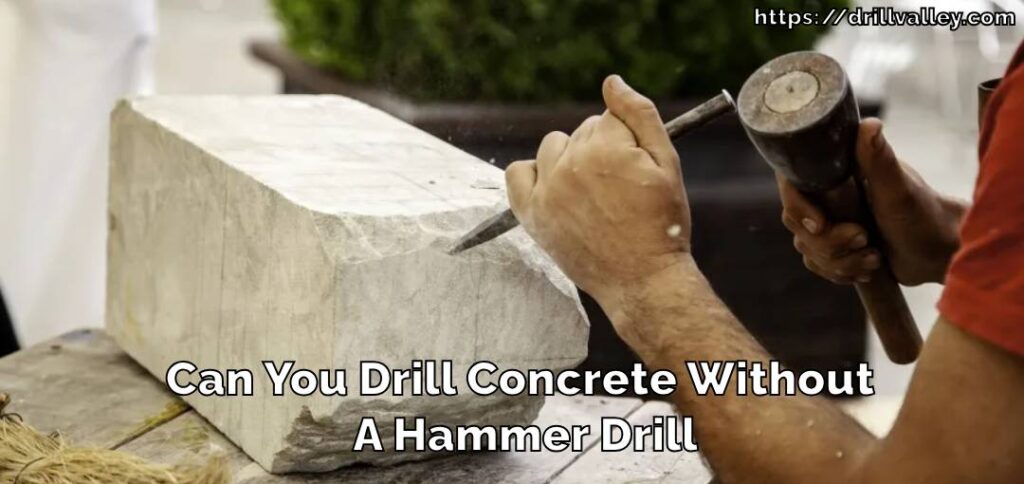
Can You Drill Concrete Without A Hammer Drill
Drilling into concrete requires both precision and the right tools, notably a hammer drill and…
Can You Use Different Brand Drill Bits?
The right drill bit size is crucial for any project, big or small. It’s the…