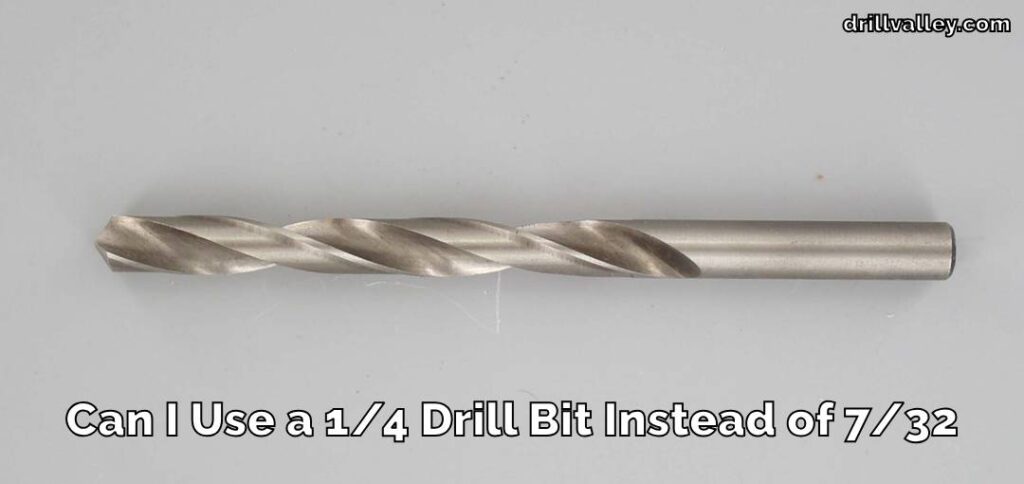
Can I Use a 1/4 Drill Bit Instead of 7/32
When you’re elbows deep in a project and suddenly realize the 7/32 drill bit you need is nowhere to be found, it might seem like you’ve hit a snag. “Can I use a 1/4 drill bit instead of 7/32?” you might wonder, searching for a way to dodge this hiccup without derailing your progress. Fortunately, there’s a knack for navigating these moments with smart, straightforward solutions.
By exploring alternative options, you ensure the continuity of your project, demonstrating that a slight adjustment can keep the wheels turning smoothly. Let’s delve into how you can adapt and move forward, turning a potential pause into a mere blip on your project timeline.
Can I Use a 1/4 Drill Bit Instead of 7/32
Yes, you can use a 1/4 drill bit instead of a 7/32. When you’ve found yourself at a crossroads, drill in hand, a canvas of possibilities before you, yet the 7/32 drill bit is nowhere in sight. It’s in these moments of improvisation that a 1/4 drill bit gleams with potential.
Substituting a 1/4 for a 7/32 is akin to opting for a heftier spoon for your breakfast bowl because, well, necessity is the mother of invention. This choice, while minor, brings a subtle alteration to your project—a slightly wider material at hand, akin to the way oversized socks hug your feet. Cozy, yet not quite a perfect fit.
In the grand tapestry of drill sizes, from twist drills to masonry drills, and from pilot hole sizes to fractional-inch drill bit sizes, each has its role, its unique dance with the materials they pierce. The 1/4 inch bit, part of the common drill bit sizes, finds its stride just beyond the 7/32, a detail that might be minute but can influence the outcome of your project.

It’s a realm where the diameter drill and drill bit gauge sizes play pivotal roles in defining the precision of your work.
For those venturing into DIY projects or those seasoned in the craft, understanding the drill bit size chart becomes second nature. These charts, akin to a map of hidden treasures, guide you through the labyrinth of drill forms, from Jobber drills, known for their versatility, to the specialized lengths of Jobber drills and long-series drills.
Each drill bit, be it a Hammer Drill Bit for those robust masonry challenges or the delicate precision required for drilling screw pilot holes, is a testament to the craftsmanship embedded in their design.
Choosing the correct drill bit size, such as the 1/4 inch over the 7/32, may seem like a small deviation. Yet, it echoes the meticulous thought process behind every drilled hole, the calculated decision between using a gauge drill bit size or opting for the nuanced control offered by letter gauge drill bits.
This decision-making process is not merely about substituting one size for another but understanding the increments between drill bits, the dance between diameter and material, and how a single drill bit can influence the aesthetic and structural integrity of your project.
As we navigate the ocean of drill bit manufacturers, each heralding their specialist drill bit supplier credentials, the journey from the common drill bit sizes to the realms of metric drill bit sizes, and the exploration of the shortest standard-length drills to their longer counterparts, we realize the rich tapestry of tools at our disposal.
It’s a narrative of precision, of understanding the correct drill bit size for the task at hand, whether it’s etching a pilot hole size or the selection of a four-twenty-one drill for a specific project need.
So, yes, when the 7/32 bit eludes you, and the project beckons, the 1/4 drill bit stands ready, not just as a substitute but as a testament to the adaptability and innovation inherent in every creation. It’s a reminder that in the realm of DIY projects, what matters is not just the tools you have but how you wield them in the endless pursuit of creation.
Understanding Drill Bit Sizes
Stepping into the arena of drill bit sizes might first appear as if you’ve wandered into a dense forest, each path branching off into a myriad of choices. Yet, with a bit of guidance, you’ll find it’s well-mapped, and rich with precision tools for every imaginable task.
Drill bits, the unsung heroes of the tool, are categorized into three main types: fractional inches for those precise cuts, the metric system for a global perspective, and the intriguing number gauge system, which might seem cryptic but is quite logical once decoded.

Consider the 7/32 drill bit, a key player in the fractional-inch family. It’s the Goldilocks of drill bits—not too large, not too small—perfect for when your project demands a touch of finesse, like ensuring a screw or bolt fits just right. It’s the kind of bit that finds a home in both the hobbyist’s and the professional’s arsenal, flexible enough to navigate through various materials and challenges.
But what if the 7/32 drill bit plays hide-and-seek when you need it most? Perhaps it’s buried under a pile in your toolbox, or maybe it’s one tool you’ve not added to your collection yet. This is when your savvy in alternatives comes to the forefront. The 3/16 and 11/64 bits could step in for the 7/32, with the former being slightly larger and the latter a tad smaller.
The choice between them hinges on your specific project needs and the material you’re engaging with. For softer materials, the smaller bit might be your ally, while tougher stuff might require the broader of the larger bit.
Adapting your technique or tools might be necessary when you opt for a substitute bit. This could mean starting with a pilot hole or engaging in a bit of experimentation to land the perfect fit. This adaptability isn’t just about getting the job done; it’s about mastering your craft, understanding the nuances of your tools, and making informed choices that push your projects from good to great.
Venturing beyond borders or working with materials in metric sizes unveils a whole new spectrum of possibilities. Translating the 7/32 bit into its metric equivalent is like unlocking a new dimension, a step that broadens your capabilities and ensures you’re never left in a lurch, regardless of the project’s scope or scale.

This dive into the drill bit sizes—from U drill sizes and Jobber-length drills to Morse taper-shank drill bits and the vast expanse of the power drill universe—underscores the importance of knowing your tools. It’s about grasping the increments between drill bits, the significance of gauge-size drill bits, and the application of specialty bits like the Screw-Machine Length Drill Bits or the standard twist drill.
Each bit, from the rigid drill bit designed for tough materials to the twist drill standard, integral for everyday drilling, plays a pivotal role in both Professional & DIY Use.
Understanding drill bit sizes, recognizing their uses, and knowing how to navigate their vast range is more than a skill—it’s an art. Whether you’re a DIY aficionado taking on a weekend challenge or a professional managing the demands of a complex site, your knowledge in this realm equips you to face any task with confidence and dexterity.
It’s about being prepared, adaptable, and ever-ready to tackle challenges, turning obstacles into opportunities for growth and achievement.
Expert Tips for Using Substitute Drill Bits
Diving into projects with substitute drill bits might feel like a curveball, but seasoned woodworkers and metalworkers have sharpened their strategies to make the best of such situations. Here’s their distilled wisdom, broken down into practical nuggets:

- Know Your Material: Different materials react differently. Softwood forgives; hardwood doesn’t. Metals demand precision. Choose your substitute bit with the material in mind.
- Go Slow and Steady: Especially with bits that are a tad larger. Rushing could split wood or warp metal. Let the tool do the work at its own pace.
- Drill Pilot Holes: When using smaller bits, a pilot hole can guide the final drilling, reducing the risk of mistakes and ensuring a clean finish.
- Use a Punch: Start your drill spot with a punch for metals or a small indentation for wood. It keeps the bit from wandering.
- Adjust Fasteners: If the hole ends up slightly larger, consider using a filler or opting for a larger fastener to ensure everything holds tight.
- Check Bit Condition: Before and after use, inspect the substitute bit for wear or damage. A compromised bit can lead to compromised work.
- Secure Your Workpiece: A stable workpiece is less likely to cause errors or accidents. Clamps are your friends.
- Right Speed and Pressure: Too fast can overheat metal or burn wood. Too much pressure can break bits. Find the balance.
- Safety Gear is Non-negotiable: Gloves and goggles aren’t optional. They’re essential to protect against unexpected slips or debris.
Using a substitute drill bit doesn’t mean compromising on quality. With these expert tips, you can tackle your projects with confidence, knowing you’re ready to adapt and overcome any challenge with skill and safety in mind.
Safety First: Using Substitute Bits Safely
Safety should always be your top priority, especially when you’re using substitute drill bits. These bits might not be the exact size or type you originally planned to use, which can bring up a few risks.
For instance, a bit that’s too large might slip or cause the material to crack, while a bit that’s too small might break under pressure or wear out quickly. But don’t fret—there are ways to keep things safe and sound.
First up, always wear the right safety gear. This means slipping on a sturdy pair of gloves to protect your hands and strapping on safety goggles to keep your eyes safe from flying debris. It’s a simple step, but it’s your first line of defense against accidents.
Next, make sure your workpiece is securely clamped down. A stable workpiece won’t suddenly move, reducing the chances of the drill slipping. This is particularly important when you’re using a substitute bit, as the fit and drilling experience might be slightly different from what you’re used to.

It’s also smart to double-check your drill’s speed settings. Using the correct speed for the material you’re working with can prevent the bit from overheating or getting stuck. And if you’re working with a substitute bit, being extra mindful of the speed can help compensate for the size difference.
Lastly, keep a keen eye on the condition of your substitute bit before and after use. A bit that’s showing signs of damage or excessive wear might be more likely to break or fail during use, which can be dangerous. If a bit looks worn out, it’s better to replace it than risk an accident.
By adopting these safety practices and keeping your wits about you, you can use substitute drill bits effectively without compromising on safety. Remember, taking a few extra precautions can make all the difference in keeping your DIY adventures both successful and safe.
Conclusion
The essentials of drill bit sizes, substitutes, and safe practices. It’s all about being prepared to think on your feet and use what you’ve got with confidence. So next time you’re in a bind, remember: with a bit of creativity and caution, you can keep your projects moving smoothly.
Here’s to not sweating the small stuff and embracing every opportunity to solve problems creatively. Go ahead, and tackle that next task with a can-do attitude and a spark of ingenuity!
Read Also – Can You Drill Concrete Without A Hammer Drill
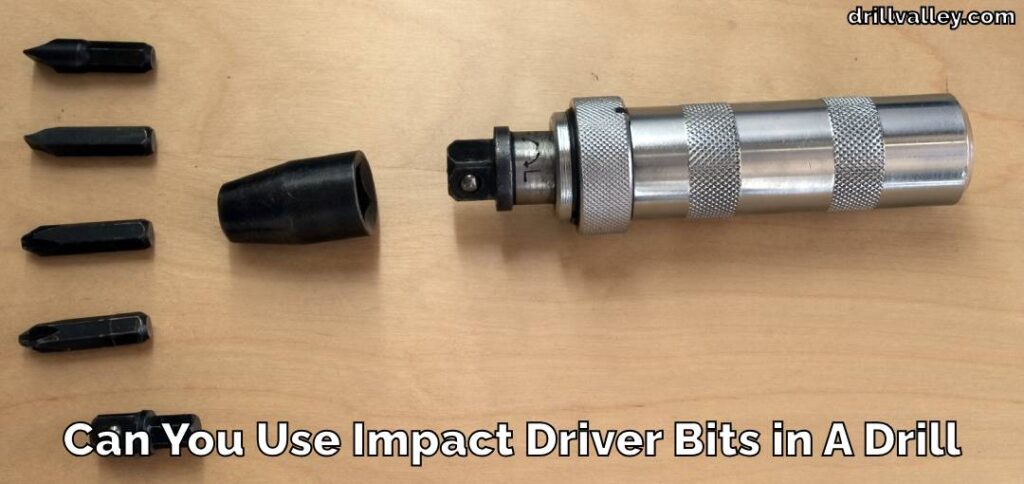
Can You Use Impact Driver Bits in A Drill
Knowing whether you can swap impact driver bits into a regular drill matters more than…
Can You Drill Into Popcorn Ceiling
Wondering Can You Drill Into Popcorn Ceiling for your next home improvement project? Popcorn ceilings,…
Can You Drill Into Walls in A Rental?
Renting an apartment brings the challenge of personalizing your space within the confines of rules…
Can I Use a 1/4 Drill Bit Instead of 7/32
When you’re elbows deep in a project and suddenly realize the 7/32 drill bit you…
Can You Drill Concrete Without A Hammer Drill
Drilling into concrete requires both precision and the right tools, notably a hammer drill and…
Can You Use Different Brand Drill Bits?
The right drill bit size is crucial for any project, big or small. It’s the…