Can You Drill Into Wood Filler
Drilling into wood filler is a practical solution for repairing and refurbishing wooden pieces, allowing you to seamlessly integrate new or repaired elements with existing wood.
The process, while straightforward, demands an understanding of the types of wood filler available, their appropriate applications, and the preparation needed to ensure Can You Drill Into Wood Filler for a successful outcome.

Let’s dive into the details, ensuring you’re well-equipped to tackle your project confidently.
Can You Drill Into Wood Filler
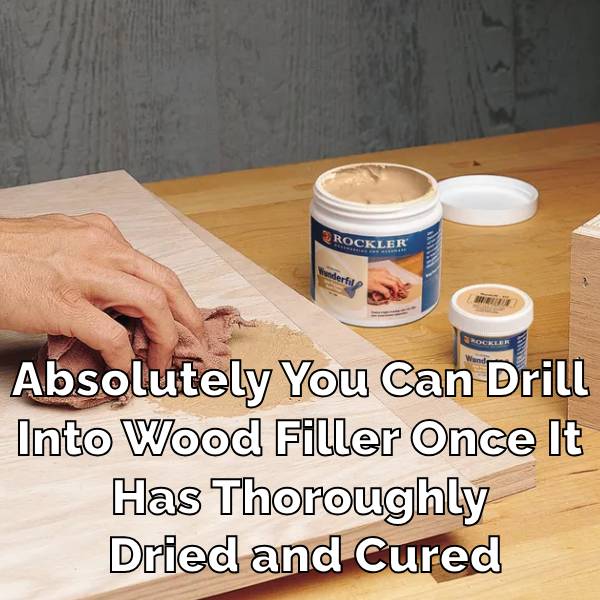
Absolutely, you can drill into wood filler once it has thoroughly dried and cured. This material is designed to be sandable, paintable, and, indeed, drillable, making it versatile for repairing wood surfaces and preparing them for further work or finishing touches.
Just ensure the filler is completely set to avoid any crumbling or cracking when you drill.
Drilling into wood filler is definitely doable, but it’s a bit like navigating through a new city; you need to know where you’re going and have the right tools to get there. Picture this: you’ve got a wooden piece, maybe a cherished piece of furniture or a well-used door frame, and it’s seen better days. There are cracks, holes, or areas where the wood just isn’t what it used to be.
That’s where wood filler comes into play, acting like a patch to smooth out those imperfections and get your wood looking as good as new.

Now, you might be wondering, “Can I drill into this patched-up area without causing any trouble?” The answer is yes but with a little bit of know-how. First off, not all wood fillers are created equal. There are different types meant for different jobs, and picking the right one is crucial.
You’ve got options like water-based fillers that are great for small, easy repairs because they dry quickly and are a breeze to clean up. Then there are the tougher, solvent-based fillers designed for bigger jobs that need to stand up to more wear and tear. And for those really heavy-duty repairs, there’s a two-part epoxy filler that’s as strong as the wood itself once it dries.
But before you even think about drilling, there’s a bit of prep work involved. You’ve got to give the filler enough time to dry completely – rushing this step is a no-go. After it’s dry, a good sanding is in order to make sure the surface is smooth and ready for drilling. This is key because it helps prevent your drill bit from wandering off course when you start the actual drilling.
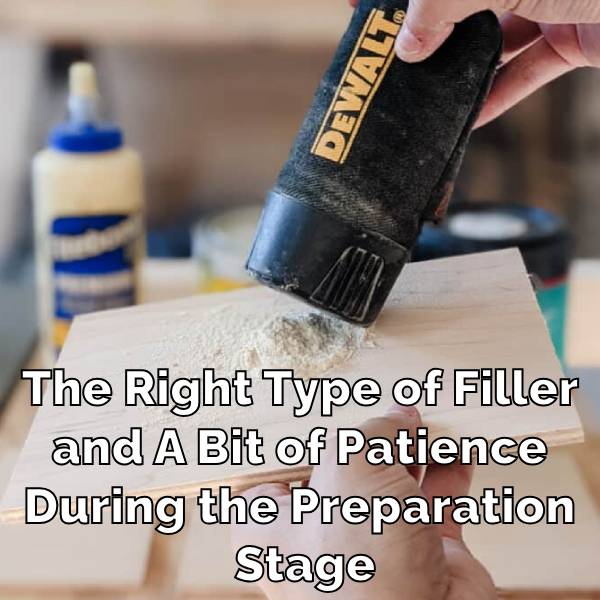
Armed with the right type of filler and a bit of patience during the preparation stage, drilling into wood filler isn’t just possible it’s a practical way to bring your wooden items back to life and make them useful once again.
So, whether you’re looking to fix a tiny hole or mend a more significant gap, with the correct preparation and approach, your drill can indeed become best friends with wood filler, helping you achieve a seamless and durable repair.
Types of Wood Filler
When you’re looking to mend holes in wood or fix cracks and imperfections, knowing the right type of wood filler to use is crucial. Your choice hinges on the size of the repair and the expected durability of the fix.
- Water-based wood Fillers are excellent for small repairs, like minor holes and scratches on wood surfaces. These fillers dry quickly, are easy to clean up with water, and are perfect for light-duty applications where the repair won’t undergo heavy stress.
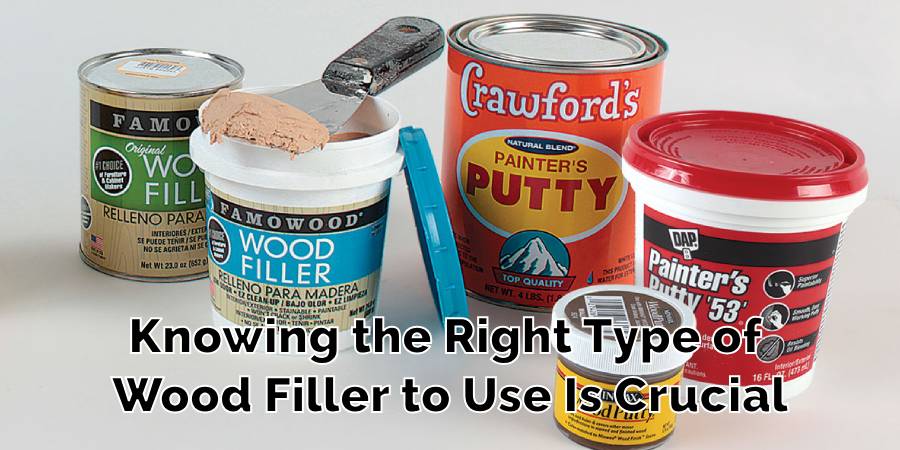
- Solvent-Based Fillers are your go-to for larger, more significant repairs. These fillers offer a robust solution for filling bigger cracks or replacing chunks of missing wood. Their strength and long-lasting nature make them suitable for areas that will bear more weight or experience frequent use.
- Epoxy Wood Filler, a type of two-part wood filler, is the heavyweight champion for extensive repairs. It involves mixing two components before application, but this extra step pays off with a repair that’s as durable as real wood, making it ideal for both indoor and outdoor wood projects.
Selecting the right filler not only ensures the repair blends seamlessly with the original wood but also that it can withstand the test of time and use. Whether you’re working with performance wood filler for structural integrity or a paint-grade product for aesthetic touch-ups, matching the filler to the job is key.
Preparing for Success
Preparation is paramount in achieving a durable and visually appealing repair. Ensuring the wood filler is fully set and dried according to the manufacturer’s recommended time is the first step. Rushing this stage can compromise the repair’s integrity.
Sanding the dried filler creates a smooth, even surface, reducing the chance of the drill bit slipping and ensuring the filled area is perfectly level with the surrounding wood. Proper drying and meticulous sanding are foundational to drilling success, facilitating a smooth process and a clean result.
Having the right tools at hand—namely a reliable power drill, appropriate drill bits for the size and depth of your intended holes, and sandpaper for finishing touches—lays the groundwork for a flawless execution.
Advanced Filling Techniques
For deeper or more extensive repairs, applying wood filler in layers ensures each layer adheres well and dries evenly, preventing shrinkage or cracking. This methodical approach, akin to sculpting, allows for gradual buildup and fine-tuning of the repair, ensuring it’s flush with the surrounding wood and ready for drilling.
Incorporating materials like wood glue, wood fiber, or even a wood plug or piece of dowel into the repair can enhance the filler’s strength, especially in load-bearing applications or where hardware, such as hinge screws, will be reattached.
This technique is particularly useful for maintaining the structural integrity of the repair, ensuring it can handle the reinsertion of screws or accommodate new hardware without compromise.
Drilling Into Filled Wood
Certainly, let’s break down the steps for drilling into filled wood into easy-to-follow bullet points:
Start with a Pilot Hole
Use a drill bit that’s slightly smaller than your desired final hole size.
This smaller hole acts as a guide, making the main drilling process smoother and helping to prevent cracks in the filler.
Switch to the Correct Size Drill Bit
After the pilot hole is made, swap to a drill bit that matches the size of the hole you need.
This step ensures the final hole will be exactly the size you want.
Maintain a Firm but Gentle Grip
Hold your drill firmly to prevent it from veering off course.
Apply gentle pressure to avoid breaking or crumbling the filler.
Slow Down the Drill Speed
Use a slower drilling speed for better control.
This reduces the risk of damaging the filler and ensures a cleaner, more precise hole.
Monitor the Drill’s Heat
Keeping the speed lower also minimizes heat from friction, which could otherwise harm the filler or wood.
By following these guidelines, you’ll be well on your way to successfully drilling into filled wood without compromising the integrity of your repair or project.
Aftercare and Maintenance
After you’ve finished drilling, it’s important to take a few extra steps to make sure everything looks great and stays in top condition:
- Smooth Things Out Often, drilling can leave behind some rough spots or edges. A bit of light sanding can take care of this, making everything feel smooth to the touch. Use fine-grit sandpaper and gently work over the drilled area and its surroundings. This will help blend the repair seamlessly with the rest of the wood.
- Clean Up Well: Before moving on to finishing touches like painting or staining, it’s crucial to get rid of all the dust created from drilling and sanding. A clean, dust-free surface is key for the next products to stick properly. You can use a soft brush or a cloth to wipe away the dust. For an even cleaner surface, a slightly damp cloth can pick up any lingering particles, just make sure the wood is completely dry before applying any finish.
- Check for Splinters: Especially around the drilled area, there might be tiny splinters or loose pieces of wood. These can not only spoil the look of your finish but can also be a bit of a hazard. A careful inspection and removal of these bits will ensure a smooth, safe finish.
- Apply Your Finish: Whether you’re painting, staining, or sealing, apply your chosen finish according to the product’s instructions. This not only enhances the appearance of your wood but also protects it from wear and tear, making your repair last longer.
- Regular Check-ups: Over time, keep an eye on the area you’ve worked on. Depending on where the wood is used, it might face different stresses or wear. A quick check now and then ensures you can spot any issues early and address them before they become big problems.
Following these steps for aftercare and maintenance not only ensures your project looks polished and professional but also helps extend the life of your wooden item. A little extra care goes a long way in keeping everything looking and functioning beautifully.
Troubleshooting Common Issues
When working on a repair with wood filler, you might run into a few bumps along the way. One common issue is the filler cracking after it dries, or it might not hold a screw as securely as you’d hoped. These problems can be frustrating, but they often have simple explanations and solutions.
- Let It Dry Fully: One of the main reasons filler might crack is if it hasn’t been allowed to dry thoroughly. It’s tempting to rush through a project, but patience pays off. Make sure you’re waiting for the full recommended drying time given on the filler’s packaging. Each product is different, so what works for one might not work for another.
- Choose the Right Filler: Another reason for these issues could be that the type of filler wasn’t quite right for the job. Not all fillers are created equal, and some are designed for specific types of repairs. If you’re filling a large hole or an area that will need to hold a screw, make sure you’re using a filler that’s up to the task. Some fillers are specifically made to be stronger and can handle screws better than others.
- Check Your Drilling Technique: If the filler is cracking when you drill into it or if it’s not holding a screw well, it might also be worth taking another look at how you’re drilling. Are you starting with a pilot hole? Is your drill set to the right speed? Sometimes, adjusting how you drill can solve the problem.
- Temperature and Humidity: Keep in mind that extreme temperatures and high humidity can affect how wood filler dries and behaves. If you’re working in a very humid environment, it might take longer for the filler to dry completely. On the other hand, if it’s too hot or too dry, the filler might dry too quickly and become brittle.
- Application Technique: When applying the filler, make sure you’re pressing it firmly into the hole or crack. This ensures that it adheres well to the wood and doesn’t leave air pockets that could weaken the repair.
If you encounter problems with wood filler cracking or not holding a screw, don’t worry. Often, a little troubleshooting can help you pinpoint the issue, whether it’s a matter of drying time, the type of filler used, or the application technique. By taking the time to assess and adjust, you can ensure your repair is strong, durable, and looks great.
Case Studies
Looking at real-life scenarios can shed light on how effectively drilling into wood filler can transform a project. Take, for instance, the furniture restoration. Here, craftsmen often encounter pieces that have seen better days, with nicks, gouges, or holes marring their surfaces.
Choosing the right wood filler, one that closely matches the original wood in terms of texture and capability to hold finish or paint is crucial. But equally important is the technique used to drill into the repaired areas, especially when reinstalling hardware or adding decorative elements.
In one memorable case, a vintage oak table, beloved for its intricate carvings but suffering from years of wear and tear, underwent restoration. The restorer meticulously selected a high-quality, stainable wood filler to mend the damaged areas, ensuring the repairs would blend seamlessly with the surrounding wood.
After allowing ample drying time, they drilled into the filler to reattach the table’s legs and decorative hardware. The careful preparation and attention to detail paid off—the table not only regained its structural integrity but also its original charm and character.
Another example comes from a homeowner repairing a damaged door frame with deep scratches and dents from years of use. After filling these imperfections with a durable, solvent-based filler designed for heavy-duty repairs, they drilled small pilot holes for the new hardware.
The result was a door frame that looked as good as new, demonstrating how the right filler and drilling technique can extend the life of everyday items.
These case studies underscore the importance of material choice and proper technique in woodworking and restoration projects. Whether it’s a piece of antique furniture or a well-used door frame, the principles of selecting the appropriate filler, allowing it to dry fully, and carefully drilling into it can lead to successful outcomes.
It’s clear that attention to detail and patience in preparation can significantly impact the durability and appearance of the final piece, bringing old or damaged wood back to life.
Conclusion
Drilling into wood filler is not just a possibility; it’s a technique that, when done correctly, can extend life and improve the appearance of wooden items. By understanding the basics, choosing the right filler, preparing the area properly, and following the correct drilling process, you can achieve professional-level results.
Remember, the key to success lies in patience, precision, and preparation. With this guide, you’re now equipped to handle your wood filler projects with a new level of expertise.
Read Also – How to Drill Holes in Rocks Using a Drill Press
Can You Use Impact Driver Bits in A Drill
Knowing whether you can swap impact driver bits into a regular drill matters more than…
Can You Drill Into Popcorn Ceiling
Wondering Can You Drill Into Popcorn Ceiling for your next home improvement project? Popcorn ceilings,…
Can You Drill Into Walls in A Rental?
Renting an apartment brings the challenge of personalizing your space within the confines of rules…
Can I Use a 1/4 Drill Bit Instead of 7/32
When you’re elbows deep in a project and suddenly realize the 7/32 drill bit you…
Can You Drill Concrete Without A Hammer Drill
Drilling into concrete requires both precision and the right tools, notably a hammer drill and…
Can You Use Different Brand Drill Bits?
The right drill bit size is crucial for any project, big or small. It’s the…