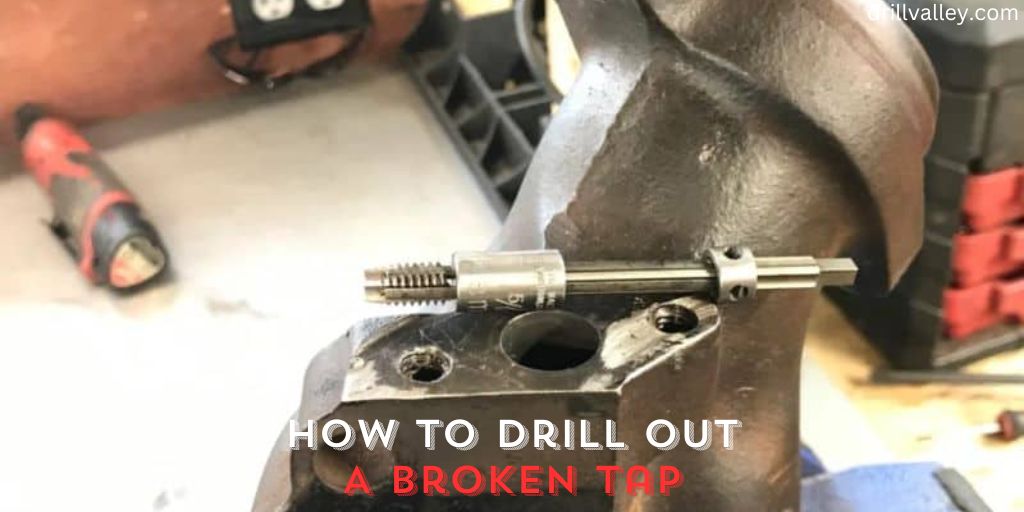
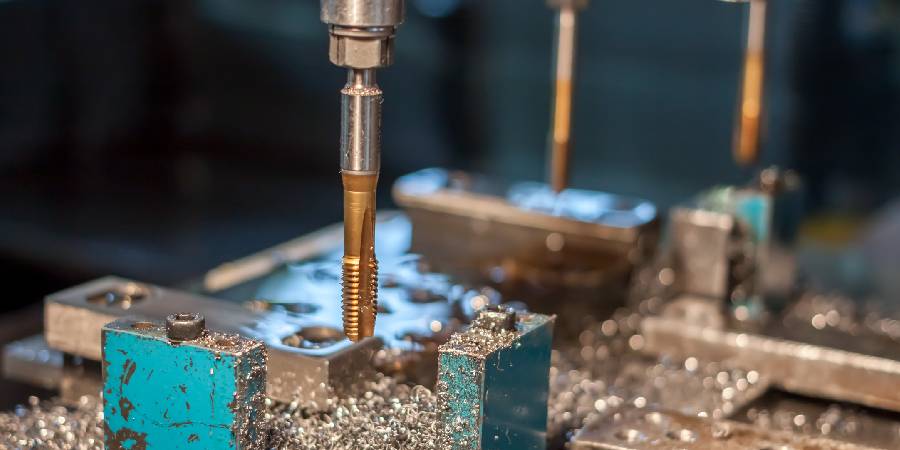
How to Drill out A Broken Tap
Running into a broken tap while working on your metal or wood projects can throw a wrench in your plans. It’s a common frustration for both folks who love DIY projects and those who craft or fix things for a living.
The real trick is getting that broken tap out without messing up your workpiece. It’s important to tackle this problem quickly because a tap stuck in your material can slow you down and might even cause more damage if it’s not handled right.
This article is going to walk you through how to drill out a broken tap. Knowing how to do this is super handy, whether you’re someone who dabbles in DIY projects now and then or a pro who spends lots of time in a workshop. Getting familiar with this technique means you can deal with these hiccups confidently and keep your projects moving smoothly, making sure the quality of your work doesn’t drop.
Why You Need to Drill out A Broken Tap
The need to drill out a broken tap is critical for keeping your workpiece in good shape. When a tap snaps, it leaves a piece of metal stuck inside, which blocks the hole. This means you can’t properly screw or unscrew anything there.
If you don’t deal with a broken tap, it can cause even more problems. The trapped metal piece can rust or corrode, which weakens the material you’re working with. Getting rid of the broken tap in the right way is important.
It helps to keep the threads—the grooves inside the hole—undamaged. This means you can keep working on your project without having to fix a bigger problem later.
Also, removing a broken tap promptly avoids the risk of the metal piece getting stuck even harder, which would make it tougher to remove. Knowing how to do this helps you save time and effort, and ensures your project stays on track without compromising on quality.
Tools We Need to Drill out A Broken Tap
To successfully drill out a broken tap, it’s important to have the right tools on hand. These tools will help you perform the job accurately and safely. Here’s what you’ll need:
- Center Punch: This tool helps you mark the exact spot where you need to drill.
- Hammer: Used in conjunction with the center punch to make an initial indentation.
- Drill Press or Hand Drill: A drill press is ideal for stability, but a hand drill can also work.
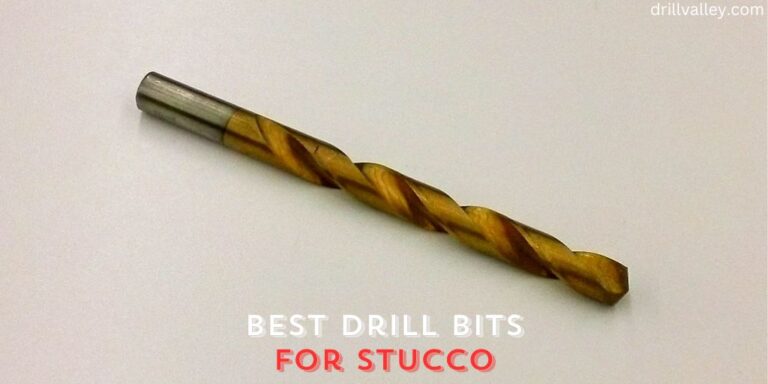
- Drill Bits (Carbide or Cobalt Recommended): These strong drill bits can cut through the hard metal of the broken tap.
- Tap Extractor: This tool is designed to grip and remove the remnants of the broken tap.
- Lubricant (e.g., Cutting Fluid): This helps in reducing friction and heat during drilling.
- Safety Goggles: Essential for protecting your eyes from metal shavings and debris.
Having these tools ready before you start will make the process smoother and more efficient. Remember, the right tools not only make the job easier but also help ensure that you can do it safely without causing further damage to your workpiece.
How to Drill out A Broken Tap
Successfully removing a broken tap is a task that demands careful attention and a steady hand. Here is an expanded step-by-step guide to help you through this process:
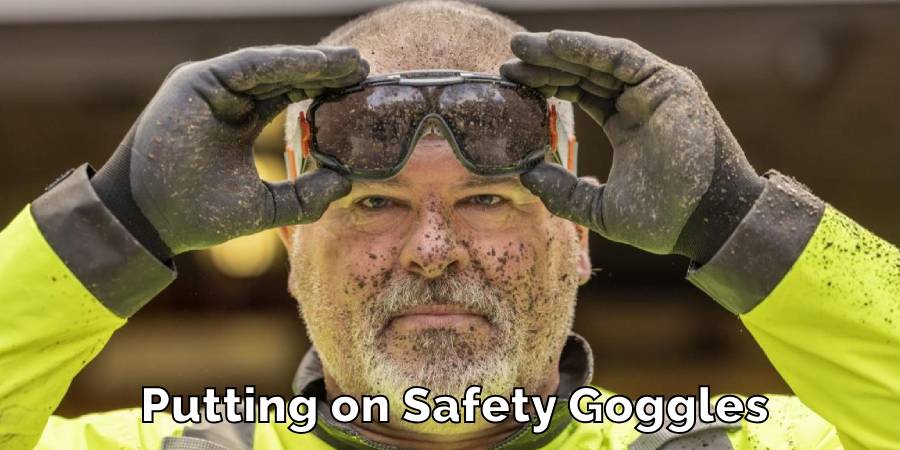
Safety First
Always start by putting on safety goggles. This is crucial to protect your eyes from any metal fragments or shavings that might fly up during the drilling process.
Center Punch
Using a center punch and hammer, carefully make a dimple in the center of the broken tap. This step is crucial as it provides a guide for the drill bit to follow and helps prevent it from wandering off course.
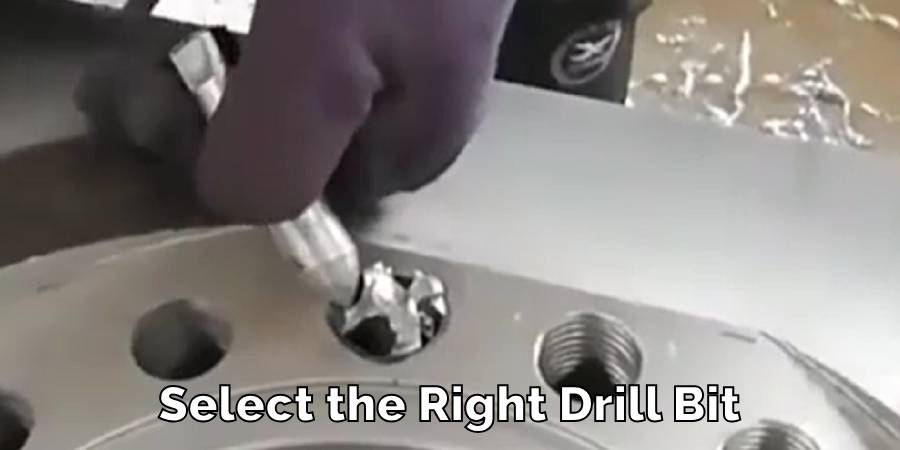
Select the Right Drill Bit
Select a left-handed drill bit that is slightly smaller than the tap’s core diameter. Using a left-handed bit is beneficial because it can sometimes catch on the broken tap and unscrew it while drilling, saving you from having to complete the drilling process.
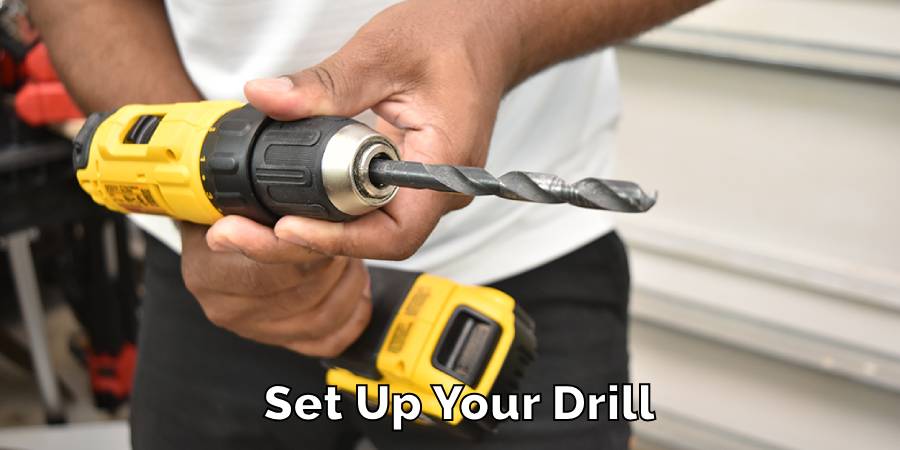
Set Up Your Drill
Set your drill to reverse (counterclockwise) and carefully align the bit with the dimple you made on the broken tap.
Drilling
Start drilling slowly, applying steady pressure. The goal here is not to drill through the tap but to allow the drill bit to catch and unscrew the tap. Keep the drill speed low to reduce the risk of the bit breaking.
Increase Pressure Gradually
If the tap doesn’t start to unscrew, gradually increase the pressure. Be patient and cautious throughout this process to avoid damaging the workpiece or breaking the drill bit.
Remove the Broken Tap
If you’re lucky, the left-handed drill bit will catch on the tap, and you’ll be able to back it out of the hole. If this doesn’t happen, you may need to use a tap extractor tool. Insert the extractor into the drilled hole in the tap, and turn it counterclockwise to unscrew the broken piece.
Clean the Hole
Once the broken tap is removed, clean any metal shavings from the workpiece and the tap hole. Check the threads in the hole; you may need to run a new tap through it to clean up any damage caused during the removal process.
Remember, the key to successfully drilling out a broken tap is patience and precision. Take your time, and don’t rush the process to avoid further damage to your workpiece.
Precaution While Drilling out A Broken Tap
Taking the right precautions is crucial when drilling out a broken tap to ensure both your safety and the quality of your work. Here are some expanded safety tips:
- Always Wear Protective Gear: The importance of personal safety can’t be overstated. Always wear safety goggles to protect your eyes from metal shavings. It’s also wise to wear gloves to protect your hands from sharp edges and to consider ear protection if you’re working in a noisy environment.
- Ensure the Drill Bit is Sharp and Suitable: Using the right drill bit is key to success. Make sure it’s sharp, as a dull bit can slip or fail to penetrate the tap properly. The material of the drill bit (like carbide or cobalt) should be hard enough to drill through the metal of the tap without getting damaged.
- Drill Slowly to Avoid Further Damage to the Threads: When you start drilling, do it slowly. Rushing can cause the drill bit to slip or deviate, leading to more damage to the surrounding threads. A steady, controlled approach ensures that you remove the tap without harming the rest of your workpiece.
- Regularly Lubricate the Area to Reduce Friction: Friction can generate heat and wear down your drill bit. Regularly applying lubricant, like cutting fluid, helps keep the temperature down and the drill bit moving smoothly. This not only makes the drilling process easier but also helps in preserving the quality of both the drill bit and the threads.
Remember, careful planning and a methodical approach are as important as the actual drilling. By following these precautions, you can safely and effectively remove a broken tap, ensuring a smooth continuation of your project.
FAQ’s
What is the Best Drill Bit for a Broken Tap?
For drilling out a broken tap, carbide or cobalt drill bits are highly recommended. These types of drill bits are very strong and can handle the hardness of most taps.
They are also resistant to the heat generated during the drilling process, which helps them last longer and work more effectively.
What to Do if a Tap Breaks?
If you find that a tap has broken during your work, the first step is to stop all work immediately. This prevents any further damage.
Assess the situation carefully and plan how to remove the broken piece without causing additional harm to the threads of the hole. Usually, this involves methods like drilling out the tap or using a tap extractor.
Is It Possible to Remove a Broken Tap From a Hole?
Yes, it’s possible to remove a broken tap from a hole. The most common method is to drill out the broken part, which involves using a strong drill bit to carefully remove the tap. For tougher situations, a tap extractor tool, which grips and pulls out the tap, can be used.
In cases where these methods don’t work, a more advanced technique like Electrical Discharge Machining (EDM) may be necessary, although this is typically reserved for more complex or delicate situations.
Can You Unscrew a Tap?
In some cases, if the tap is not completely broken and there’s enough of it left to grip onto, you might be able to unscrew it carefully.
This requires a delicate touch to avoid causing more damage. If the tap is too tightly stuck or if turning it causes more damage, then drilling out or using an extractor would be the better options.
Why Do Taps Break So Easily?
Taps can sometimes seem to break easily, but this usually happens due to a few common reasons. Applying too much force when tapping can cause the tap to snap, especially if the material is very hard.
If the tap is not aligned correctly with the hole, it can also lead to breakage. Another reason is using the wrong size tap for the hole, which creates undue stress on the tap. Proper technique and the right tools are crucial to prevent breaking taps.
Conclusion
Drilling out a broken tap is a detailed but manageable task. With the correct tools and methods, you can effectively remove a broken tap, keeping your project on track. Patience and careful attention are crucial. This article has explored how to drill out a broken tap.
This guide provides you with practical knowledge to confidently tackle this issue. Understanding why taps break and avoiding these pitfalls is key to your success. With these insights, you’re well-equipped to handle such challenges, ensuring your work remains of high quality.
Can You Use Impact Driver Bits in A Drill
Knowing whether you can swap impact driver bits into a regular drill matters more than…
Can You Drill Into Popcorn Ceiling
Wondering Can You Drill Into Popcorn Ceiling for your next home improvement project? Popcorn ceilings,…
Can You Drill Into Walls in A Rental?
Renting an apartment brings the challenge of personalizing your space within the confines of rules…
Can I Use a 1/4 Drill Bit Instead of 7/32
When you’re elbows deep in a project and suddenly realize the 7/32 drill bit you…
Can You Drill Concrete Without A Hammer Drill
Drilling into concrete requires both precision and the right tools, notably a hammer drill and…
Can You Use Different Brand Drill Bits?
The right drill bit size is crucial for any project, big or small. It’s the…