How to Mount Pegboard without Drilling
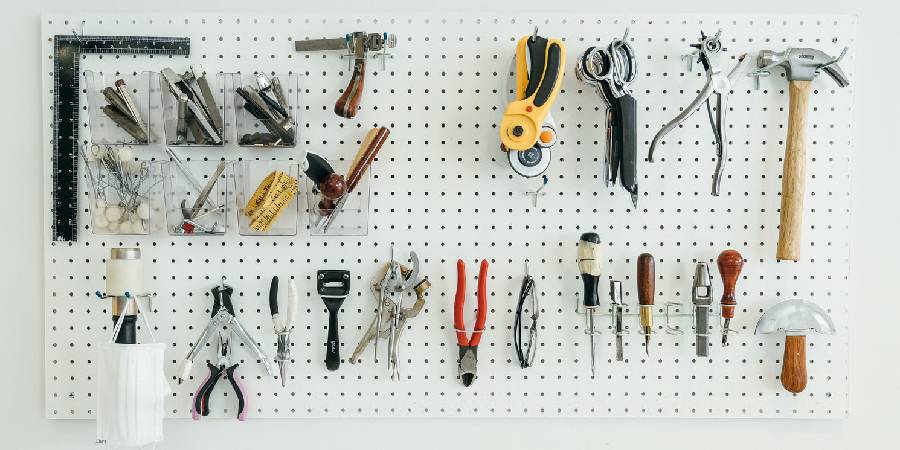
Mounting a pegboard without drilling is a smart way to organize tools, craft items, or even kitchen utensils without leaving permanent marks on your walls. Whether you’re renting a place, staying somewhere temporarily, or simply don’t want to deal with the hassle of drilling, there’s a simple solution that keeps your walls intact.
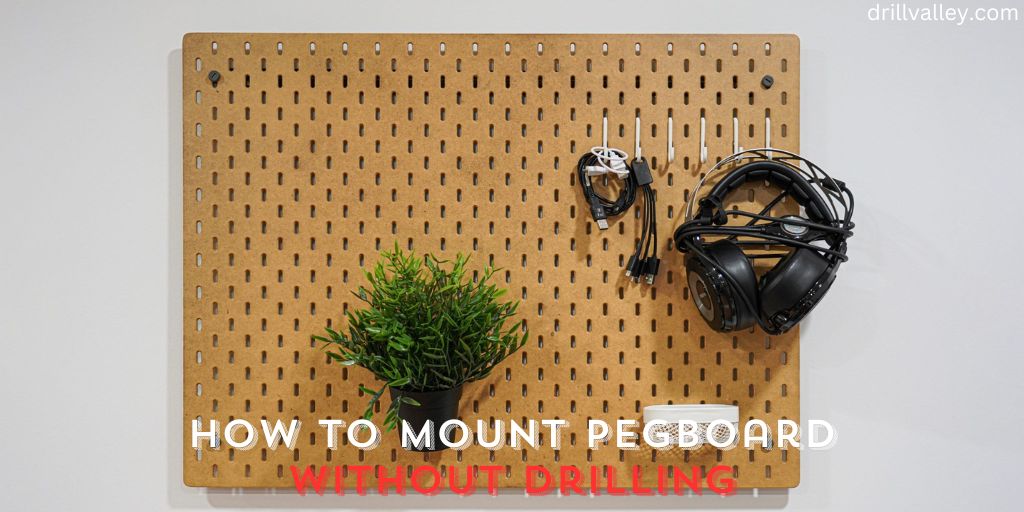
Pegboards are great because they let you customize your storage space to fit your needs. You can arrange and rearrange hooks and shelves to best organize your stuff. This guide will show you how to mount pegboard without drilling, ensuring a straightforward and clean installation.
This approach is especially handy for those who want to keep their walls damage-free while still taking advantage of the functionality and flexibility pegboards offer. Let’s dive into how you can achieve this, keeping your walls safe and your space organized.
Why You Need to Mount Pegboard without Drilling
The need to mount a pegboard without drilling stems from various reasons. For renters, drilling holes can lead to forfeiting security deposits or violating lease agreements. Homeowners might be hesitant to drill into freshly painted or wallpapered walls.
Additionally, drilling can be intimidating or impractical if you lack the tools or expertise. A no-drill mounting solution preserves the integrity of your walls while still providing the organizational benefits of a pegboard.
It’s an approach that balances aesthetics with functionality, offering a temporary yet sturdy setup. This method is also ideal for those who enjoy frequently rearranging their spaces, as it allows for easy relocation of the pegboard without leaving behind unsightly holes or marks.
Tools We Need to Mount Pegboard without Drilling
To successfully mount a pegboard on your wall without the need for drilling, it’s important to gather the right tools and materials beforehand. Here’s a more detailed look at what you’ll need:
A Pegboard
Choose a pegboard that fits your space and needs. They come in various sizes and materials, such as wood or metal. Consider the items you plan to hang and select a pegboard that can support their weight.
Adhesive Mounting Strips
These are crucial for a no-drill setup. Opt for high-quality adhesive strips, like Command strips, that can securely hold the weight of your pegboard and the items you plan to hang. Make sure the strips are suitable for the type of wall surface you have.
A Level
This tool is key to ensuring your pegboard is perfectly horizontal. A crooked pegboard can not only look odd but might also affect its stability. Even a small level can make a big difference in getting this right.
A Measuring Tape
Before you start, measure the area where you plan to place the pegboard. This ensures the pegboard fits well and looks good in your desired location. It’s also useful for spacing out the adhesive strips evenly on the back of the pegboard.
Scissors or a Cutting Tool
These will be needed to cut the adhesive strips to size or possibly to trim the pegboard itself if you need to adjust its size. Make sure your cutting tool is sharp and precise for clean cuts.
Optional – Additional Adhesive Hooks or Clips
These can offer extra support and are particularly useful for hanging heavier items. They also provide more hanging options on the pegboard itself.
It’s a good idea to clean the wall surface where you’ll be mounting the pegboard. A clean, dry surface ensures better adhesion for the mounting strips. Also, have a cloth or a small sponge handy to wipe away any marks or dust from the wall before you start.
How to Mount Pegboard without Drilling
Installing a pegboard without drilling is a great way to organize tools or crafts neatly on your wall without permanent changes. This method is ideal for people who cannot or prefer not to drill into their walls. By following these easy steps, you can have a well-organized space in no time.
Choosing the Right Location
Start by picking a spot on your wall that’s dry and doesn’t get direct sunlight. Make sure the wall is clean and dry for the adhesive to stick well.
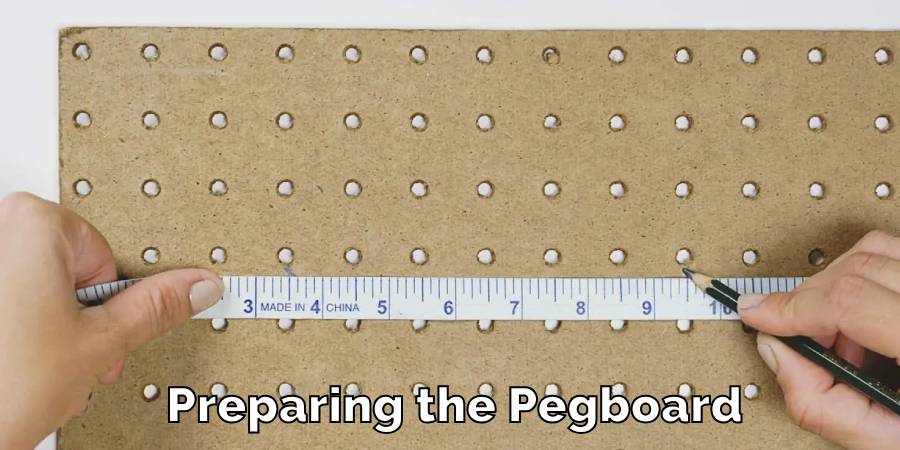
Preparing the Pegboard
If your pegboard is too big, measure and cut it to fit the space you have chosen. Keep in mind the weight of the items you’ll hang on it when deciding on the size.
Get Adhesive Mounting Strips
To mount your pegboard without drilling, use strong adhesive mounting strips. These strips are designed to hold weight and can be removed from the wall without leaving marks. Check the package for the weight limit to ensure they can support your pegboard and the items you plan to hang.
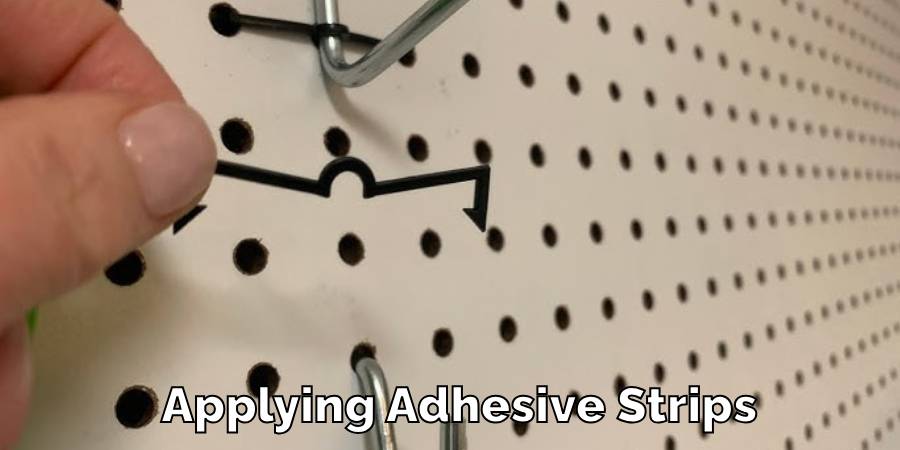
Applying Adhesive Strips
Follow the instructions on the adhesive strips package. Typically, you’ll attach several strips to the back of the pegboard, spacing them evenly to distribute the weight. Press the strips firmly against the pegboard for the time specified in the instructions.
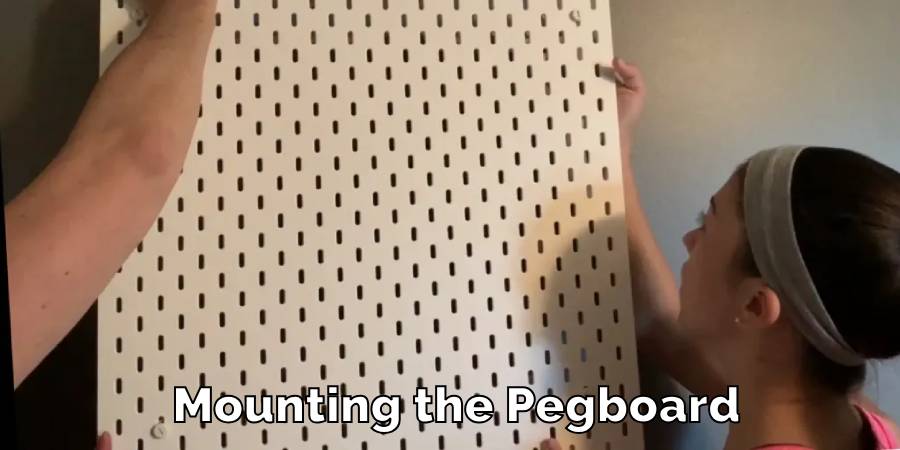
Mounting the Pegboard
Once the strips are attached to the pegboard, remove the backing to expose the adhesive. Carefully align the pegboard on the wall where you want it. Press firmly across the entire surface to ensure the strips adhere well to the wall.
Wait Before Hanging Items
It’s important to wait a bit before hanging anything on the pegboard. Refer to the adhesive strips’ instructions for how long to wait. This ensures the adhesive forms a strong bond with the wall.
Organize Your Items
After the waiting period, start hanging your tools, craft supplies, or kitchen utensils. Arrange and rearrange as needed to make the most out of your new, drill-free pegboard setup.
By following these steps, you can enjoy the benefits of an organized space with a mounted pegboard, all without the need to drill holes in your walls. This method is not only renter-friendly but also ideal for anyone looking to avoid the permanence and damage caused by drilling.
Precaution While Mount Pegboard without Drilling
When you decide to mount a pegboard without drilling, it’s important to take certain precautions to ensure a safe and successful installation. Here are some key points to consider:
- Check Wall Surface Compatibility: Before starting, make sure that the wall surface where you intend to mount the pegboard is suitable for adhesive strips. Some types of paint, delicate wallpaper, or textured surfaces may not hold the strips well, or they might get damaged when removing the strips. It’s best to avoid mounting on these surfaces.
- Adhere to Weight Limits: Each adhesive strip has a specific weight limit, and it’s crucial not to exceed this. Overburdening the pegboard could cause it to fall, potentially leading to damage or injury. Always check the manufacturer’s guidelines for the weight capacity of the adhesive strips you’re using.
- Be Cautious with Heavy or Valuable Items: While pegboards are great for organization, they might not be the best choice for very heavy or expensive items if you’re not drilling into the wall. If an item is particularly heavy or valuable, consider an alternative method of storage to avoid the risk of the pegboard failing.
- Regular Inspections for Security: Over time, the adhesive can weaken, especially in areas with temperature fluctuations or humidity. Make it a habit to periodically check the pegboard for any signs of loosening or weakening of the adhesive strips. Gently tug on the pegboard to test its stability. Doing this can prevent accidents or damage before they happen.
- Consider the Environment: If your pegboard is in a place like a garage or basement, where temperatures and humidity can vary greatly, be extra vigilant. Extreme conditions can affect the adhesive’s performance more rapidly than in a controlled indoor environment.
- Prepare for Removal: When the time comes to remove your pegboard, follow the adhesive strip removal instructions carefully. This is important to prevent damage to your wall. Some strips require a specific method of removal to avoid tearing off paint or wallpaper.
- Seek Help if Unsure: If you’re uncertain about any part of the process, or if your wall has special considerations like being plaster instead of drywall, it might be worth consulting with a professional. Better safe than sorry, especially when it comes to home improvements.
Just keep these simple tips in mind to make sure everything stays where it should, and your wall stays looking good. Remember, a little bit of planning and regular check-ups can go a long way!
FAQ’s
Can You Hang a Pegboard With Command Strips?
Yes, hanging a pegboard with Command strips is a smart way to avoid drilling. However, it’s essential to ensure that the total weight of the pegboard and the items you’ll hang on it doesn’t exceed the capacity of the strips.
Check the weight of your pegboard and the things you plan to hang, then compare it with the maximum weight mentioned on the Command strips package.
Are Command Strips Safe on Wood?
Command strips can generally be used on wood surfaces. It’s important, though, to follow the guidelines provided by the manufacturer about where you can use them. Be extra careful if your wood surface is delicate, like on some antiques, or if it has a special finish that might be damaged by adhesive.
Can Command Strips Hold?
Yes, Command strips are quite reliable for hanging items that aren’t too heavy. They come in different types and sizes, each designed to hold a certain amount of weight.
Lighter items like small tools or kitchen utensils are usually safe, but for heavier objects, make sure to use the appropriate strip.
How Much Weight Can Command Strips Hold?
The weight that Command strips can support varies. Some types are made for lighter objects (like a few pounds), while others can hold items as heavy as 16 pounds.
Always check the packaging of the Command strips for the specific weight limit and use the right strip for your pegboard and the items you want to hang.
Do Command Strips Tear Off the Paint?
Generally, Command strips are designed to be wall-friendly, meaning they shouldn’t damage your paint if you remove them correctly. To avoid paint damage, follow the removal instructions carefully. If the wall has weak or old paint, or if the strip isn’t removed properly, there’s a risk of peeling off some paint.
Conclusion
Mounting a pegboard without drilling is an ingenious and practical way to organize your space. This method offers flexibility, ease of installation, and the benefit of preserving your walls.
By following the steps outlined in this guide, you can enjoy the functional advantages of a pegboard without the permanence and potential damage of drilling.
Whether you’re a renter, a homeowner looking for a reversible solution, or simply someone who values convenience and aesthetics, this approach caters to a variety of needs.
Remember to always prioritize safety and adhere to the weight limits of your chosen mounting method. With this knowledge, you can transform any space into a neatly organized area, free from the worries of drills and holes.
Can You Use Impact Driver Bits in A Drill
Knowing whether you can swap impact driver bits into a regular drill matters more than…
Can You Drill Into Popcorn Ceiling
Wondering Can You Drill Into Popcorn Ceiling for your next home improvement project? Popcorn ceilings,…
Can You Drill Into Walls in A Rental?
Renting an apartment brings the challenge of personalizing your space within the confines of rules…
Can I Use a 1/4 Drill Bit Instead of 7/32
When you’re elbows deep in a project and suddenly realize the 7/32 drill bit you…

Can You Drill Concrete Without A Hammer Drill
Drilling into concrete requires both precision and the right tools, notably a hammer drill and…
Can You Use Different Brand Drill Bits?
The right drill bit size is crucial for any project, big or small. It’s the…