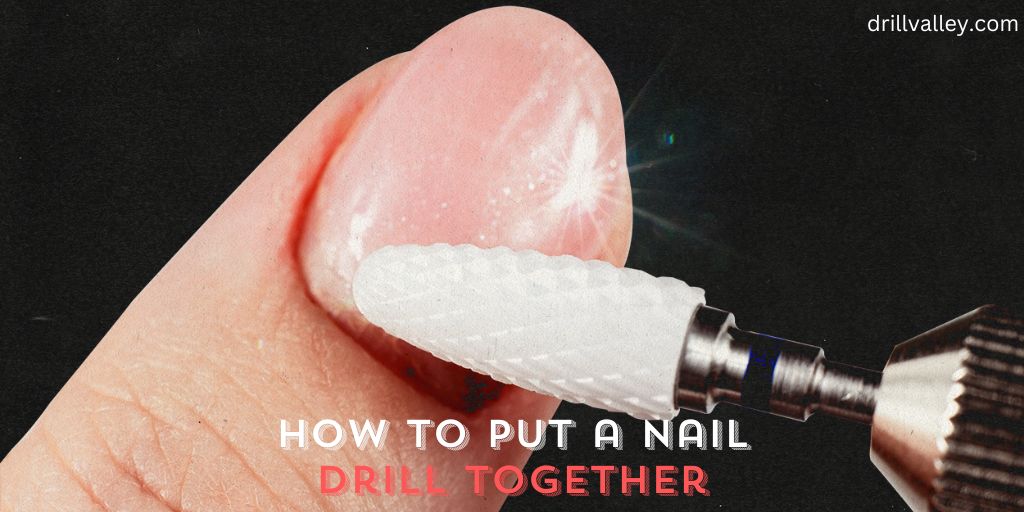
How to Put a Nail Drill Together
If you’re into making your nails look great, a nail drill is a must-have. This tool is great for shaping your nails, smoothing any rough spots, and getting them to shine, which is why every nail tech has one.
But before you can start creating those perfect nails, you need to know how to set up your nail drill correctly. Putting it together the right way ensures it works properly and lasts a long time without any problems.
In this guide, I’ll show you step-by-step How to put a nail drill together and get your nail drill ready. Once it’s set up, you’ll be prepared to tackle any nail job.
How to Put a Nail Drill Together
Getting your nail drill ready is key for safe and effective nail care, whether you’re doing a manicure or pedicure. Here’s a simple guide on how to put it together:
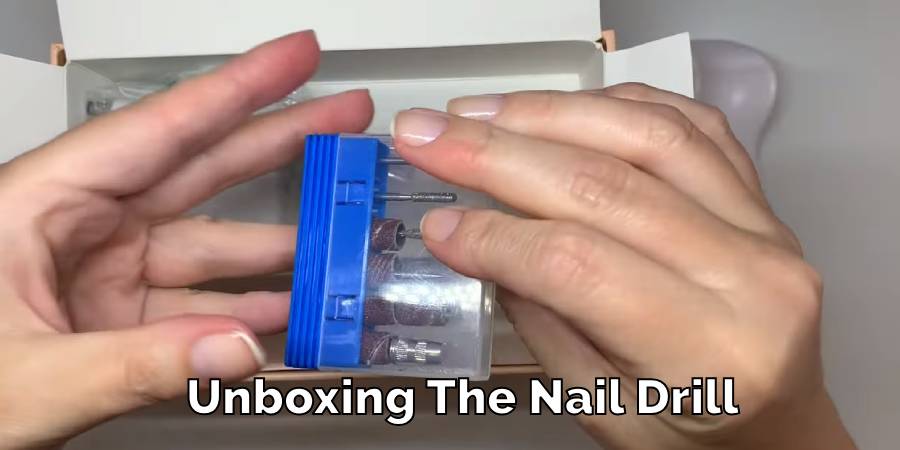
Unboxing and Getting Ready
- First, open the box and take out all the parts of the nail drill.
- Lay them out on your table so you can see everything. You should have the drill machine, a handpiece to hold while working, a power cord, and maybe a foot pedal, along with different drill bits.
- Look at the drill bits and learn what each one does. They have different shapes and sizes for tasks like shaping nails or cleaning under them.
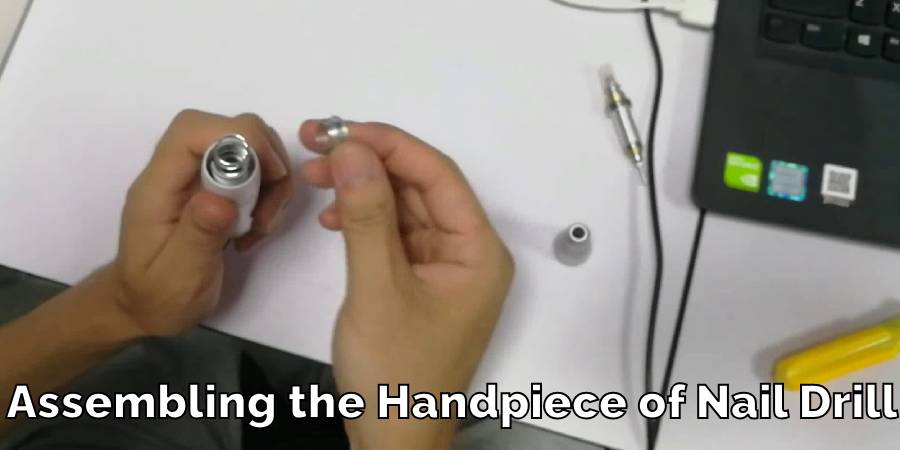
Putting Together the Handpiece
- The handpiece is what you’ll use to hold the bits. Attach it to the main machine by lining it up and pushing it gently until it’s firmly connected.
- Make sure it’s on tight, but don’t force it, to avoid damaging it.
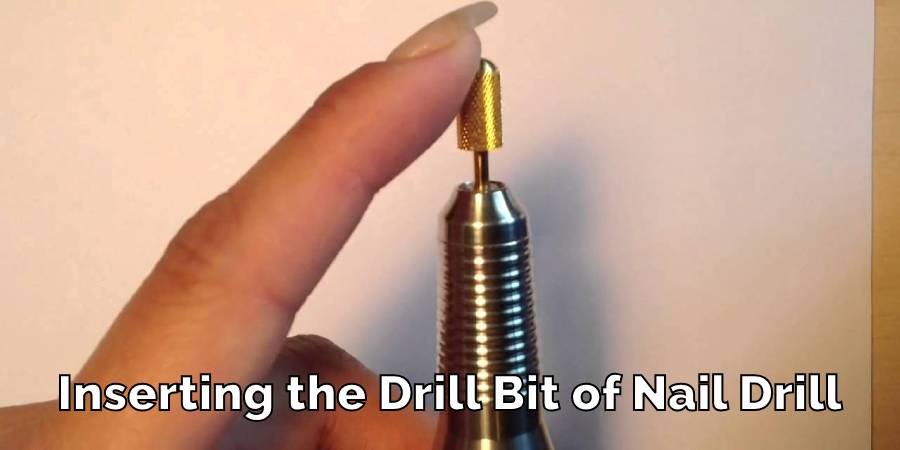
Adding the Drill Bit
- Pick the drill bit you need for your task.
- Put the bit into the handpiece. It should fit into a specific spot or chuck.
- Secure the bit in place. There’s usually a mechanism to lock it, like a twistable end on the handpiece.
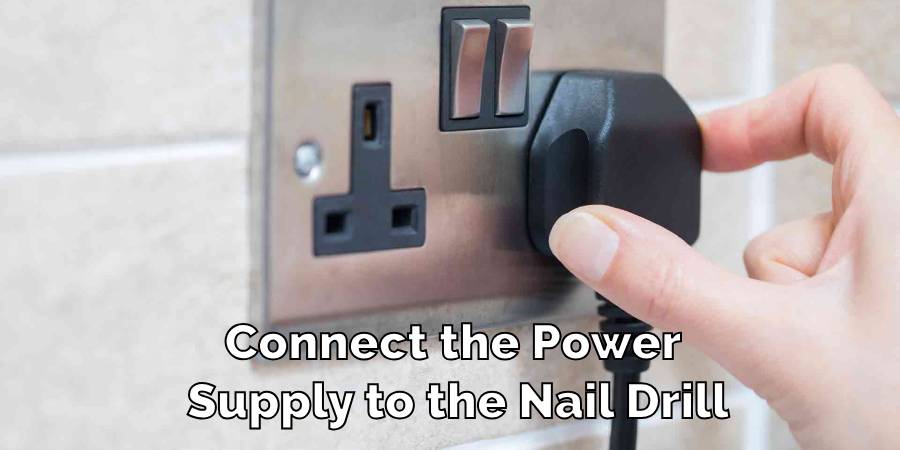
Connecting to Power
- Connect the power cord to the nail drill and plug it into an outlet. Check that the power specs match up.
Attaching the Foot Pedal (If You Have One)
- If there’s a foot pedal, plug it into its port on the drill. This lets you control the speed with your foot, which is handy for detailed work.
Testing It Out
- Turn on the drill and test it. If you have a foot pedal, try it out. Adjust the speed to see if it changes correctly. You want it to work smoothly.
Setting Up Your Space
- Once everything’s working, arrange your table. Keep the drill and bits within reach so you can easily switch them as needed.
By following these steps, you’ll have your nail drill assembled right and ready to use. A properly set-up nail drill not only works better but is also safer. It’s a great tool for doing high-quality nail work, so take some time to get to know how it works.
Conclusion
Assembling a nail drill is a straightforward process that requires attention to detail and safety. Correct assembly is crucial for effective and safe nail care practices, ensuring that your manicure results are as professional as possible.
With this guide, you can confidently put your nail drill together and maintain it for optimal performance. This guide has described how to put a nail drill together.
Can You Use Impact Driver Bits in A Drill
Knowing whether you can swap impact driver bits into a regular drill matters more than…
Can You Drill Into Popcorn Ceiling
Wondering Can You Drill Into Popcorn Ceiling for your next home improvement project? Popcorn ceilings,…
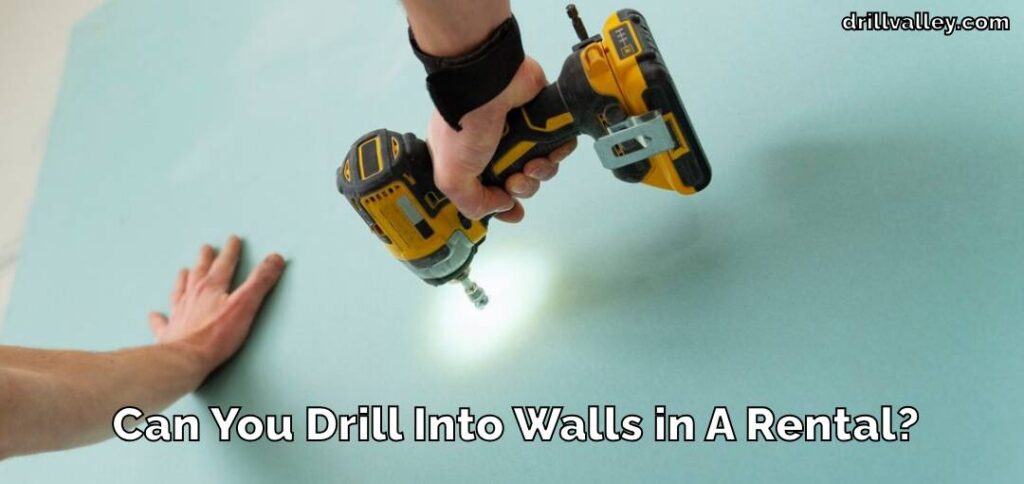
Can You Drill Into Walls in A Rental?
Renting an apartment brings the challenge of personalizing your space within the confines of rules…
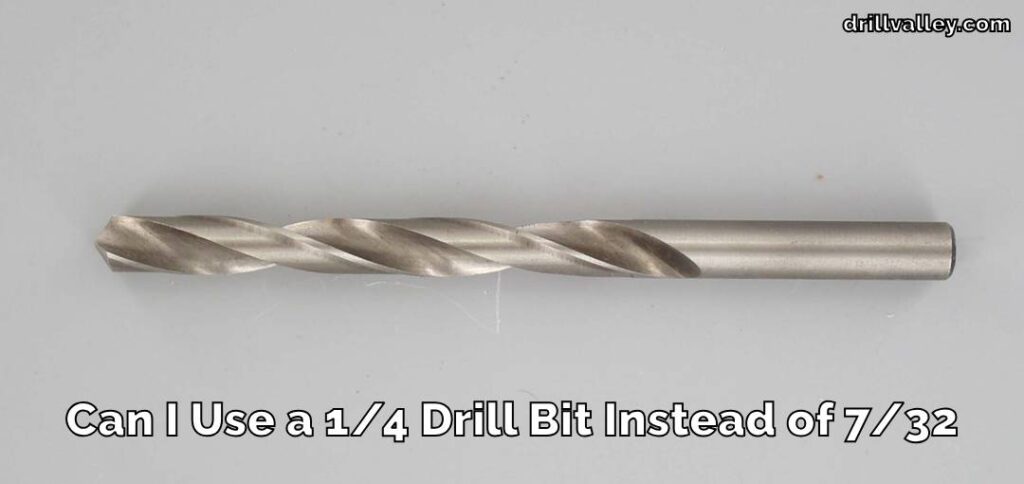
Can I Use a 1/4 Drill Bit Instead of 7/32
When you’re elbows deep in a project and suddenly realize the 7/32 drill bit you…
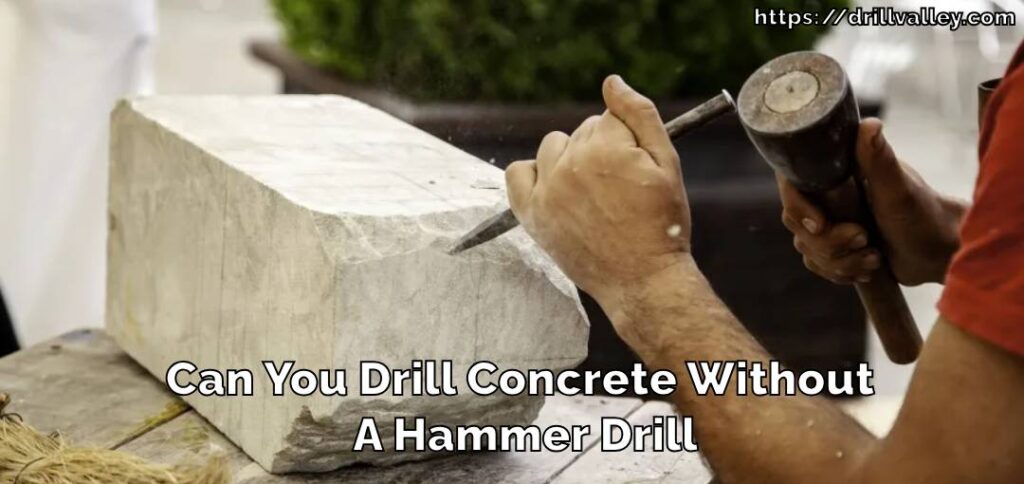
Can You Drill Concrete Without A Hammer Drill
Drilling into concrete requires both precision and the right tools, notably a hammer drill and…
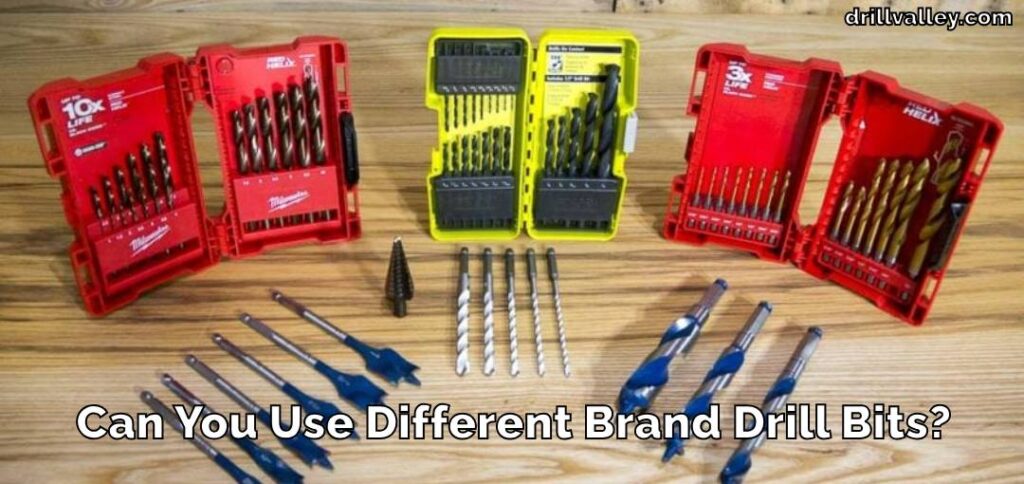
Can You Use Different Brand Drill Bits?
The right drill bit size is crucial for any project, big or small. It’s the…