How to Remove Builder Gel without Drill
Removing builder gel from your nails might seem tough, especially if you’re not keen on using a nail drill. But, there’s a simpler, drill-free way to do it safely and effectively. This article is here to guide you through a gentle method that looks after your nail health.
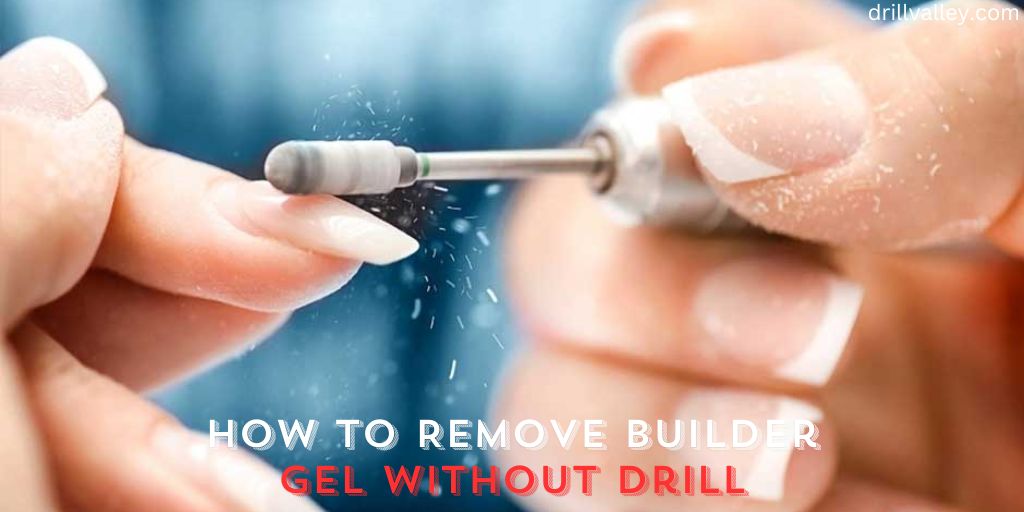
We’ll walk you through “How to remove builder gel without drill” Easy steps to get rid of builder gel without a drill. Each step is designed to be kind to your nails, keeping them healthy. You’ll learn what tools you need and how to use them for each part of the process.
Whether you like doing your nails at home or you’re after a nail-friendly option, this guide is made to help you tackle the task with ease and keep your nails in good shape.
Tools We Need to Remove Builder Gel without Drill
To successfully remove builder gel from your nails without using a drill, you will need some specific tools. These tools are generally easy to find and simple to use.
- Nail File (Coarse Grit): A nail file with coarse grit is essential to gently file down the top layer of the builder gel. This helps in breaking the seal of the gel, making the removal process easier.
- Cuticle Pusher or Orange Stick: These tools are used to gently push off the gel from the nail surface after it has been softened by the acetone. They are gentle on the nails and help avoid any scraping damage.
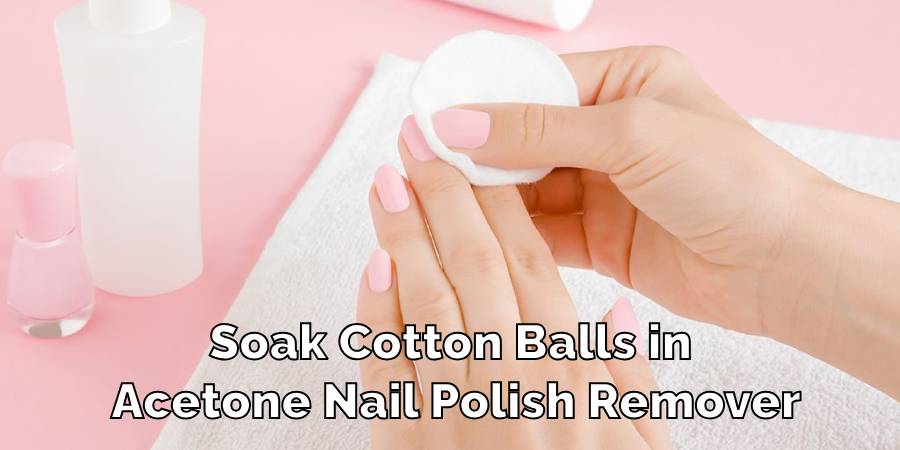
- Cotton Balls or Pads: These will be used to apply the acetone to your nails. They are soft and absorbent, making them ideal for holding the acetone in place against the nail.
- Aluminum Foil: Small pieces of aluminum foil are used to wrap around your fingertips. This helps keep the cotton balls or pads in place and enhances the effectiveness of the acetone by trapping the heat.
- Acetone Nail Polish Remover: This is a key component in removing builder gel. Acetone softens the gel, making it easier to remove. Ensure you use a nail polish remover with a high concentration of acetone for best results.
- Nail Buffer: After removing the gel, a nail buffer is used to smooth out the surface of your nails. This helps in getting rid of any residual gel and evens out the nail surface.
- Moisturizing Nail Oil or Cream: This is an important step post-removal. Applying a moisturizing nail oil or cream will help rehydrate your nails and cuticles after the drying effects of acetone.
Each of these tools plays a crucial role in the safe and effective removal of builder gel without a drill. They are designed to ensure the process is as gentle as possible on your nails, preserving their health and appearance.
How to Remove Builder Gel without Drill
Removing builder gel from your nails without a drill is definitely doable, but it requires some patience and careful steps. Here’s how you can do it safely while keeping your nails healthy.
Filing the Top Layer
First, you’ll need to file down the shiny top layer of the builder gel. Use a coarse-grit nail file for this. The idea is to make the surface a bit rough so that the acetone can work better. Be gentle to avoid hurting your natural nails. You’re not trying to file off the gel, just to scuff up the shiny layer.
Soaking in Acetone
Next, soak cotton balls in acetone nail polish remover. Make sure they’re wet but not dripping. Place these on your nails, covering them completely. Wrap each nail with a piece of aluminum foil to hold the cotton ball in place and to trap some heat, making the acetone more effective at softening the gel.
Waiting It Out
Now, you need to wait for about 10 to 15 minutes. This might vary depending on the thickness of the gel. The acetone is doing its job during this time, softening the gel so it’s easier to remove.
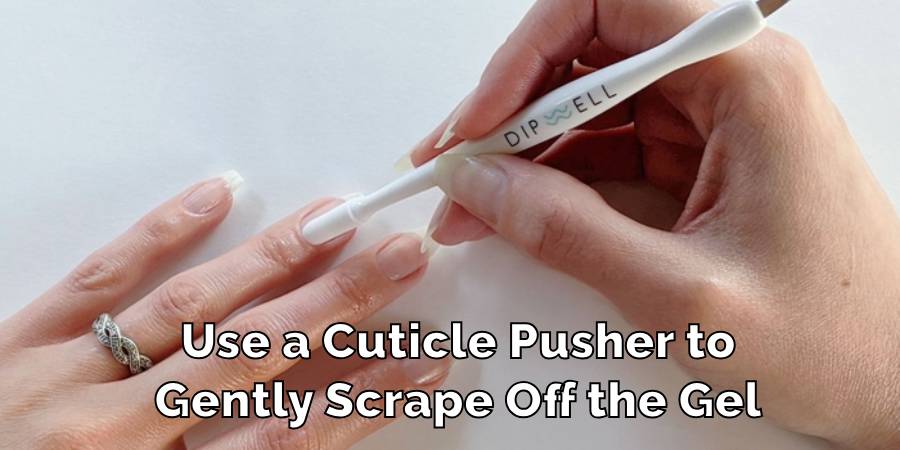
Gently Scraping the Gel Off
Once soaked, use a cuticle pusher or an orange stick to gently scrape off the gel. It should peel away easily if it’s been soaked long enough. If some bits are stubborn, soak them a little longer. Remember to be gentle to avoid damaging your nails.
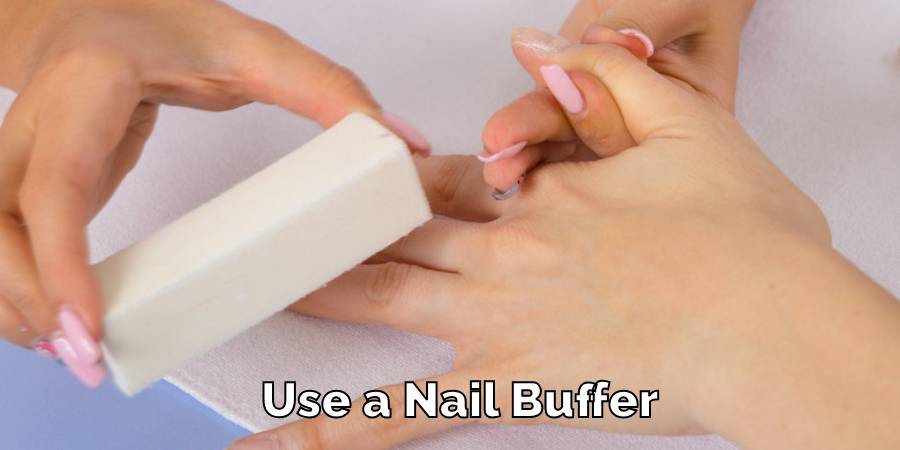
Buffing and Moisturizing
After all the gel is off, your nails might feel rough. Gently buff them to smoothness. Then, apply a good nail oil or moisturizer. This step is vital for bringing back moisture to your nails and cuticles after the drying acetone soak.
Checking and Doing Touch-ups
Take a look at your nails. If there’s any gel left, you might need to buff those spots a bit more. If large patches of gel remain, consider repeating the soak for those nails.
Taking Care of Your Nails
Give your nails a break before applying any new products. This rest period helps your nails recover. Keep applying nail oil or moisturizer regularly to maintain healthy nails.
By following these steps, you can remove builder gel safely without a drill. This method is gentle on your nails and helps keep them healthy.
Conclusion
Removing builder gel without a drill is an effective, safe, and nail-friendly choice. This method maintains the natural health and strength of your nails, using everyday tools that are likely already in your home.
By following the simple steps provided in this guide, you can enjoy salon-like results right where you are, without complex equipment. The key to success is patience and gentle care. Rushing through the process could harm your nails, so take it slow, particularly during soaking and scraping.
Post-removal care is just as crucial, with hydration and nurturing keeping your nails robust and beautiful. This approach is perfect for those who love doing their nails at home and prefer gentler alternatives.
It not only protects your nails but also puts you in charge of your nail care, allowing for a satisfying and creative experience. This article has explored how to remove builder gel without a drill.
Can You Use Impact Driver Bits in A Drill
Knowing whether you can swap impact driver bits into a regular drill matters more than…
Can You Drill Into Popcorn Ceiling
Wondering Can You Drill Into Popcorn Ceiling for your next home improvement project? Popcorn ceilings,…
Can You Drill Into Walls in A Rental?
Renting an apartment brings the challenge of personalizing your space within the confines of rules…
Can I Use a 1/4 Drill Bit Instead of 7/32
When you’re elbows deep in a project and suddenly realize the 7/32 drill bit you…
Can You Drill Concrete Without A Hammer Drill
Drilling into concrete requires both precision and the right tools, notably a hammer drill and…
Can You Use Different Brand Drill Bits?
The right drill bit size is crucial for any project, big or small. It’s the…