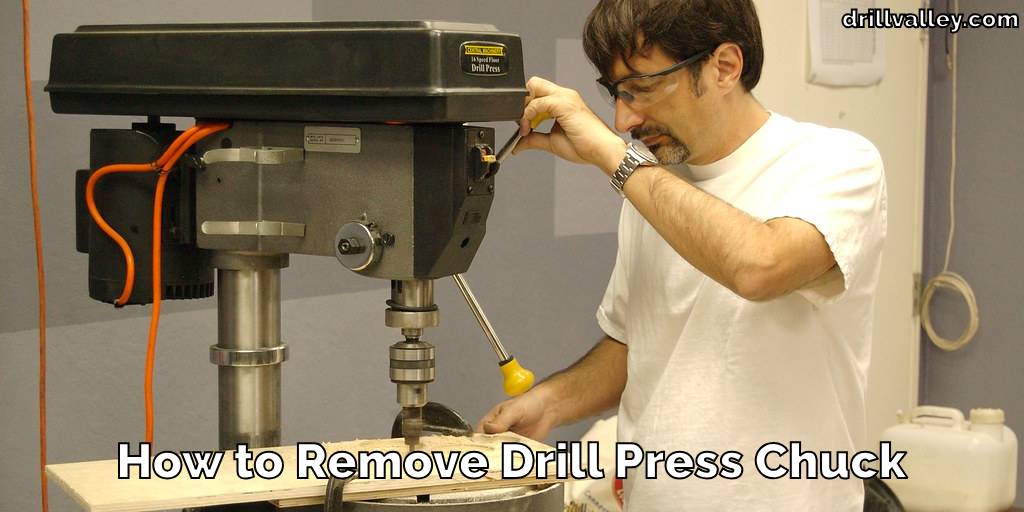
How to Remove the Drill Press Chuck
Today, we’re diving into a task that might seem a bit tricky at first: how to remove the drill press chuck. You might be wondering, “Why would I ever need to do that?” Well, there are a few reasons, like maintenance, swapping it out for a new one, or just giving it a good clean. Knowing how to take off a drill press chuck safely and efficiently is a handy skill to have.
So, let’s not waste any time. I’m here to walk you through each step of the process. And don’t stress—I’ll also let you know all the tools you’ll need to get the job done.
Why You Need to Remove Drill Press Chuck
Let’s start with why it’s sometimes necessary to remove a drill press chuck. Over time, chucks can wear out or get jammed with debris, affecting the drill’s performance. Maybe you’ve noticed your drill isn’t as accurate as it used to be, or perhaps it’s not gripping the bits as tightly.
These are clear signs that your chuck might need some attention. Removing it allows you to either replace it with a new one or give it a thorough clean-up and inspection.
This not only prolongs the life of your drill press but also ensures safety and accuracy in your work. It’s like giving your trusted tool a new lease on life!
Tools We Need to Remove Drill Press Chuck
Before we start, let’s talk tools. You don’t need a garage full of fancy equipment for this. Most likely, you already have what you need:
- A pair of gloves for safety.
- A chuck key, if your chuck requires one.
- A rubber mallet or a piece of wood and a hammer.
- A wedge or a drift key, is specifically designed for this task.
- Optional: penetrating oil if the chuck is stubborn.
Make sure these tools are within reach, and let’s get to the main event.
How to Remove the Drill Press Chuck
It’s not as complex as it might seem, and I’m here to guide you through it, step by step. So, let’s get started and make this task a breeze for you!
Safety First
Before we start, slap on a good pair of gloves. This is to protect your hands not just from dirt but also from any sharp bits. Plus, it helps you get a good grip on everything.
Loosen the Chuck
Open up the chuck jaws all the way. If you’re working with a newer drill press, you might find a little screw inside there. It’s usually got a reverse thread, which means you’ll turn it clockwise to get it loose. Yep, it’s a bit weird, but that’s how they’re set up. Getting this screw out is key because it holds the chuck onto the spindle.
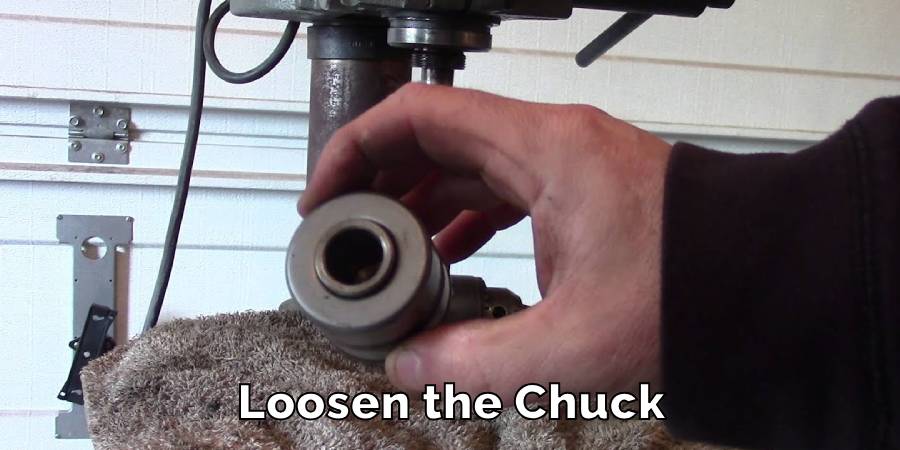
This screw is usually a reverse thread, meaning you need to turn it clockwise to loosen it. It might feel a bit counterintuitive, but that’s how these screws are designed. Removing this screw is crucial as it secures the chuck to the spindle.
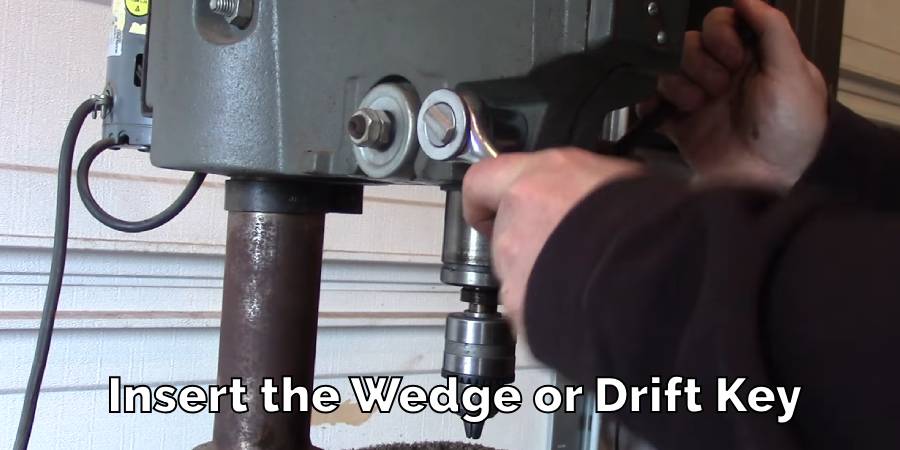
Insert the Wedge or Drift Key
There’s a slot on the spindle where the chuck attaches. That’s where your drift key or wedge comes in. Pop it into the slot just right.
Tap It Out
Now, with your drift key or wedge in place, grab a rubber mallet or a hammer (use a piece of wood to protect stuff) and give it a gentle tap. You’re not trying to bash it out—just a firm tap to loosen things up.
Remove the Chuck
After a few taps, the chuck should be loose enough to unscrew and remove by hand. If you find that the chuck is resisting, don’t force it. Instead, apply some penetrating oil around the chuck, wait a few minutes to let it seep in, and then try again. This can help ease the chuck off without unnecessary force.

Final Check
Once you’ve got the chuck off, take a moment to clean it and check it over. This is the perfect time to see if it’s still in good shape or if you might need a new one.
And there you have it! Just take it step by step, and you’ll have that chuck off in no time. Remember, it’s all about being patient and careful with each step. You’re doing great, and with each time you do this, you’re getting even better at handling your drill press. Keep it up!
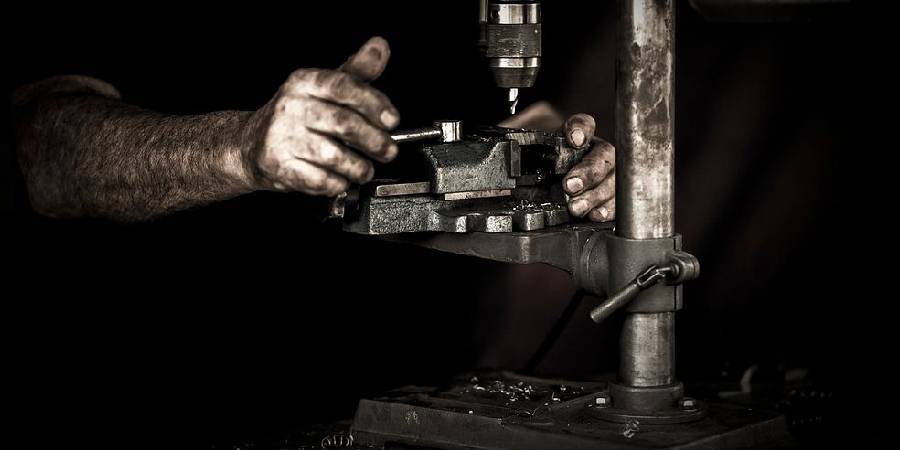
Precautions While Removing Drill Press Chuck
Before we dive into the task of removing a drill press chuck, it’s super important to talk about safety and precautions. It’s like setting up the right foundation before building a house. These steps are easy to follow and will make sure you do the job safely and effectively. So, let’s go through them together:
- Unplug the Drill Press: Always start by ensuring your drill press is unplugged. This is a critical safety measure to prevent any accidental start-up or electrical hazards.
- Gentle Taps: When using a mallet or hammer, remember to tap gently. Forceful hits can damage the spindle, leading to potential misalignment issues or more serious damage to your drill press.
- Clean Workspace: Keep your working area tidy and free of clutter. A clean space not only helps you stay organized but also reduces the risk of accidents.
- Wear Protective Gear: Donning safety glasses and gloves isn’t just a precaution, it’s a necessity. This protects your eyes from any debris and your hands while working.
- Check for Wear and Tear: Before you start, quickly inspect your tools, especially the drift key or wedge, for any signs of wear. Using damaged tools can cause more harm than good.
- Avoid Force: If the chuck seems stuck, resist the urge to force it. Applying excessive force can cause damage. Instead, use penetrating oil and give it time to loosen the chuck.
- Stay Focused: Keep your attention on the task. Distractions can lead to mistakes, so it’s important to focus while handling tools and machinery.
- Follow Instructions: Stick to the manufacturer’s guidelines for your specific drill press model. This ensures that you’re removing the chuck in a way that’s appropriate for your machine.
Keeping these points in mind will help ensure that removing your drill press chuck is a smooth, safe process. Remember, taking these precautions isn’t just about following rules it’s about making sure you can enjoy your DIY projects safely for years to come. So, take care, and happy tinkering!
FAQ’s
What is a Drill Chuck?
Think of the drill chuck as the drill’s hand that holds onto the drill bit. It’s this clamp-like part at the end of the drill that grips the drill bit firmly, allowing you to drill with precision. Without the chuck, the bit would spin right out of the drill.
What is a Drill Chuck Shank?
The shank is the ‘leg’ of the chuck that fits into the drill press. It’s the connecting piece that joins the chuck to the drill press, ensuring that the chuck stays in place while the drill is spinning. It’s like a bridge that connects the chuck to the drill press.
What is a Chuck Key?
Imagine trying to open a can without a can opener – pretty tough, right? That’s where the chuck key comes in. It’s a small tool that’s used to tighten or loosen the jaws of the chuck. When you need to change the drill bit, you use the chuck key to open the jaws, replace the bit, and then tighten it back up.
What is the Chuck Size?
Chuck’s size is like the size of gloves the Chuck can wear. It tells you the maximum diameter of the drill bit that the chuck can hold. Different chucks can hold different sizes of bits, so knowing the chuck size is important for choosing the right drill bits for your project.
How Many Types of Chucks Are There?
Just like there are different types of shoes for different occasions, there are mainly three types of chucks for various drilling needs:
- Keyed Chucks: These require a chuck key to tighten or loosen the jaws. They’re like the traditional, reliable type.
- Keyless Chucks: These are hand-tightened and don’t require any tools. They’re all about convenience.
- SDS Chucks: These are used for heavy-duty, hammer-action drilling. They’re like the tough, heavy-duty boots in the drill chucks.
Conclusion
And there you have it! Taking off a drill press chuck is not as scary as it sounds. It’s about understanding each step and being careful. This isn’t just about getting a task done it’s about keeping your drill press reliable and safe for all your projects.
Don’t worry if it doesn’t go perfectly the first time – practice makes perfect. Always remember, having the right tool for the job is key. So, go ahead, give it a try, and happy drilling!
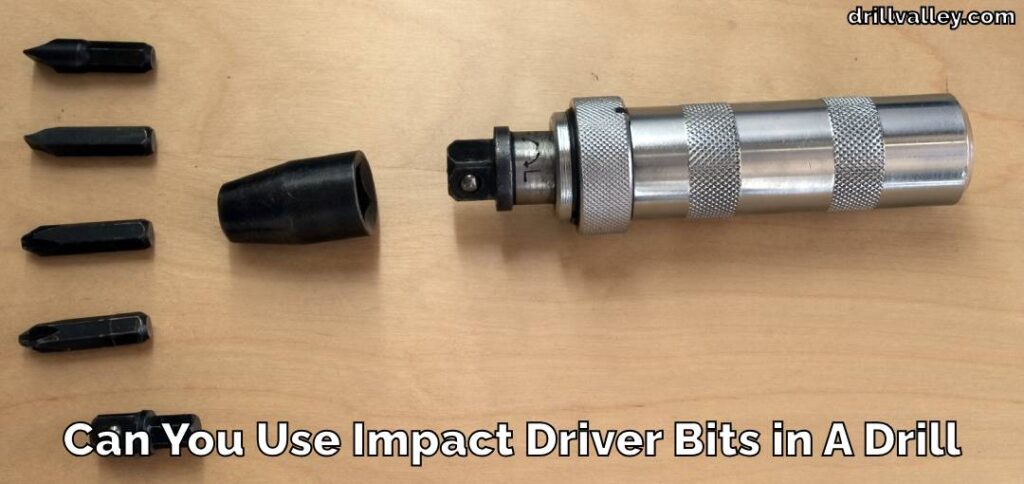
Can You Use Impact Driver Bits in A Drill
Knowing whether you can swap impact driver bits into a regular drill matters more than…
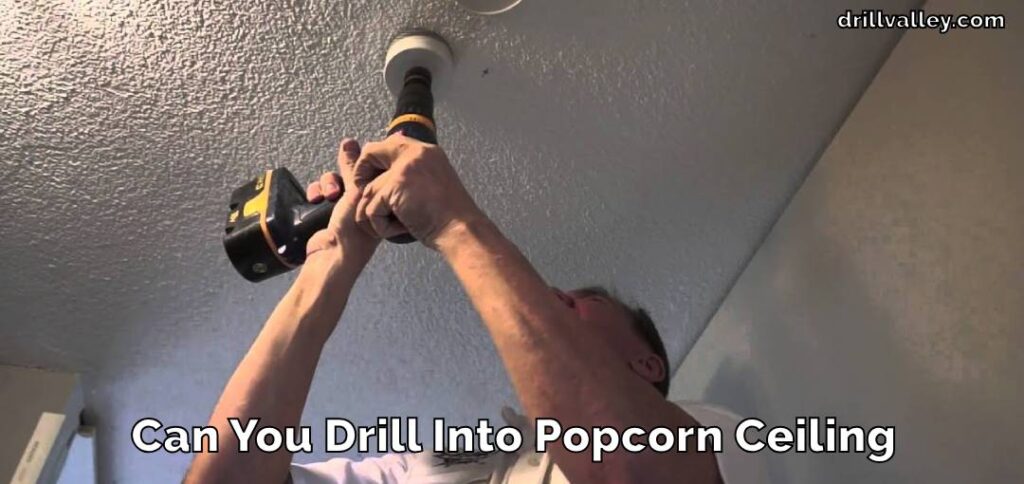
Can You Drill Into Popcorn Ceiling
Wondering Can You Drill Into Popcorn Ceiling for your next home improvement project? Popcorn ceilings,…
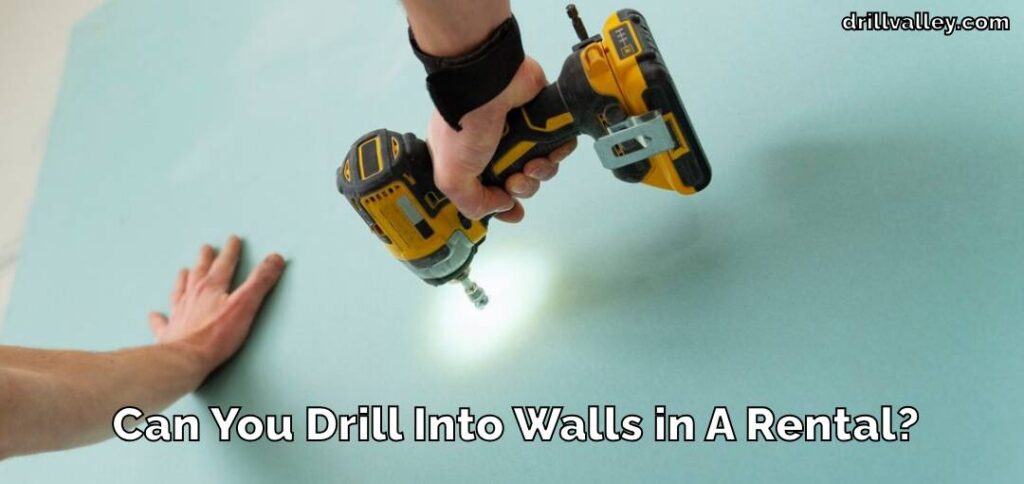
Can You Drill Into Walls in A Rental?
Renting an apartment brings the challenge of personalizing your space within the confines of rules…
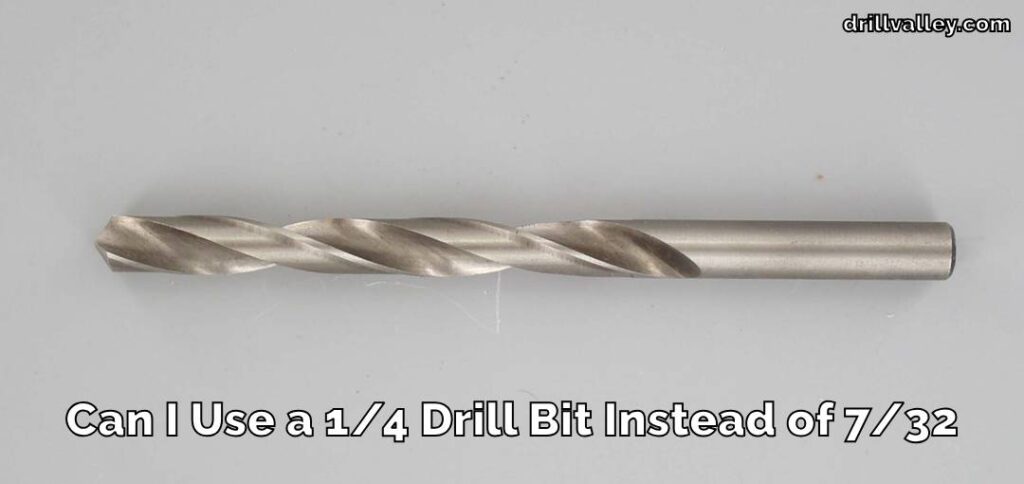
Can I Use a 1/4 Drill Bit Instead of 7/32
When you’re elbows deep in a project and suddenly realize the 7/32 drill bit you…
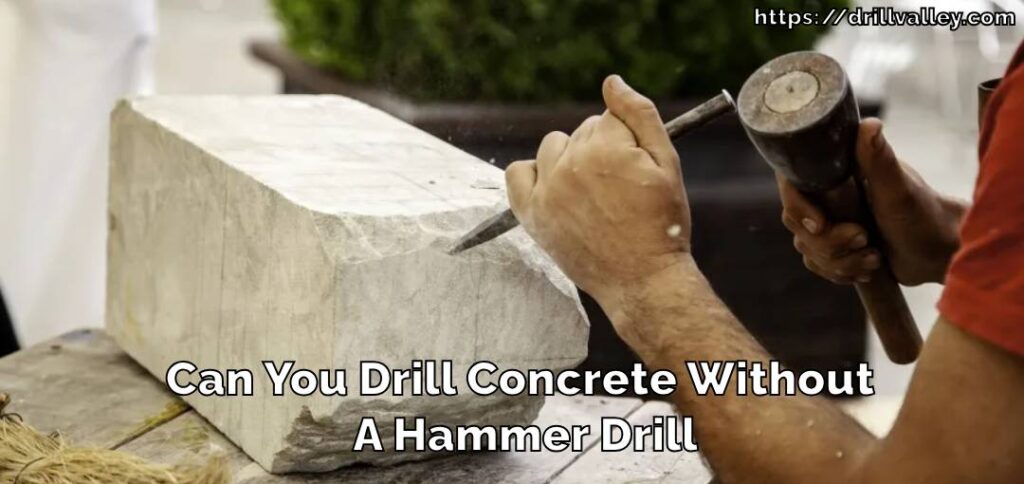
Can You Drill Concrete Without A Hammer Drill
Drilling into concrete requires both precision and the right tools, notably a hammer drill and…
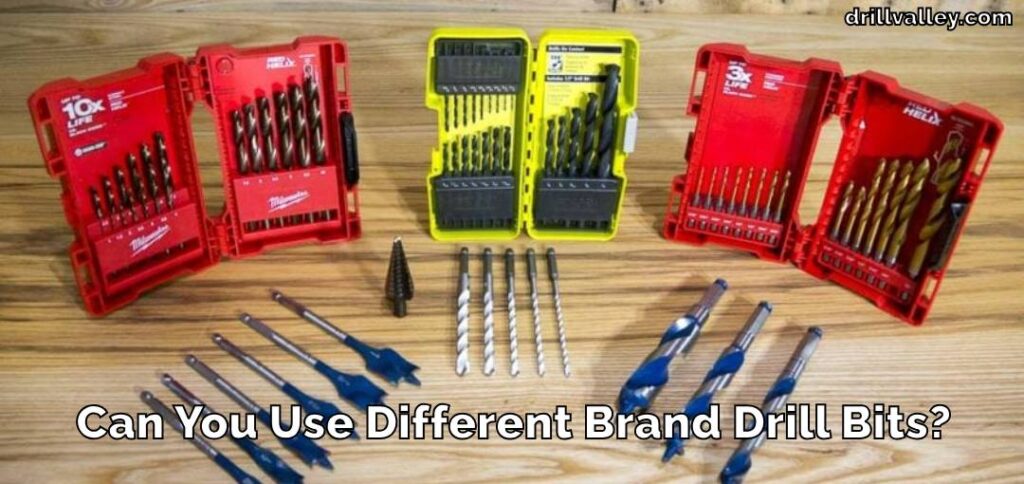
Can You Use Different Brand Drill Bits?
The right drill bit size is crucial for any project, big or small. It’s the…