How to Install Cup Hooks without a Drill
Installing cup hooks without using a drill is a surprisingly easy task that can make a big difference in organizing your home. Whether you want to hang kitchen utensils, mugs, or even lightweight decorative items, this method is both simple and gentle on your walls and surfaces.
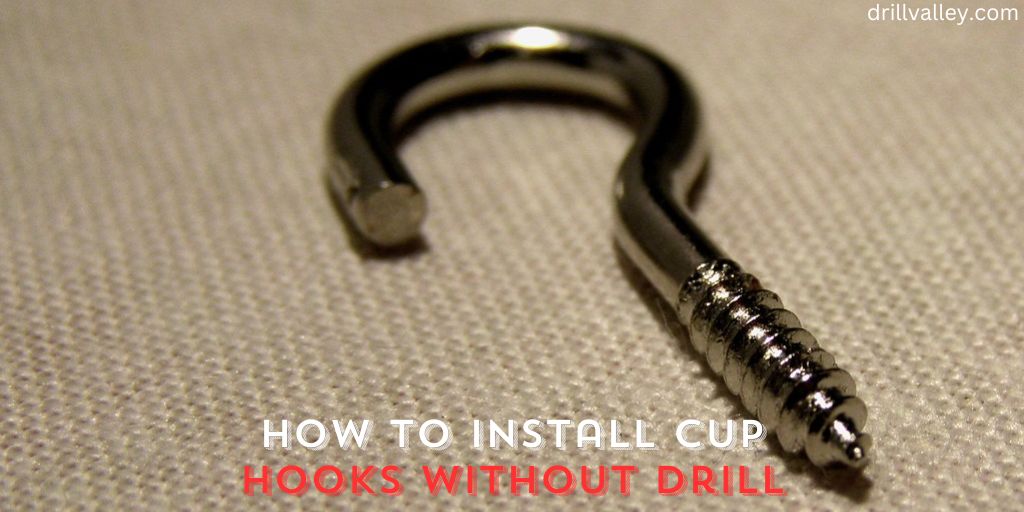
In this guide, we’ll walk you through the steps on how to install cup hooks without a drill. This approach not only saves you the hassle of using heavy tools but also protects your living space from potential damage.
So, whether you’re an experienced DIY enthusiast or a beginner looking to add a personal touch to your space, this guide will help you achieve your goals with minimal effort and maximum efficiency. Let’s get started on this simple yet effective project that will help keep your home organized and looking great.
Why You Should Install Cup Hooks without a Drill
Opting for a no-drill approach when installing cup hooks comes with several advantages. Firstly, it minimizes damage to walls and surfaces, making it ideal for renters or those who prefer not to leave permanent marks.
This method is also more accessible for those who may not own or know how to operate a drill. It’s a cost-effective solution, eliminating the need for expensive tools, and it’s generally safer, reducing the risk of accidents associated with power tools.
Additionally, installing cup hooks without a drill is a time-saver – the process is quick and requires less setup and cleanup compared to drilling.
Tools We Need to Install Cup Hooks without Drill
Before diving into the installation process, it’s essential to gather all the necessary tools. This preparation ensures a smooth and hassle-free experience. Here’s a list of what you’ll need:
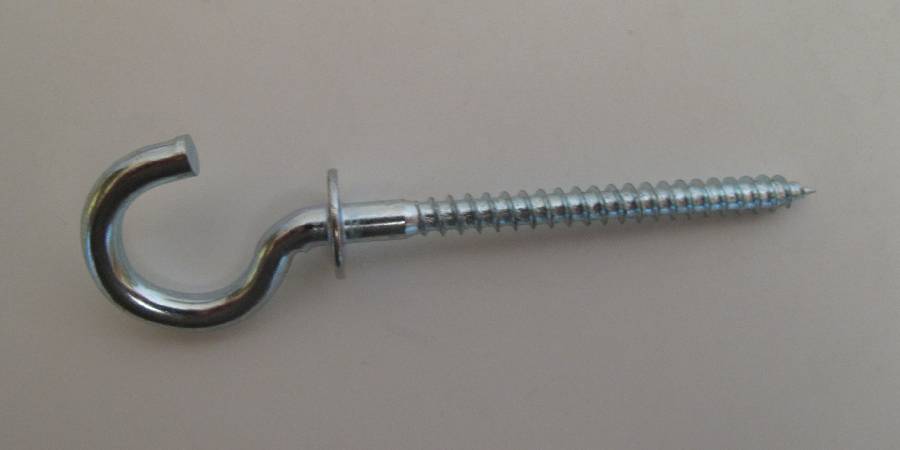
- Cup Hooks: These are the primary items you’re going to install. Choose the size and style that best fits your needs.
- Pencil or Marker: This will be used for marking the spots on the wall or ceiling where you plan to install the hooks.
- Tape Measure: A crucial tool for measuring distances between the hooks, ensuring they are evenly spaced.
- Thumbtack or Small Nail: This will be used to start a pilot hole, making it easier to screw in the cup hooks.
- Hammer (Optional): If you find it difficult to push in the thumbtack or nail, a hammer can be used gently to tap it in place.
- Screwdriver: This tool can help you turn the cup hooks more easily, especially if the surface is a bit tough.
- Adhesive Strips or Hooks (Alternative Method): For those who prefer not to create any holes, adhesive hooks or strips are a great alternative.
Each tool plays a specific role in the installation process. By having these at hand, you’re setting yourself up for a successful and straightforward installation. Remember, the right tools not only make the job easier but also help achieve a more polished and secure result.
How to Install Cup Hooks without a Drill (Easy 5 Steps)
It’s an easy and quick way to enhance the functionality of your space, ideal for those who prefer not to use heavy tools or want to avoid making permanent changes to their walls.
Step-by-Step Guide:
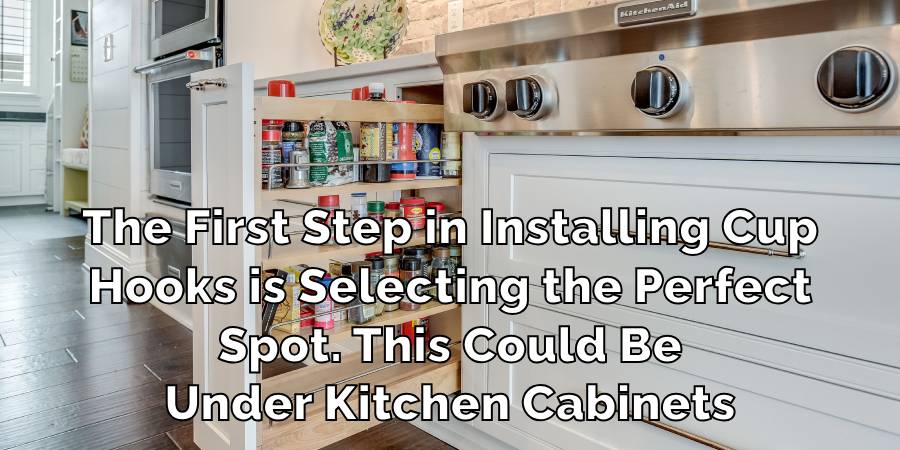
1. Choose the Right Location
The first step in installing cup hooks is selecting the perfect spot. This could be under kitchen cabinets, inside a pantry, or on a shelf, depending on where you need additional hanging space.
Use a tape measure to determine the spacing between each hook, ensuring they are evenly distributed. This is particularly important if you plan to hang items like mugs or utensils, which need a certain amount of space.
Once you’ve decided on the locations, mark these points with a pencil. These marks will guide you in the following steps and help ensure your hooks are positioned exactly where you want them.
2. Start a Pilot Hole
To make the installation process smoother, start by creating a small pilot hole at each marked point. You can do this by pressing a thumbtack or a small nail against the mark. Gently push it into the surface.

This step is crucial as it guides the screw part of the cup hook and prevents it from wandering off the mark. If the surface is hard, lightly tap the thumbtack or nail with a hammer. Remember, the goal here is not to make a big hole but just a tiny indentation that can guide the cup hook.
3. Screw in the Hook
Now, take your cup hook and align its pointed end with the pilot hole. Start turning the hook clockwise by hand. Apply steady pressure as you twist. The screw part of the hook should catch onto the material of your wall or cabinet and begin to screw in.

If you find the surface is too hard for hand twisting, use a screwdriver for added leverage and grip. This can make the process easier and protect your fingers from strain.
Continue twisting the hook until it’s firmly in place and flush against the surface. Ensure it’s screwed in tightly so it can hold weight without coming loose.
4. Alternative Method – Using Adhesive Hooks
If you’re hesitant about making even small holes in your surfaces, consider using adhesive hooks as an alternative. This method is great for renters or those who prefer a less permanent solution. First, ensure that the surface where you will place the hook is clean and dry.
Dirt or moisture can prevent the adhesive from sticking properly. Then, remove the backing from the adhesive strip and press the hook firmly against the wall.
Hold it in place for a few seconds as per the instructions on the adhesive strip. This method is quick, easy, and doesn’t require any tools.
5. Test the Hook
After installation, it’s important to test the hook to ensure it’s securely attached. Gently pull on it to check its strength. If it wobbles or feels loose, tighten it further.
For adhesive hooks, wait for the recommended time before hanging anything on them to ensure the adhesive has been set properly.
With these simple steps, installing cup hooks without a drill is a task that can be accomplished easily and effectively. It’s a straightforward process that adds functionality and organization to any space without the need for complex tools or permanent alterations.
Precaution while Installing Cup Hooks without a Drill
When adding cup hooks to your space without using a drill, paying attention to some key safety and effectiveness tips is essential. Here’s a more detailed look at what to keep in mind:
- Choose Appropriate Hooks: Select hooks that match the weight of the items you plan to hang. Heavier items require sturdier hooks, so check the weight capacity before purchasing.
- Be Gentle with Starter Holes: When using a thumbtack or small nail to create the starter hole, be gentle. Pushing too hard can not only hurt your fingers but also cause unnecessary damage to your walls or cabinets.
- Apply the Right Amount of Force: While screwing in the hook, apply steady but moderate force. Too much force might strip the thread of the hook or damage the surface it’s being screwed into.
- Surface Preparation for Adhesive Hooks: If you’re using adhesive hooks, ensure the surface is clean and dry before application. Dust or moisture can weaken the adhesive’s grip.
- Follow Manufacturer Instructions for Adhesives: Adhesive hooks come with specific instructions. Stick to these guidelines for how long to press the hook against the surface and how much weight they can safely hold.
- Test the Hook Before Use: After installation, give the hook a gentle tug to ensure it’s secure. If it moves or feels loose, it might need further tightening or repositioning.
- Consider the Surface Material: Different surface materials like drywall, wood, or tile may require different approaches. For instance, harder surfaces might need a more robust method to start the hole.
- Avoid Overloading Hooks: Even if a hook feels secure, avoid hanging items that are too heavy. Overloading can cause the hook to come loose over time.
- Keep Tools Handy: Keep your tools like a screwdriver or hammer close by in case you need to make adjustments during the installation process.
By following these practical tips, you can ensure that your cup hooks are installed safely and effectively, providing a reliable solution for organizing items in your home.
FAQ’s
How Do You Anchor a Cup Hook?
To anchor a cup hook securely, start by making a small pilot hole using a thumbtack or a small nail. This initial hole acts as a guide and helps keep the hook straight as you screw it in.
Carefully align the pointed end of the cup hook with this hole and twist it in by hand. If you encounter resistance, use a screwdriver for additional leverage. This method ensures the hook is anchored firmly and reduces the risk of it coming loose.
How Do You Install Screw Hooks in the Ceiling?
Installing screw hooks in the ceiling is similar to wall installations. First, determine the exact point where you want the hook. Mark it with a pencil or marker.
Then, use a thumbtack or small nail to create a starter hole. This will make screwing in the hook easier. When twisting the hook, do it gently by hand or use a screwdriver for better grip, especially if the ceiling material is hard.
How Do You Screw a Hook Into Wood?
Wood is generally a softer material compared to drywall or concrete, making it easier to screw hooks into. Start by marking the desired spot.
Then, create a pilot hole which will serve as a guide and ease the process of screwing the hook in. Apply gentle pressure as you twist the hook into the wood. This method reduces the chance of splitting or damaging the wood.
How Much Weight Can a Cup Hook Hold?
The weight capacity of a cup hook depends on its size and the material it’s installed in. Smaller hooks generally hold between 1 to 5 pounds.
It’s essential to check the manufacturer’s specifications for the weight limit. Remember, the stability of the hook also depends on how well it is installed and the nature of the wall or ceiling material.
Can I Screw a Hook Into My Ceiling?
Yes, you can install a hook into your ceiling using the same method as for walls. Ensure that the ceiling material is sturdy enough to support the weight of the item you intend to hang. Be cautious when working overhead and always start with a pilot hole to facilitate the process.
Conclusion
Installing cup hooks without a drill is an efficient, safe, and easy DIY task that can be completed with minimal tools and effort. By following the simple steps outlined in this guide, you can securely install hooks for organizing or decorating purposes in your home.
Remember to consider the weight capacity and the surface material when choosing and installing cup hooks. This article has explored how to install cup hooks without a drill.
This no-drill method not only preserves the integrity of your walls and ceilings but also offers a quick and accessible solution for anyone looking to add practical storage or decorative elements to their space.
The simplicity and effectiveness of this approach, transform your living area with neatly hung items, all without the need for a drill.
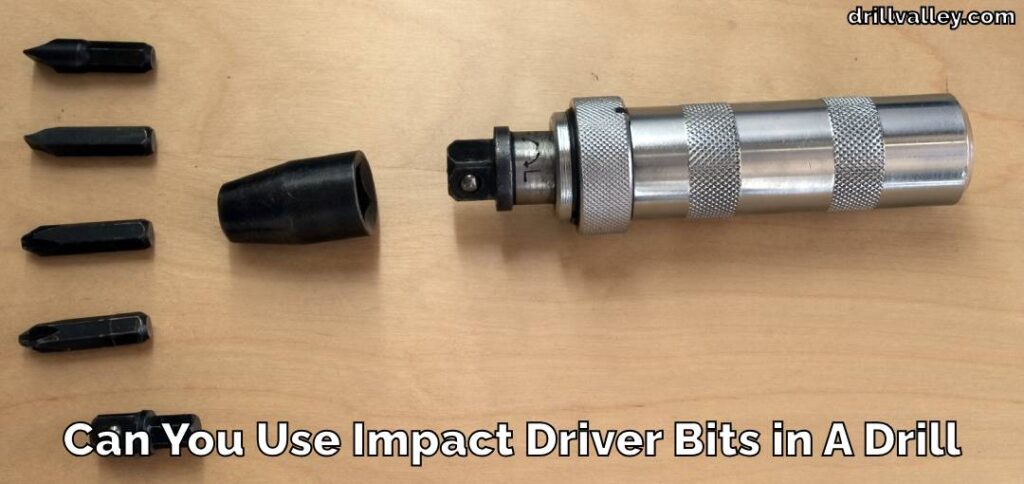
Can You Use Impact Driver Bits in A Drill
Knowing whether you can swap impact driver bits into a regular drill matters more than…
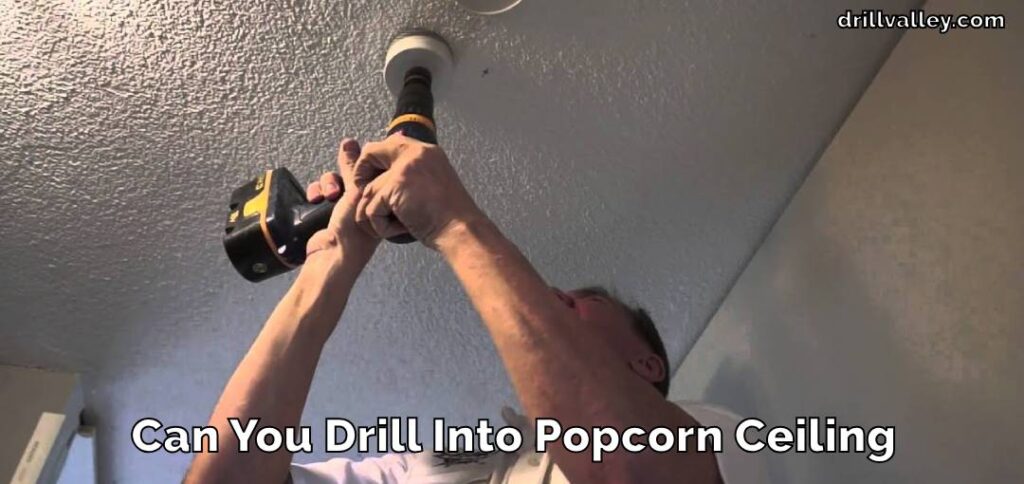
Can You Drill Into Popcorn Ceiling
Wondering Can You Drill Into Popcorn Ceiling for your next home improvement project? Popcorn ceilings,…
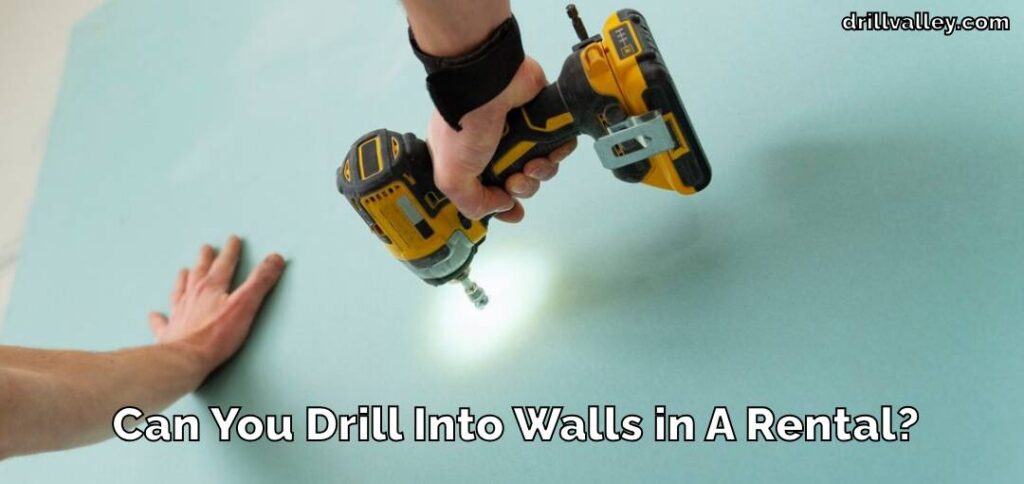
Can You Drill Into Walls in A Rental?
Renting an apartment brings the challenge of personalizing your space within the confines of rules…
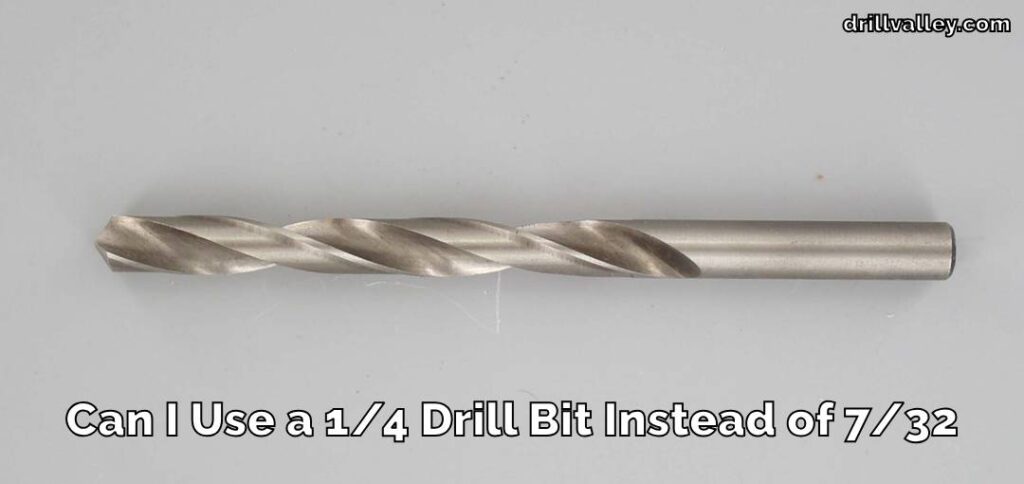
Can I Use a 1/4 Drill Bit Instead of 7/32
When you’re elbows deep in a project and suddenly realize the 7/32 drill bit you…
Can You Drill Concrete Without A Hammer Drill
Drilling into concrete requires both precision and the right tools, notably a hammer drill and…
Can You Use Different Brand Drill Bits?
The right drill bit size is crucial for any project, big or small. It’s the…