
How to Charge a Black and Decker Drill
Charging your Black and Decker drill might seem like a small thing, but it’s crucial for keeping your tool ready whenever you need it. This guide is here to walk you through the charging process, step by step, making sure you do it safely and efficiently.
First off, we’ll cover some charging basics that apply to pretty much any cordless drill. It’s important to get these right to make sure you’re not only getting the most out of your drill but also doing it in a way that’s safe for you and the tool.
Then, we’ll get into the specifics of Black and Decker models. We’ll talk about how to charge a black and Decker drill, understand the charging indicators, and ensure the battery is charged correctly. Knowing how to handle your Black and Decker drill and its battery can make a big difference in how long both last.
The Basics of Charging a Drill
Charging your Black and Decker drill doesn’t have to be complicated. This guide breaks it down into easy steps, ensuring your drill is always prepared for any job.
We begin with the basics of charging any cordless drill, highlighting key points about safety and how to efficiently charge your tool. This knowledge is crucial, especially for those new to using power tools.
We then focus specifically on Black and Decker models. Each model has its unique features and charging requirements.
Our guide offers detailed, easy-to-follow instructions on how to properly insert the battery into the charger, interpret the various charging indicators, and determine the optimal charging time to get the best performance from your drill.
Additionally, we provide valuable tips on maintaining both your drill and its battery. Regular maintenance is essential to extend their lifespan and ensure safe operation.
You’ll learn practical advice on how to store the batteries correctly, identify signs of wear and tear, and understand when it’s time to replace the battery for uninterrupted work.
Safety is a top priority when handling power tools. Our guide includes straightforward safety tips to prevent mishaps and damage to your drill. By following these simple do’s and don’ts, you can use your tool with confidence.
Crafted in simple, clear language, this guide is suitable for both beginners and experienced users. It’s all about ensuring your Black and Decker drill is charged correctly, maintained well, and ready for any task, whether it’s a quick home repair or a larger DIY project.
How to Charge a Black and Decker Drill
Charging a Black and Decker drill is a simple process, but doing it correctly can extend the life of your drill’s battery. Here’s how you can charge your Black and Decker drill:
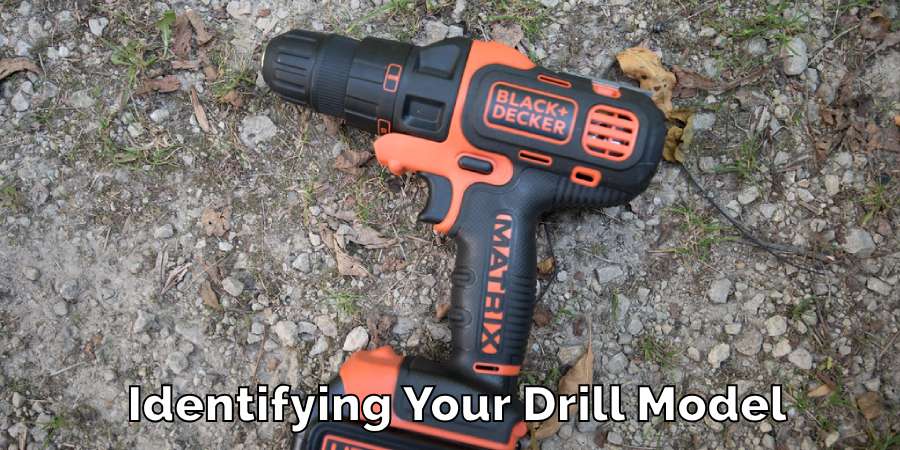
Identifying Your Drill Model
First, find out which Black and Decker model you have. You can usually find this information on the drill’s label or in the user manual. Knowing your model is important because each one may have its own charging needs and compatible chargers.
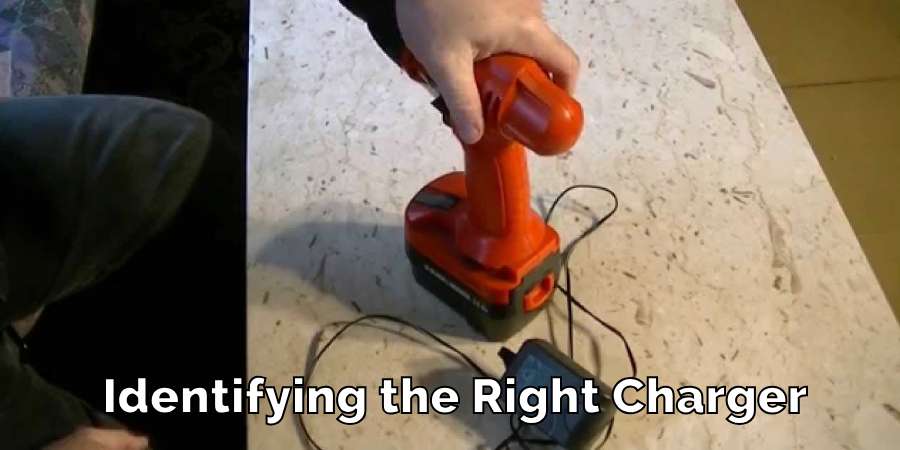
Identifying the Right Charger
Once you know your drill model, make sure you have the right charger. Using an incompatible charger can harm the battery or even the drill.
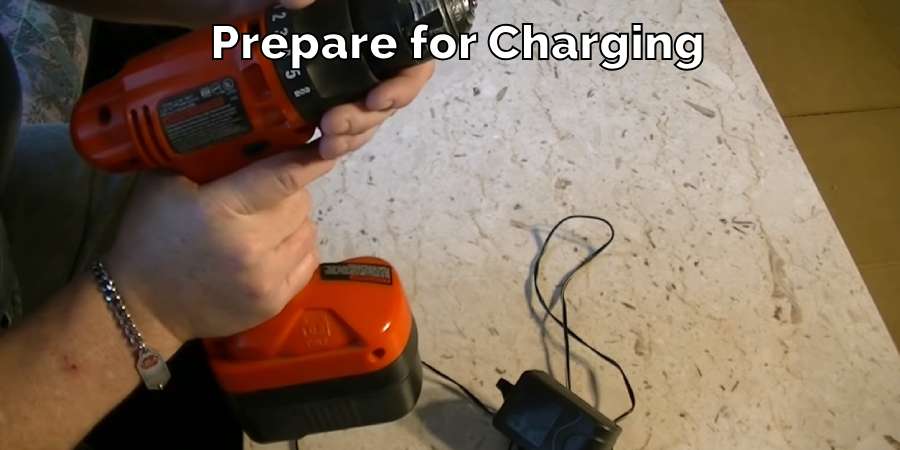
Preparing for Charging
Before you start charging, clean your drill and battery. Remove any dirt or dust. Make sure the place you’re charging in is dry and safe, away from anything that could catch fire.
Plug In the Charger
Find a suitable outlet in your workspace and plug in the charger. Make sure the outlet is easily accessible and the area around it is clear of any clutter or water. Safety first!
Connect the Battery to the Charger
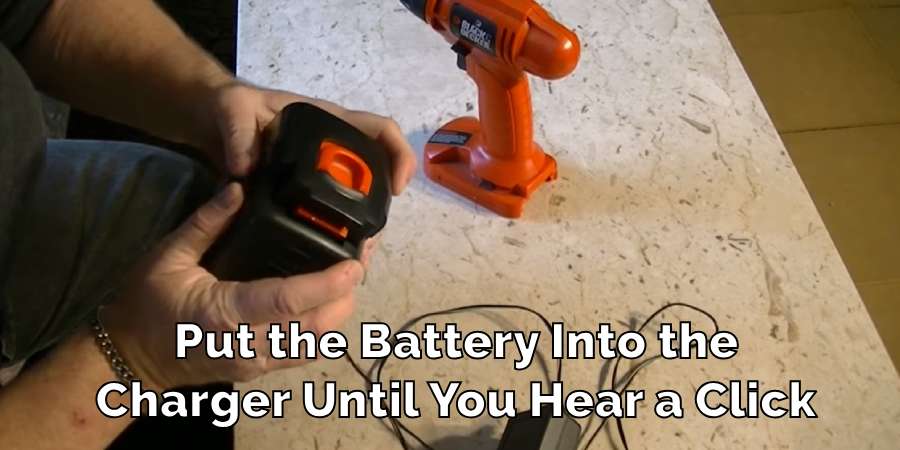
Take your drill’s battery and align it with the charger. Most Black and Decker chargers have a specific slot or cradle for the battery to fit into. You might see arrows or guides that help you align the battery correctly. Once aligned, gently push the battery into the charger until it clicks into place. This click sound is your cue that the battery is properly connected.
Check the Indicator Lights
Once the battery is in place, look for the indicator lights on the charger. These lights tell you the status of the battery’s charge. A blinking light usually means the battery is charging, while a solid light indicates that the battery is fully charged and ready to use. If there are no lights, make sure the charger is properly plugged in and the battery is correctly seated.
Wait for the Battery to Charge
Charging times can vary depending on the battery’s capacity and the level of discharge. It can take anywhere from 30 minutes to several hours to fully charge a battery. Refer to your Black and Decker manual for specific charging times. It’s important not to rush this process. Let the battery charge fully for the best performance.
By following these steps, you’ll ensure your Black and Decker drill is always charged and ready for your next project. Remember, keeping your battery properly charged and stored can help prolong its life and the performance of your drill.
Maintenance and Safety Tips
Maintaining your Black and Decker drill and charger is key to their longevity and performance. To keep them in good shape, always store the battery and charger in a place that’s cool and dry.
Avoid leaving them in places where they might experience extreme hot or cold temperatures. This can harm the battery’s ability to hold a charge and reduce its overall life.
It’s also important to regularly clean the battery contacts and the port on the charger. Dust and debris can build up over time, which might hinder the charging process. A simple wipe with a dry cloth can keep these connections clean and ensure your drill charges efficiently.
Troubleshooting Common Issues
If you find your Black and Decker drill isn’t charging, there are a few things you can check. First, make sure the power source you’re using is working correctly.
Check the charger for any visible damage. If everything looks okay but the drill still won’t charge, try resetting the battery. Remove it from the drill, wait a few minutes, and then put it back in. This can sometimes fix charging issues.
If the problem continues, consult the user manual for more specific advice for your drill model. The manual might have detailed troubleshooting steps.
If you can’t find the solution there, don’t hesitate to contact Black and Decker’s customer support. They can provide guidance tailored to your particular drill model.
By following these maintenance and troubleshooting tips, you can help ensure that your Black and Decker drill remains a reliable tool for all your projects.
FAQ’s
How Do I Know When My Black and Decker Drill is Fully Charged?
To find out if your Black and Decker drill battery is fully charged, look at the charger. Most Black and Decker chargers have a light that tells you the status of the charge. Usually, this light changes color or turns off when the battery is full.
The exact indication can vary, so it’s a good idea to check the charger’s manual. Some models might have a green light that switches on when charging is complete, while others might simply turn the light off. This makes it easy to know when your drill is ready to use.
How Long Does It Take to Charge a Black and Decker Drill Battery?
The time it takes to charge your Black and Decker drill battery depends on a few things. The main factor is the type and capacity of the battery you’re using. Bigger batteries with more capacity usually take longer to charge.
On average, it can take anywhere from 1 to 3 hours to fully charge a Black and Decker drill battery. If you’re using a fast charger, it might be quicker. Remember, the first few charges might take longer, but it usually gets faster after you’ve charged the battery a few times.
Why is My Black and Decker Drill Not Charging?
If your Black and Decker drill isn’t charging, there could be a few reasons. It might be an issue with the charger, the power source, or the battery itself. First, check to make sure the charger is plugged in correctly and the power source (like the wall socket) is working.
If everything seems fine there, inspect the charger for any damage. Sometimes the problem could be with the battery. Make sure it’s properly inserted into the charger. If it still doesn’t charge, the battery might be too old or damaged.
In some cases, simply removing the battery, waiting for a few minutes, and then reinserting it can solve the issue. If these steps don’t work, it’s a good idea to consult the user manual or reach out to customer support for help specific to your drill model.
How Long Does a Dead Drill Battery Take to Charge?
Charging a completely dead drill battery can take a bit longer compared to one that still has some charge left. Generally, if your drill battery is entirely drained, you should expect it to take up to about 3 hours to fully recharge.
This time can vary depending on the battery’s capacity and the charger’s power. Larger batteries or those with higher capacities will naturally take a bit longer to charge.
It’s also worth noting that using the charger that came with your drill, or one that’s specifically recommended for your drill’s battery type, can ensure a more efficient and faster charging process.
How Long to Fully Charge a Black and Decker 20v Lithium Battery?
For a Black and Decker 20V lithium battery, the typical charging time ranges from about 1.5 to 2 hours. This duration can slightly vary based on the specific model and the condition of the battery. It’s important to use the correct charger for these types of batteries to ensure a safe and effective charge.
Lithium batteries have different charging requirements compared to other types, so using the appropriate charger is key.
Additionally, these batteries have a faster charging cycle and are designed for more extended performance, which is beneficial for longer tasks or projects. Remember, consistently charging your battery before it’s completely drained can help maintain its longevity and efficiency.
Conclusion
Charging your Black and Decker drill correctly is crucial for its performance and longevity. By following the specific steps and guidelines outlined in this article, you can ensure that your drill is always ready for use. This article has explored how to charge a Black and Decker drill.
Remember, regular maintenance and proper charging practices are key to getting the most out of your power tool. If you encounter any issues, refer to the troubleshooting tips or contact Black and Decker customer support for assistance. Happy drilling!
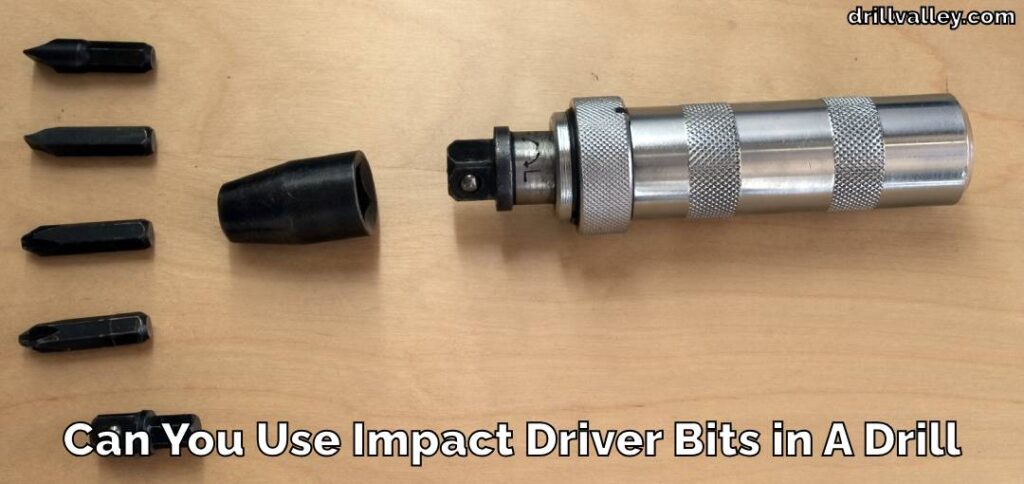
Can You Use Impact Driver Bits in A Drill
Knowing whether you can swap impact driver bits into a regular drill matters more than…

Can You Drill Into Popcorn Ceiling
Wondering Can You Drill Into Popcorn Ceiling for your next home improvement project? Popcorn ceilings,…

Can You Drill Into Walls in A Rental?
Renting an apartment brings the challenge of personalizing your space within the confines of rules…
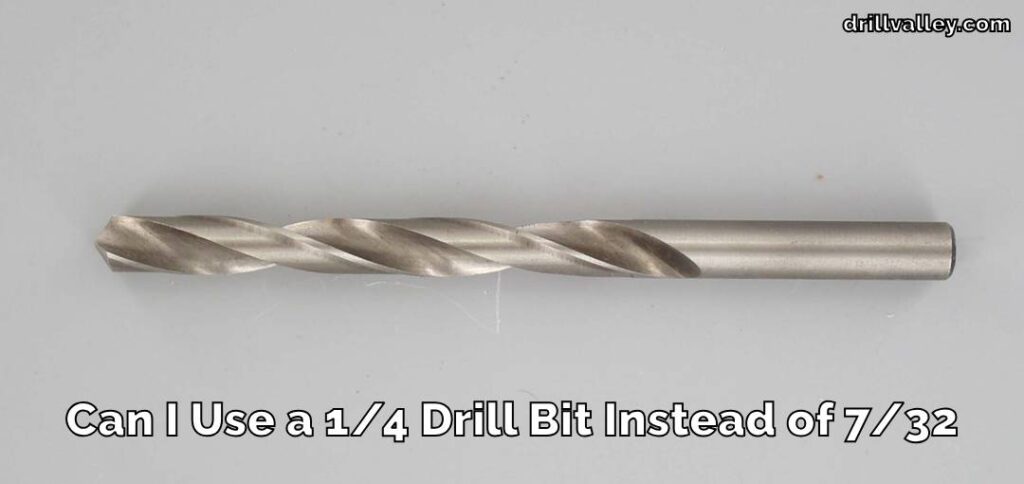
Can I Use a 1/4 Drill Bit Instead of 7/32
When you’re elbows deep in a project and suddenly realize the 7/32 drill bit you…

Can You Drill Concrete Without A Hammer Drill
Drilling into concrete requires both precision and the right tools, notably a hammer drill and…
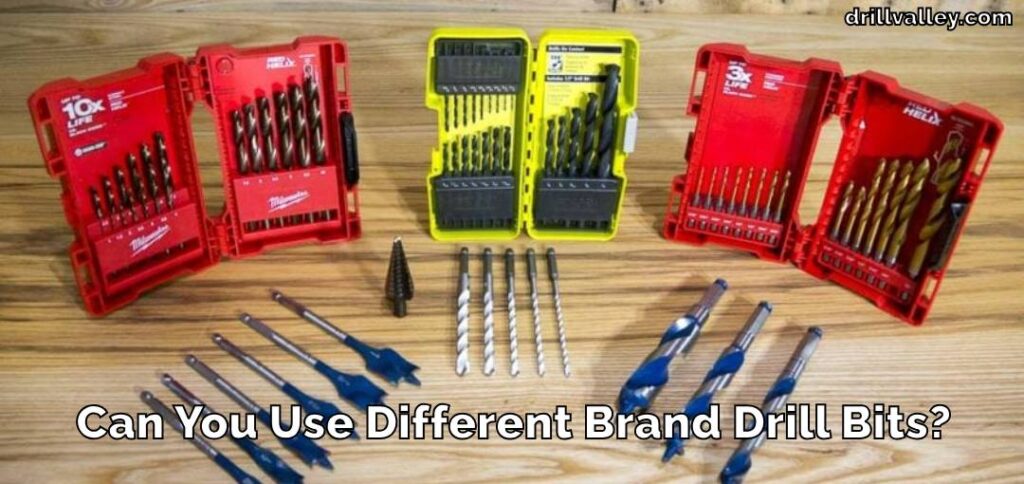
Can You Use Different Brand Drill Bits?
The right drill bit size is crucial for any project, big or small. It’s the…