How Long Should Concrete Be Cured Before Drilling
When working with concrete, a common question is, “How Long Should Concrete Be Cured Before Drilling?” It’s a practical question that gets to the heart of making sure our concrete projects are strong and last a long time.
The key here is to make sure the concrete is cured enough. Curing is the process where concrete reaches its required strength and can handle being worked on without getting damaged.
This guide is here to clear up the process for you. We’ll talk about how long concrete should cure before you start drilling. This isn’t just about waiting a set amount of time; it’s about making sure the concrete is ready to support whatever you’re planning to attach or install.
Getting this right means your concrete will be as durable and sturdy as it should be, avoiding cracks or damage when you drill into it. Let’s get into the specifics of how to ensure your concrete projects stay solid for years to come.
How Long Should Concrete Be Cured Before Drilling
When it comes to working with concrete, patience is key, especially if you’re planning to drill into it. Typically, a standard concrete mix takes about 28 days to fully cure and achieve its maximum strength.
It might be tempting to rush this process, especially when you’re on a tight schedule, but giving concrete the time it needs to properly cure is crucial for keeping it strong and stable.
Drilling into concrete before it’s fully cured can lead to problems. These can be minor issues like surface cracks or more serious structural damage that could affect your whole project. It’s not just about waiting; it’s about making sure the wait is worth it, ensuring your construction stays solid and lasts a long time.
There are fast-setting concrete mixes available that cure quicker, sometimes becoming drillable in just a few hours. But, it’s important to remember that each concrete type, whether fast-setting or traditional, has its own guidelines that should be followed closely for the best results.
For a good rule of thumb, concrete should reach at least 60% of its expected strength before you start drilling. For most standard mixes, this means waiting at least 3 to 7 days. However, it’s a good idea to check on the concrete’s progress during this time to see if it’s ready for drilling or if it needs more time to cure.
Incorporating these waiting periods into your project plans is essential for building something that not only meets safety standards but will also stand the test of time. Taking a thoughtful approach to curing and drilling concrete will help maintain the structural integrity of your work, preventing premature damage and ensuring that your structures remain strong and durable for the long haul.
How to Cure Concrete Fast in 7 Steps
Speeding up the concrete curing process can be pivotal for timely project completion, and it demands a careful application of specific steps to ensure the integrity and strength of the material.
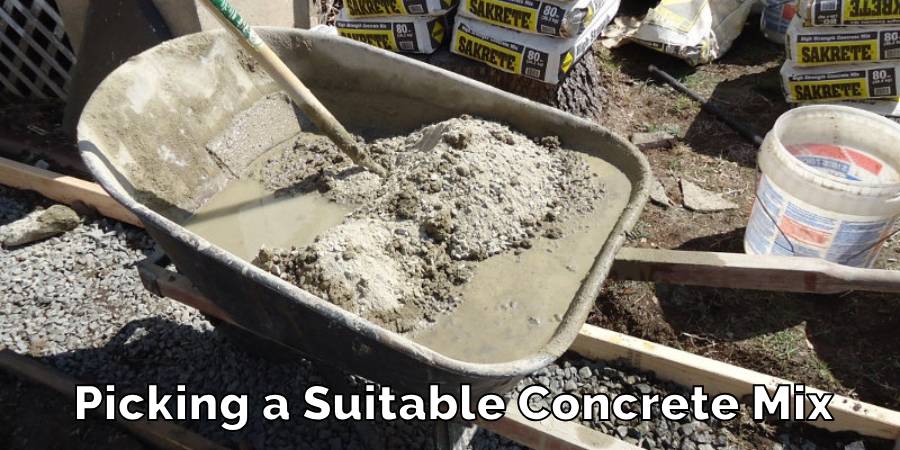
Selecting an Appropriate Mix
Picking a suitable concrete mix, especially one designed for quick setting, is essential. Various mixes are available that promise a rapid set and sufficient strength, ideal for projects with tight deadlines.
Maintaining Optimal Temperature
Consistent temperature control is paramount in fast curing. Keeping the curing temperature steadily above 50°F ensures that the concrete sets correctly, preventing potential issues like cracking or compromised strength that can arise when concrete freezes.
Introducing Accelerating Admixtures
Using chemical accelerators, such as calcium chloride, can expedite the curing process. These additives are mixed into the concrete during the preparation phase and work to accelerate the rate at which the concrete sets, reducing the overall curing time significantly.

Utilizing Curing Compounds
Implement the use of membrane-forming curing compounds which work by forming a protective layer over the concrete surface, aiding in retaining essential moisture and facilitating a faster set and cure, without allowing the material to dry out prematurely.

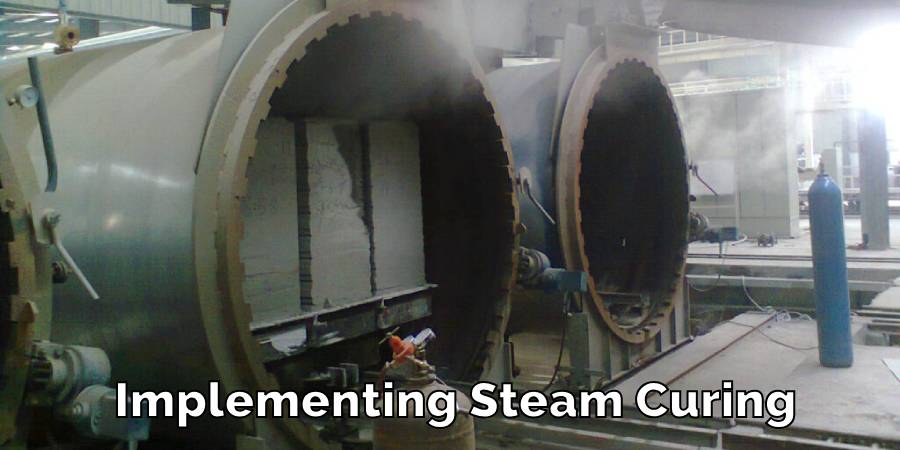
Implementing Steam Curing
For pre-cast concrete elements, steam curing is an effective method that involves exposing the concrete to steam in a controlled environment, thereby accelerating the curing process while ensuring that the concrete attains its required strength and durability.
Maintaining Adequate Moisture
The curing process relies heavily on hydration, which demands adequate moisture. Ensuring that the concrete remains damp, particularly in its early stages, aids the hydration process, ensuring a stronger, more resilient final product.
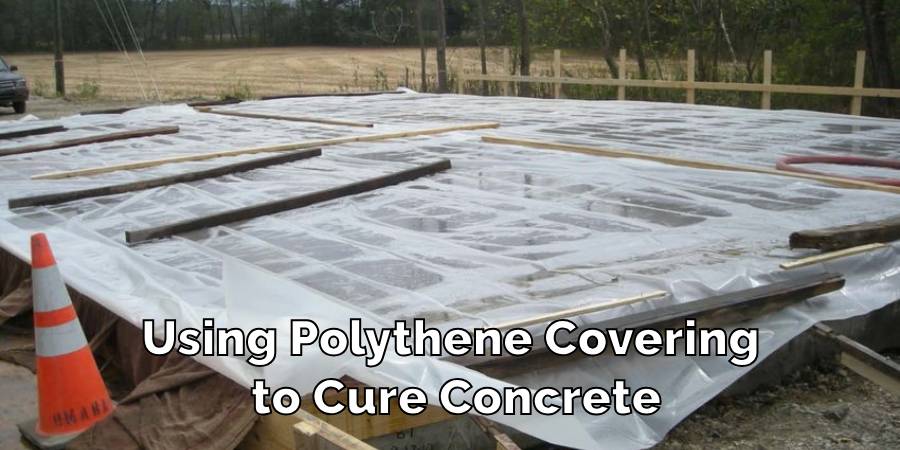
Using Polythene Covering
Protect the concrete by covering it with polythene sheets, which act to conserve moisture within the concrete, promoting steady curing while preventing the material from drying out too quickly and becoming susceptible to weaknesses and defects.
Each step provides a cornerstone for the successful and rapid curing of concrete, ensuring not just speed in project completion, but also in maintaining the quality and longevity of the concrete structures built. By adhering to these methods, professionals can effectively manage time without compromising the robustness of their construction projects.
Tools We Need to Drill the Concrete
Taking on a concrete drilling task requires not only skill but also the right set of tools to ensure efficiency and safety during the operation. A hammer drill and masonry drill bits are fundamental, but several other items are equally crucial to facilitate a smooth drilling process and ensure the well-being of the operator.
- Hammer Drill: This power tool is designed to drill into hard materials like concrete, stone, or brick with ease and precision.
- Masonry Drill Bits: Specifically designed for drilling hard materials, these bits can endure the rigidity of concrete without wearing down quickly.
- Safety Glasses: Vital for protecting your eyes from concrete dust and debris during drilling.
- Ear Protection: Using a drill can be loud; ear protection shields you from potentially harmful noise levels.
- Dust Mask: Essential to prevent inhaling harmful concrete dust while drilling.
- Measuring Tape: Ensuring you drill at the right spot and depth requires accurate measurement.
- Pencil/Marker: To accurately mark the spots where drilling is needed.
Owning, and utilizing the right tools ensures that concrete drilling is done accurately and safely. Always ensure that each tool is in good working order and always prioritize personal protective equipment to safeguard against potential risks during the drilling process.
How to Drill the Concrete
Initiating a project that involves drilling into concrete demands a careful approach to ensure both the efficacy of the task and the safety of those involved. This process is not exceedingly complex but does necessitate adherence to a series of steps, each of which plays a vital role in the overall success of the drilling operation.
Safety First
It’s paramount to prioritize your safety. Equipping yourself with safety glasses, ear protection, and a dust mask is non-negotiable to shield yourself from potential hazards, such as flying debris and loud noises, which are commonplace during drilling activities.
Mark the Spot
Precision begins with clear marking. Use a pencil or marker to indicate exactly where you need to drill, ensuring accuracy and avoiding any potential missteps.
Choose the Right Drill Bit
Not all drill bits are created equal. Selecting a masonry drill bit that corresponds appropriately with the type of concrete and the size of the hole you aim to create is critical.
Install the Drill Bit
Once the appropriate drill bit is selected, it must be securely fitted into the hammer drill. Ensure that it is tightened properly to avoid any mishaps during the drilling process.
Set the Depth
To avoid drilling too deep, apply a piece of tape to the drill bit, marking the desired depth of the hole. This acts as a visible guide, ensuring you drill accurately.
Begin Drilling
Commence the drilling at a gentle speed, slowly intensifying as the bit finds its way into the concrete. A cautious start prevents the bit from skidding across the surface and helps maintain the accuracy of the hole.
Clean the Hole
Drilling can cause dust and debris to accumulate in the hole, which might hinder progress. Periodically retracting the drill bit and removing this build-up facilitates a smoother drilling process.
Complete Drilling
Continue to drill until the tape marker on the bit is level with the concrete’s surface, indicating that the desired depth has been reached.
Each step in the drilling process is vital, and skipping even one could lead to less-than-ideal results or pose a safety risk. Always approach concrete drilling with the necessary attention and diligence, guaranteeing that the work is completed effectively and safely.
Table of Recommended Drilling Speed, Drill Bit Size, Recommended Depth
| Drill Bit Size (mm) | Recommended Speed (RPM) | Recommended Depth (mm) |
| 4 | 1000 | 40 |
| 6 | 900 | 60 |
| 8 | 800 | 80 |
| 10 | 700 | 100 |
| (Note: These values are general recommendations. Ensure to consult your tool and bit manuals for specific guidelines.) |
Precautions While Drilling the Concrete
Undertaking a task that involves drilling into concrete requires particular attention to safety and precision, necessitating the observance of some crucial precautions.
First and foremost, equip yourself adequately with protective gear; this includes not only safety goggles to protect your eyes from concrete dust but also a dust mask to shield your lungs from inhaling it.
Always ensure your footing is stable and your grip on the drill firm to effectively manage potential kickbacks, which can occur unexpectedly.
Also, it’s vital to resist the urge to exert excess pressure on the drill; rather, allow the tool to do its job, preventing not only bit breakage but also ensuring you do not deviate from the initially marked point.
Importantly, prior to initiating the drilling, always conduct a thorough check for concealed utilities like electrical wiring or plumbing within the concrete.
Drilling into these can not only damage your project but also result in potentially dangerous mishaps. Considering these precautions not only ensures a smoother execution of the task but also safeguards against potential hazards that could derail the process.
Conclusion
The journey through understanding and effectively handling both the curing and drilling processes in concrete work encompasses a careful mix of patience, theoretical knowledge, and hands-on technique.
Ensuring that the concrete is sufficiently cured before moving forward with drilling is a non-negotiable step in ensuring both structural stability and long-term durability of the construction. We have explored how long should concrete be cured before drilling.
Despite the often tangible excitement and the sometimes pressing timelines that come with progressing in a project, a deep understanding and respect for the specific intricacies and timeframes associated with concrete curing and drilling become utterly vital.
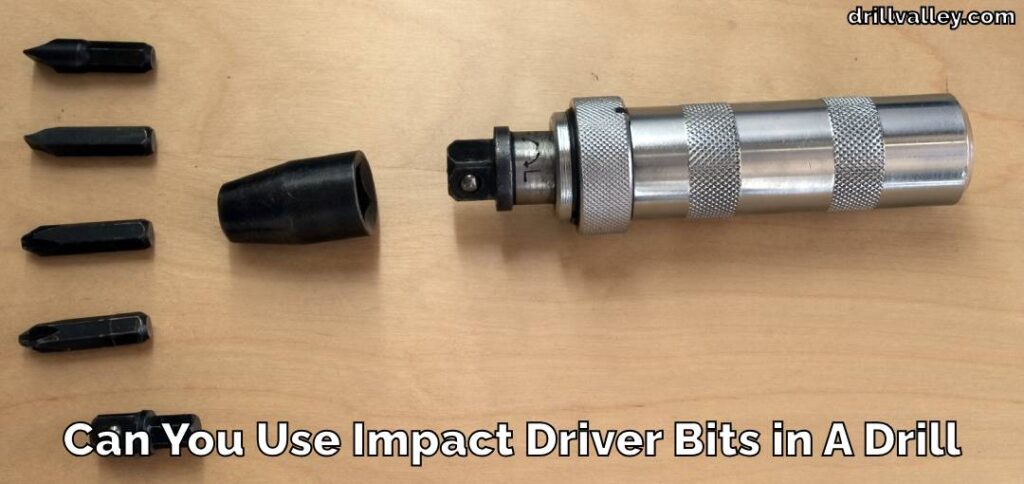
Can You Use Impact Driver Bits in A Drill
Knowing whether you can swap impact driver bits into a regular drill matters more than…
Can You Drill Into Popcorn Ceiling
Wondering Can You Drill Into Popcorn Ceiling for your next home improvement project? Popcorn ceilings,…
Can You Drill Into Walls in A Rental?
Renting an apartment brings the challenge of personalizing your space within the confines of rules…
Can I Use a 1/4 Drill Bit Instead of 7/32
When you’re elbows deep in a project and suddenly realize the 7/32 drill bit you…
Can You Drill Concrete Without A Hammer Drill
Drilling into concrete requires both precision and the right tools, notably a hammer drill and…

Can You Use Different Brand Drill Bits?
The right drill bit size is crucial for any project, big or small. It’s the…