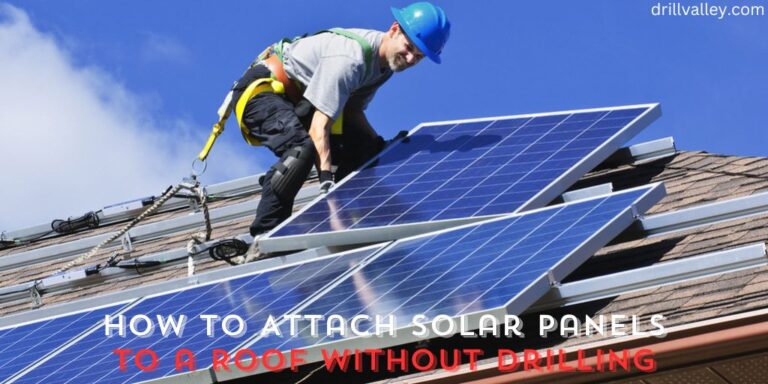
How to Drill Acrylic without Cracking
Acrylic is a popular choice for lots of DIY and professional projects because it’s clear, strong, and doesn’t break easily. But if you’ve ever tried to drill into acrylic, you know it can be tricky. The material can crack or get damaged if not handled carefully. This guide is here to show you how to drill through acrylic the right way, avoiding any cracks or damage.
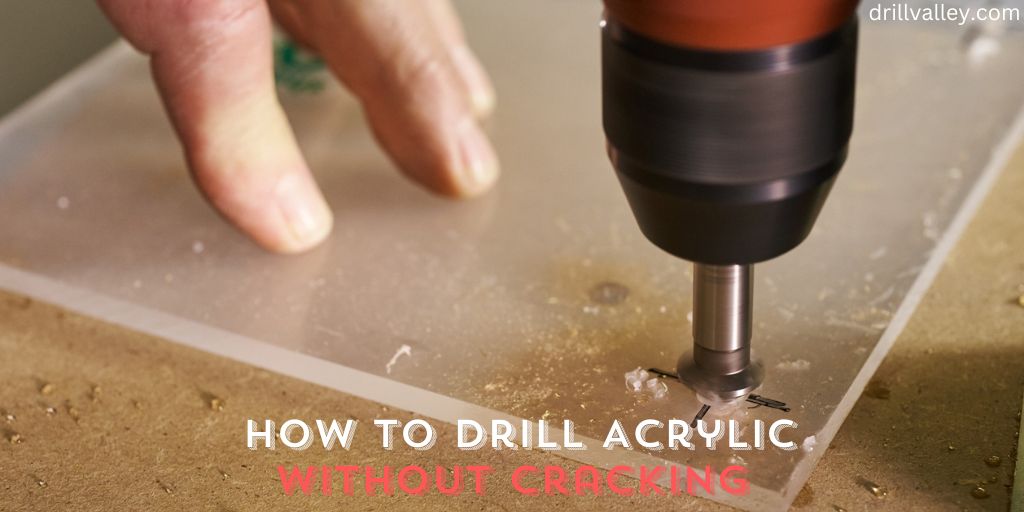
We’ll walk you through what tools you’ll need and the best techniques on how to drill acrylic without cracking. This step-by-step guide is meant to help you, whether you’re just starting or you’ve been doing DIY projects for a while.
Our goal is to make sure you can work on your acrylic pieces confidently, keeping them looking great without any damage.
Tools We Need to Drill Acrylic Without Cracking
When you want to drill into acrylic without causing any cracks or damage, it’s important to use the right set of tools. These tools are designed to handle the unique properties of acrylic, ensuring a smooth drilling process. Below is a list of essential tools that you will need:
- Drill Bits: Choose drill bits specifically made for acrylic. These bits have a sharper angle at the tip compared to standard bits, allowing for a gentler entry and exit in the acrylic, reducing the risk of cracking.
- Clamps: Using clamps to hold the acrylic in place is crucial. This prevents any movement during drilling, which can cause cracks.
- Backing Material: Place a piece of wood or another suitable backing material behind the acrylic. This support helps prevent cracks, especially when the drill is coming out of the acrylic.
- Drill Press or Hand Drill: A drill press is ideal for stability, but a hand drill can also be used if you handle it carefully.
- Coolant or Lubricant: To keep the drilling cool and reduce friction, use water or a special acrylic drilling fluid as a coolant or lubricant.
- Tape: Putting masking tape on the area you plan to drill can help in minimizing chipping and cracking.
- Measuring Tools: For precise drilling, tools like a ruler, square, or caliper are necessary to get accurate measurements.
- Safety Equipment: Always wear safety goggles and gloves to protect yourself from any acrylic shards or debris.
Using these specific tools and techniques will help ensure that your acrylic drilling process is successful. These tools are designed to minimize the stress and heat that typically cause the acrylic to crack, thereby preserving the quality and appearance of your acrylic projects.
How to Drill Acrylic Without Cracking
Drilling acrylic can seem tough because it’s so easy to crack, but with the right steps, you can do it without any damage. Here’s how to drill through acrylic safely:
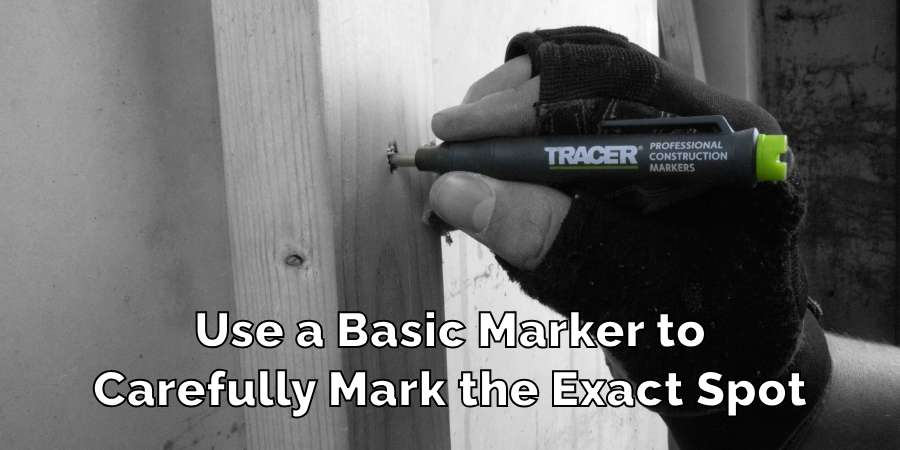
Mark the Spot
The first step is very simple yet vital. Use a basic marker to carefully mark the exact spot on the acrylic where you plan to drill. Being precise at this stage helps ensure that your drilling is accurate and in the right place.
Tape the Area
After marking the spot, cover it with masking tape. This tape acts as a protective layer, helping to prevent the edges of the hole from chipping or cracking as you drill.
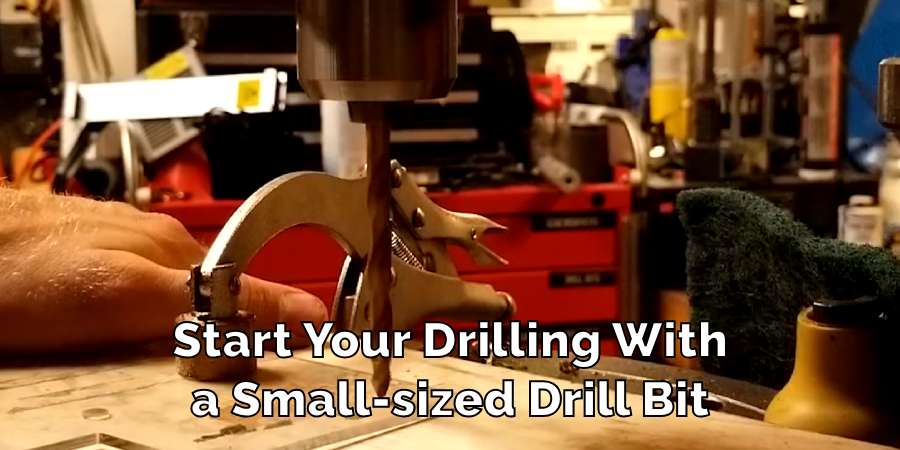
Start with a Small Bit
Start your drilling with a small-sized drill bit. This initial step is about making a pilot hole. The small hole reduces the strain on the acrylic, which is key to preventing cracks right at the start.
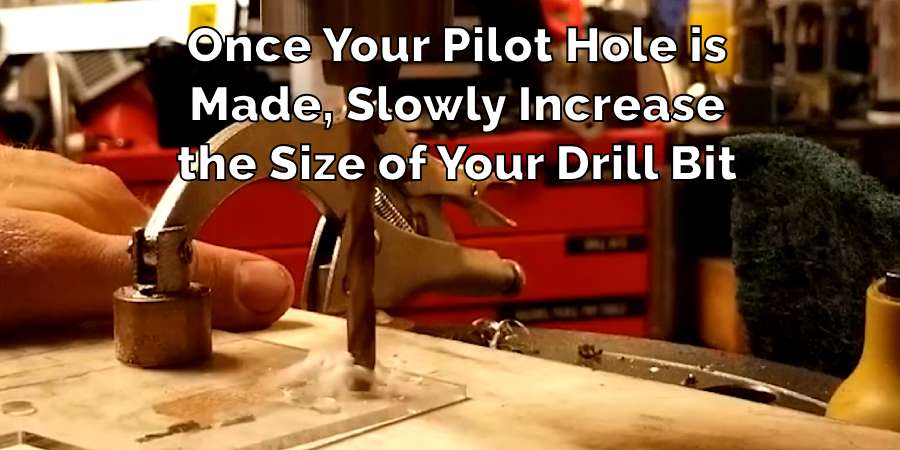
Gradually Increase Bit Size
Once your pilot hole is made, slowly increase the size of your drill bit in stages. This careful, step-by-step increase allows the hole to get bigger in a controlled manner, which is much safer for the acrylic and greatly reduces the chance of any damage.
Apply Low Pressure
It’s important to drill gently. Apply just a light amount of pressure and let the drill bit do its job. Pushing too hard can stress the acrylic, which might lead to cracking.
Use Low Speed
High speed when drilling can generate a lot of heat, and this heat can harm the acrylic, possibly causing it to crack. To avoid this, use a lower speed setting on your drill. This gives you better control and keeps the heat down.
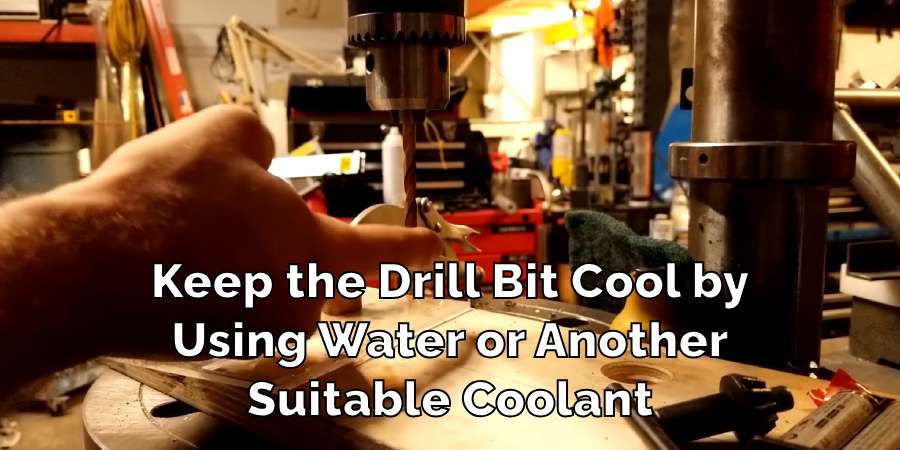
Cool the Bit
Keep the drill bit cool by using water or another suitable coolant. Regular cooling is crucial as it prevents the bit from overheating, which in turn helps protect the acrylic from heat damage.
Support the Acrylic
Finally, ensure the acrylic sheet is properly supported on a flat surface. Placing a piece of wood or another firm backing material underneath the acrylic is a good practice. This support is particularly important to avoid cracks when the drill bit comes out on the other side of the acrylic.
Following these steps carefully will help you drill into acrylic without causing cracks or other damage. This approach is designed to be easy to understand and follow, ensuring that your work with acrylic is both successful and satisfying.
Conclusion
Successfully drilling acrylic without cracking it greatly enhances the quality and appearance of your acrylic projects. It starts with selecting specialized tools, like acrylic-specific drill bits with sharper points and controlled cutting angles.
It’s crucial to drill slowly and apply minimal pressure to avoid heat buildup and stress, which can lead to cracks. Supporting the acrylic with backing material and using a drill that allows speed adjustment is also key.
Patience and accuracy are essential by taking your time and adhering to these methods, you’ll achieve a clean, professional finish, making your work with acrylic both rewarding and successful. This article has explored how to drill acrylic without cracking.
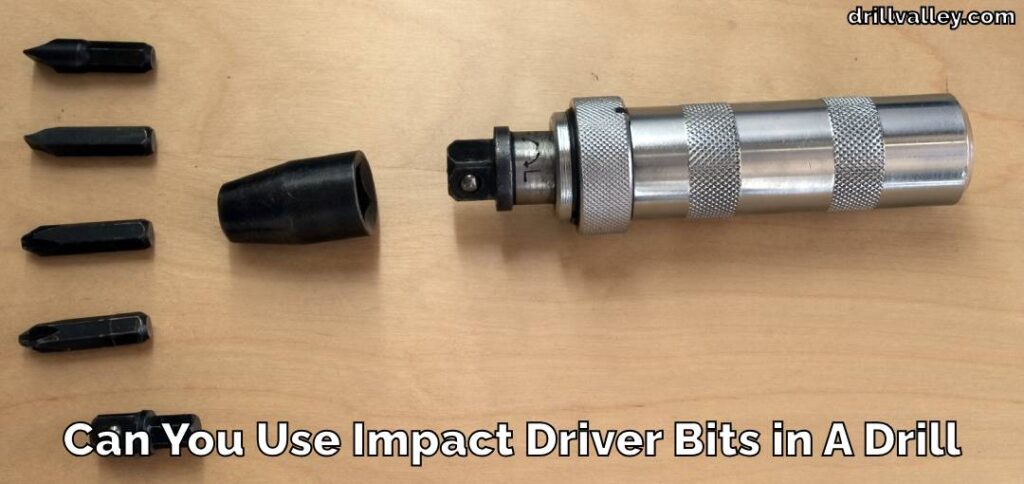
Can You Use Impact Driver Bits in A Drill
Knowing whether you can swap impact driver bits into a regular drill matters more than…
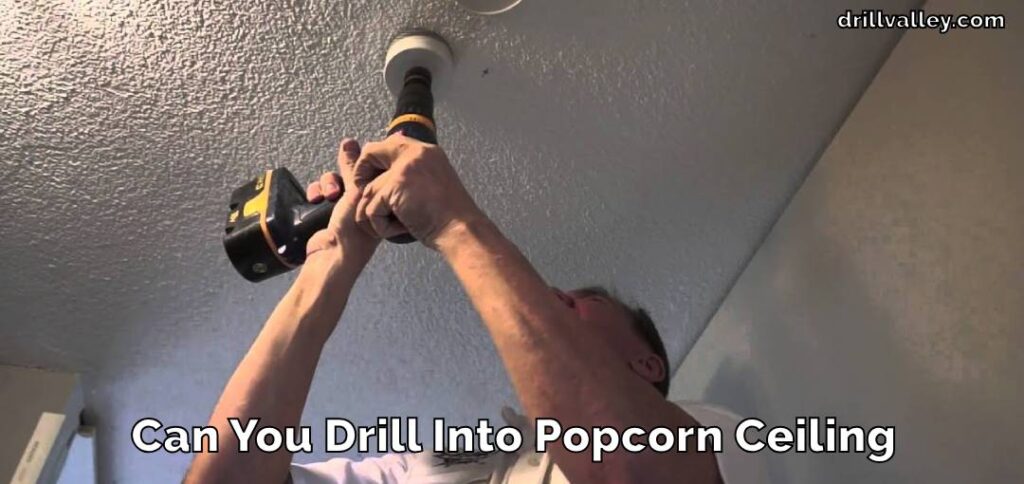
Can You Drill Into Popcorn Ceiling
Wondering Can You Drill Into Popcorn Ceiling for your next home improvement project? Popcorn ceilings,…
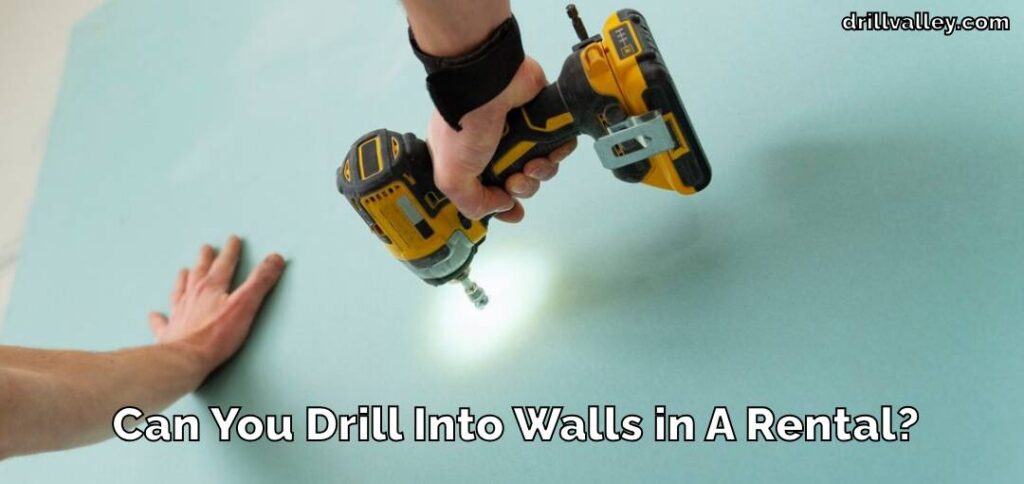
Can You Drill Into Walls in A Rental?
Renting an apartment brings the challenge of personalizing your space within the confines of rules…
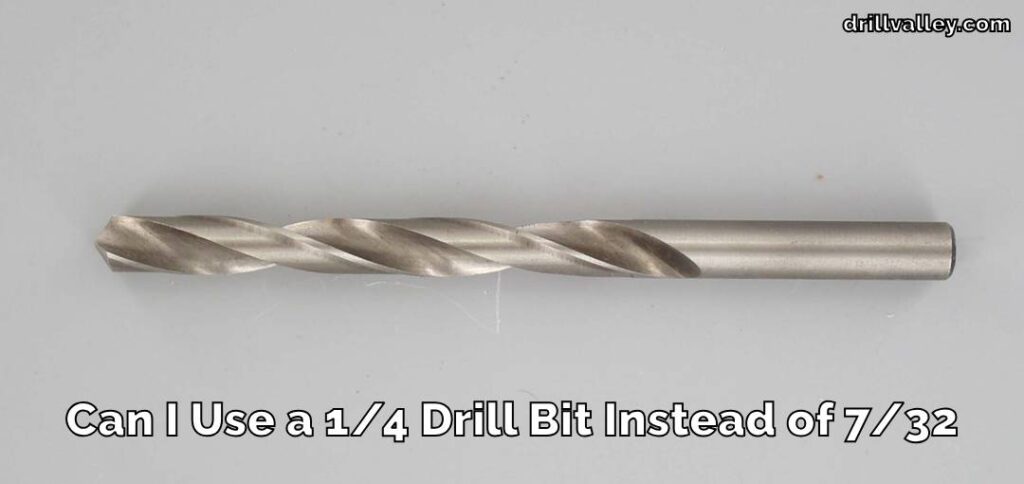
Can I Use a 1/4 Drill Bit Instead of 7/32
When you’re elbows deep in a project and suddenly realize the 7/32 drill bit you…
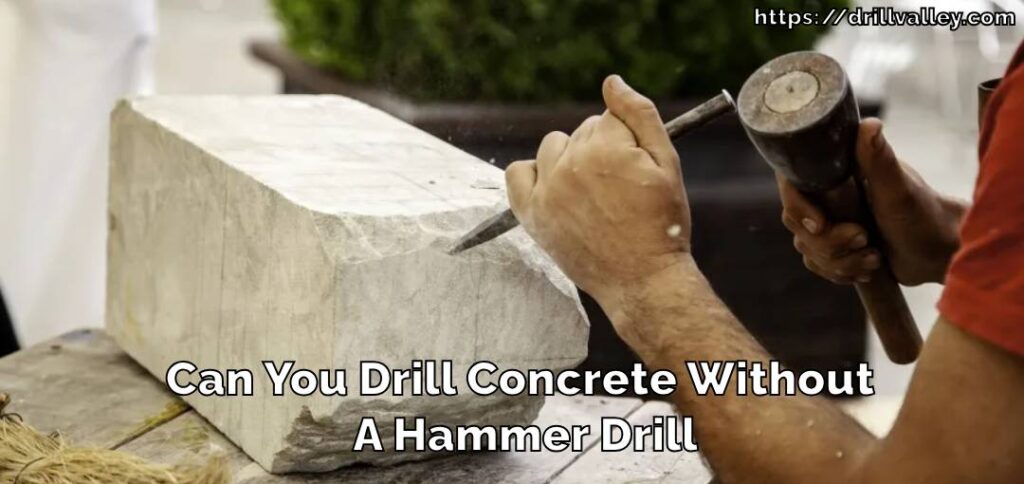
Can You Drill Concrete Without A Hammer Drill
Drilling into concrete requires both precision and the right tools, notably a hammer drill and…
Can You Use Different Brand Drill Bits?
The right drill bit size is crucial for any project, big or small. It’s the…